
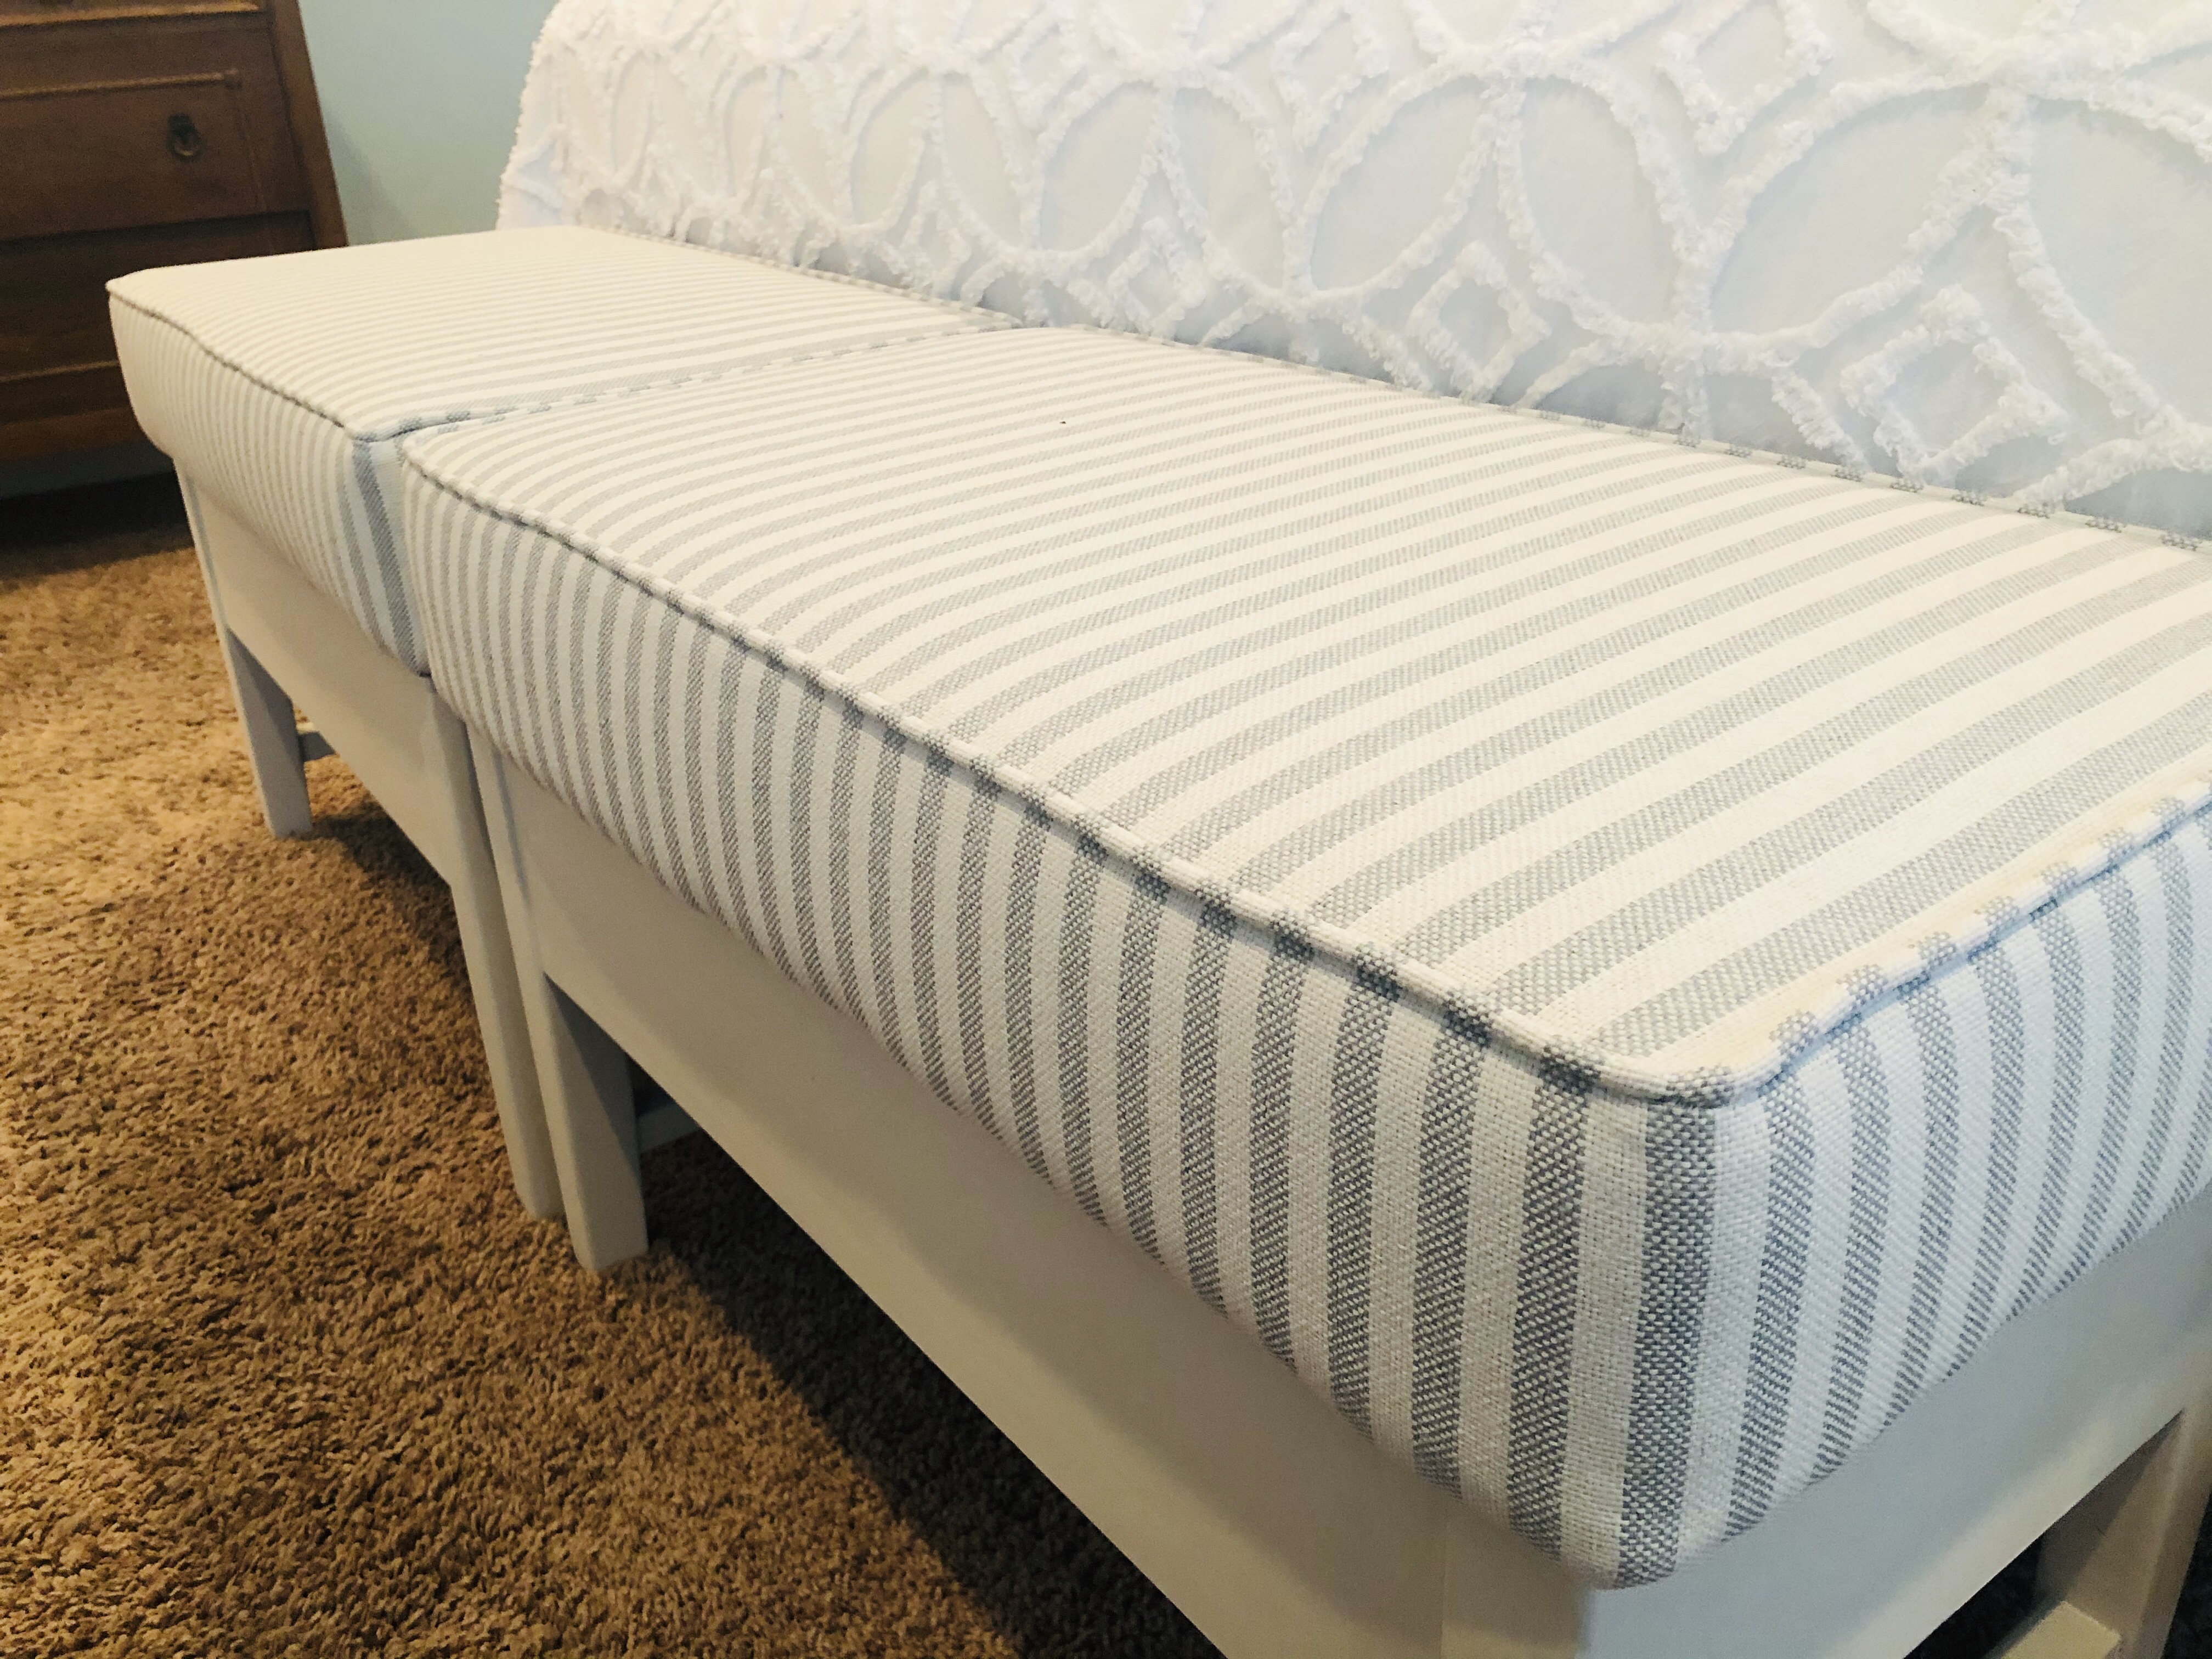
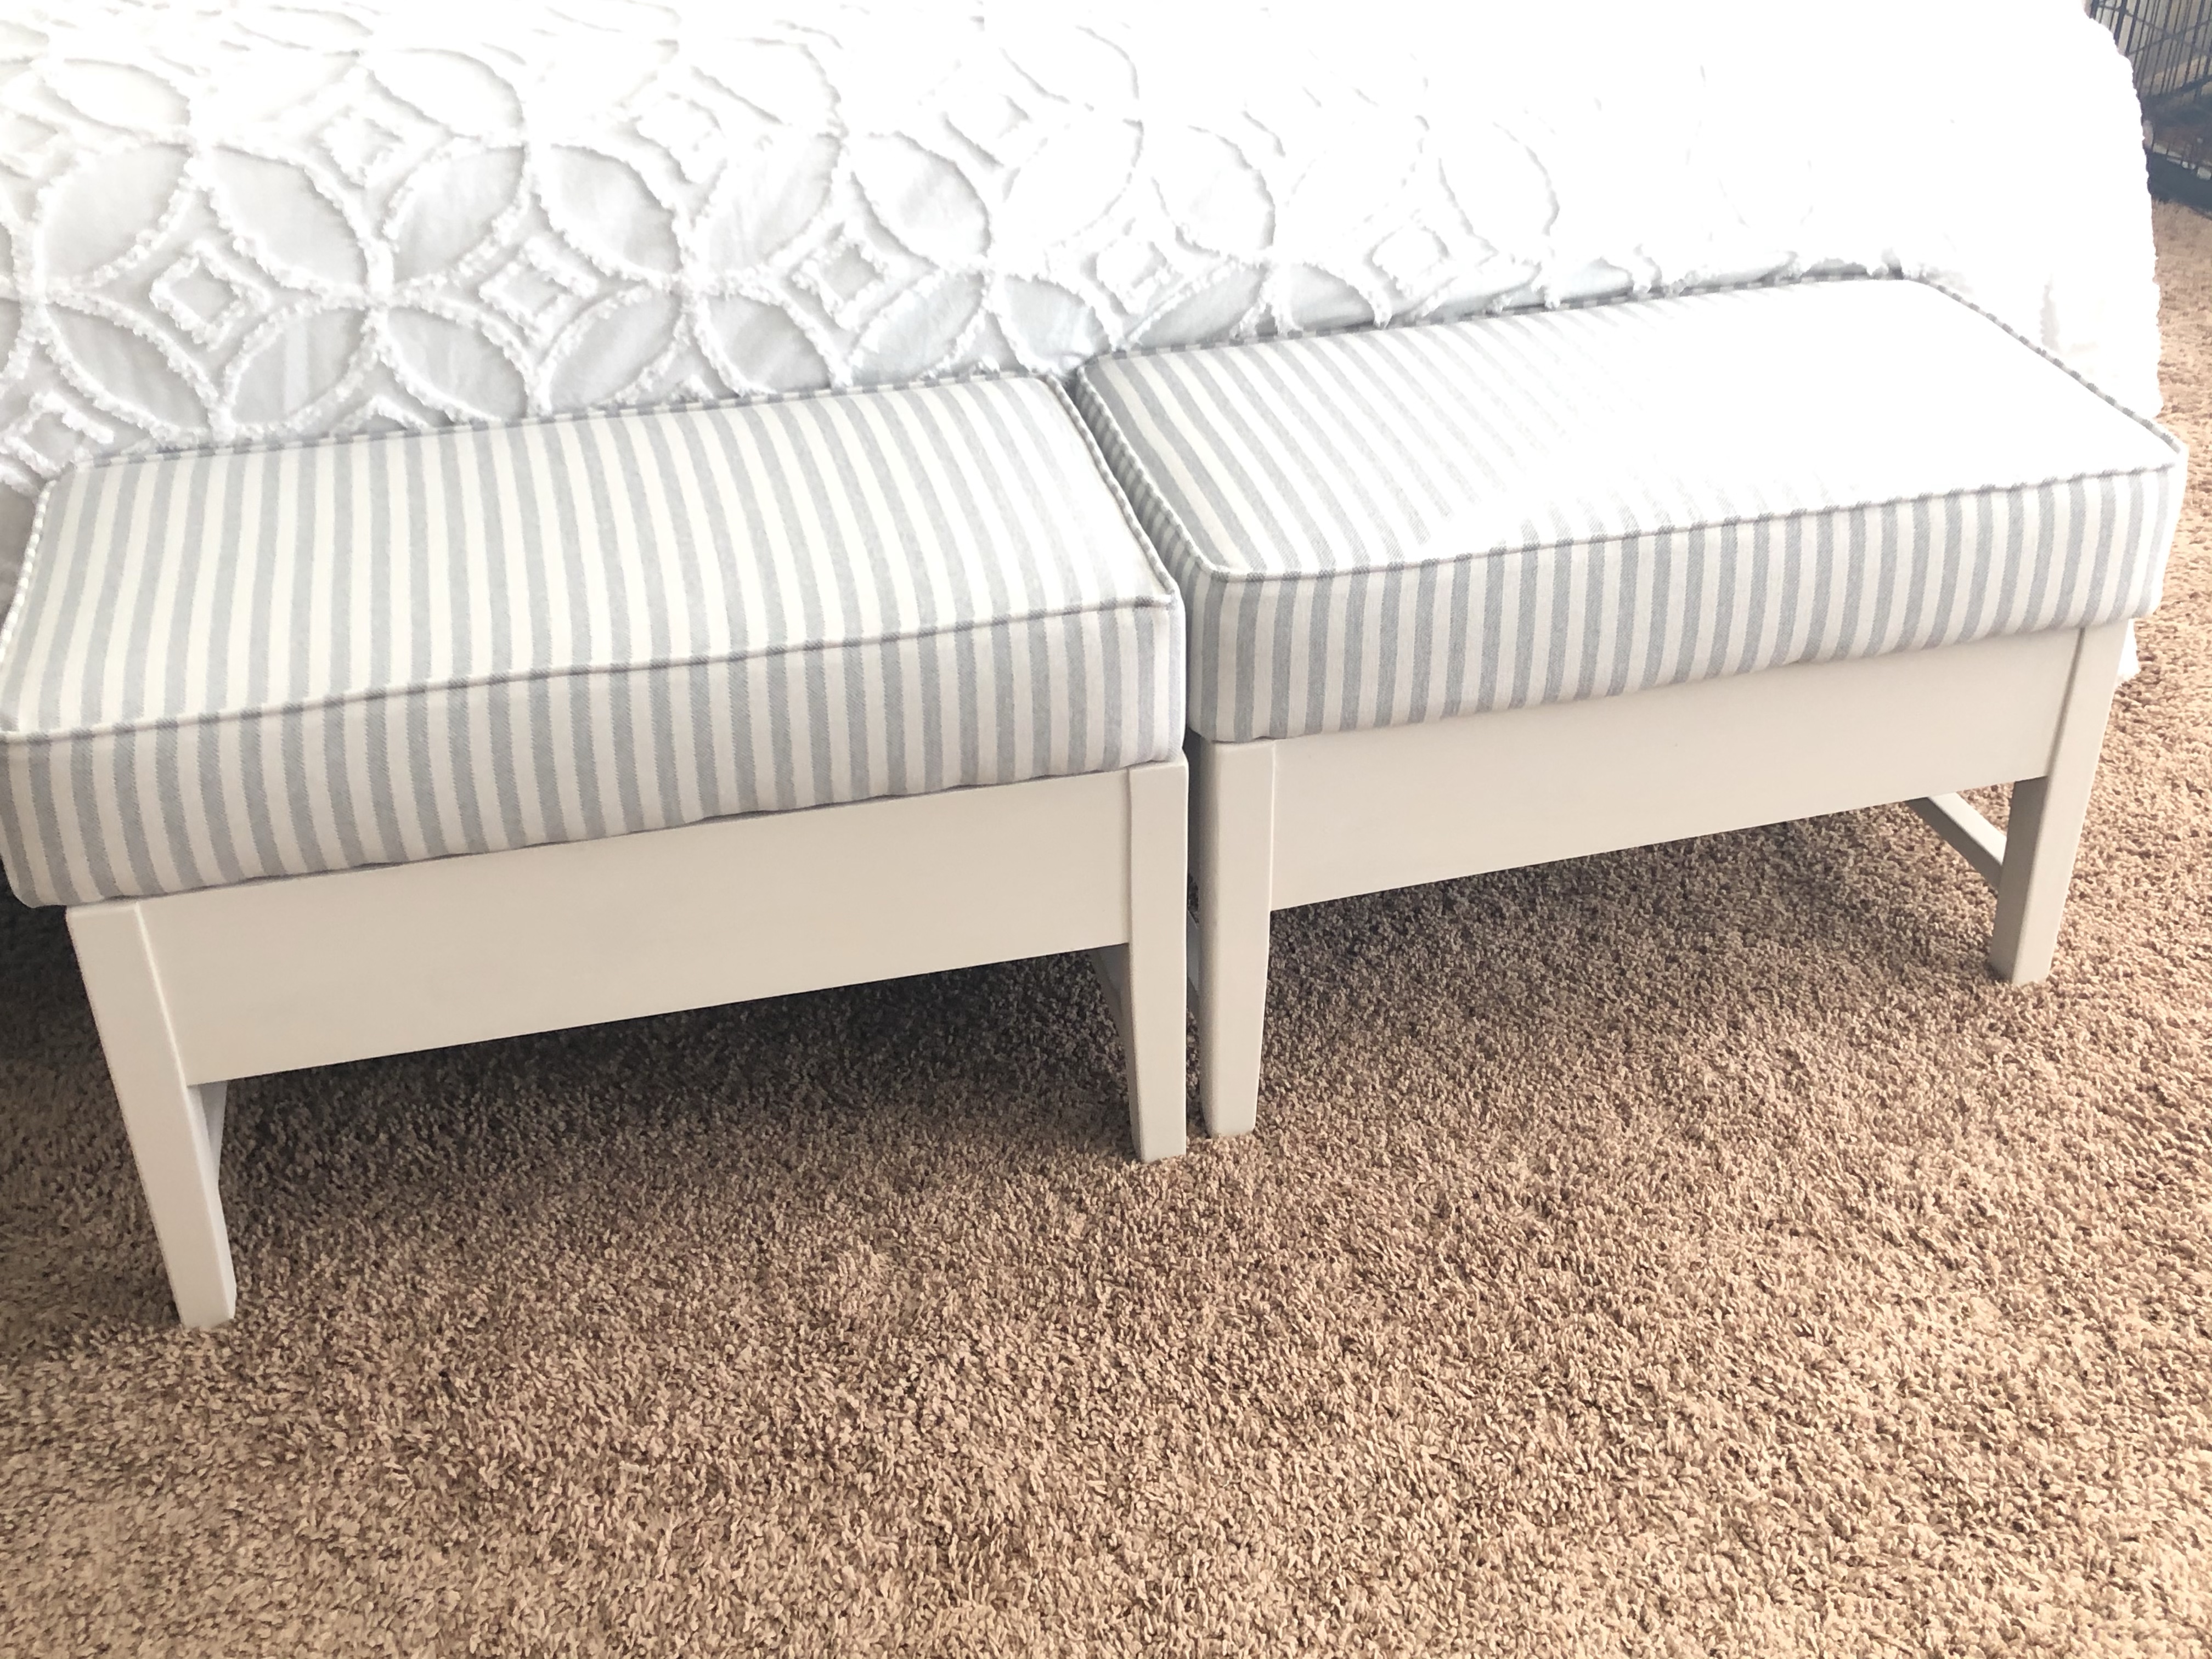
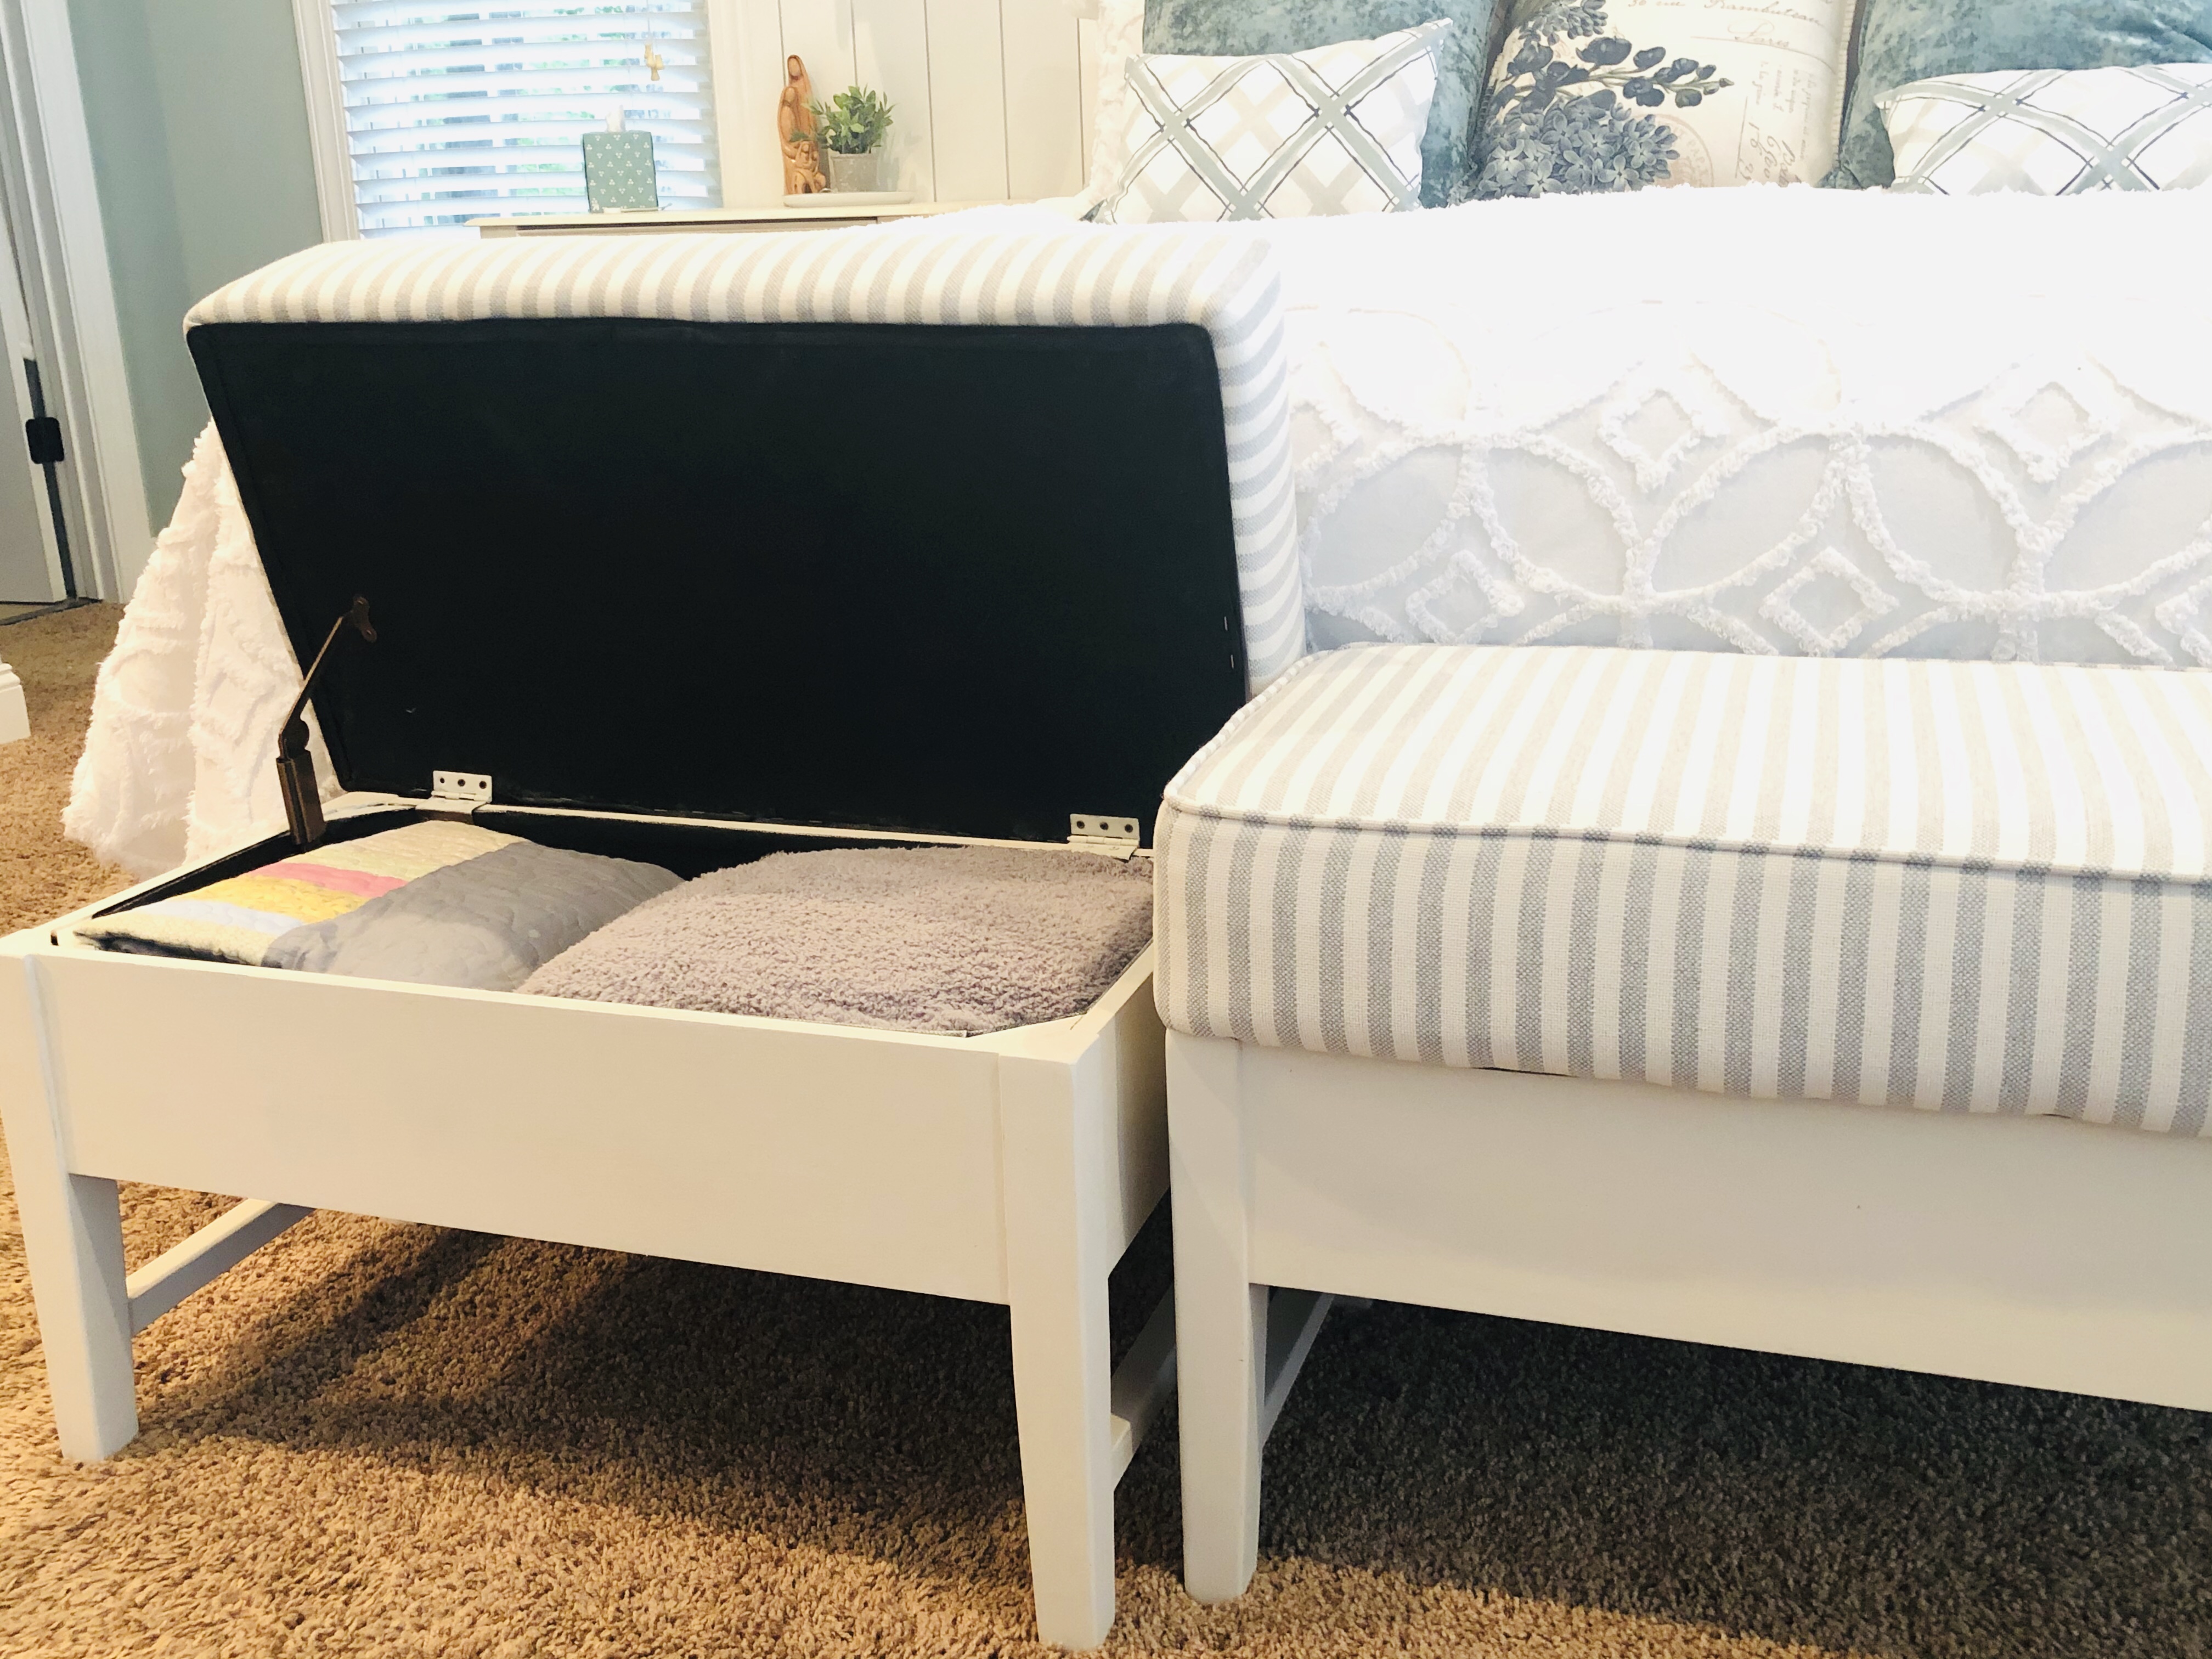
I’ve had these Target benches for over ten years. They were first used as an ottoman in our first lakehouse and then as ottomans in our current lake house. As with most of my furniture, they made the rounds to different rooms when I got the itch to move things around. They would eventually make their way to the end of our master bedroom bed to serve as a sitting area as well as a much needed storage for sheets and extra blankets.

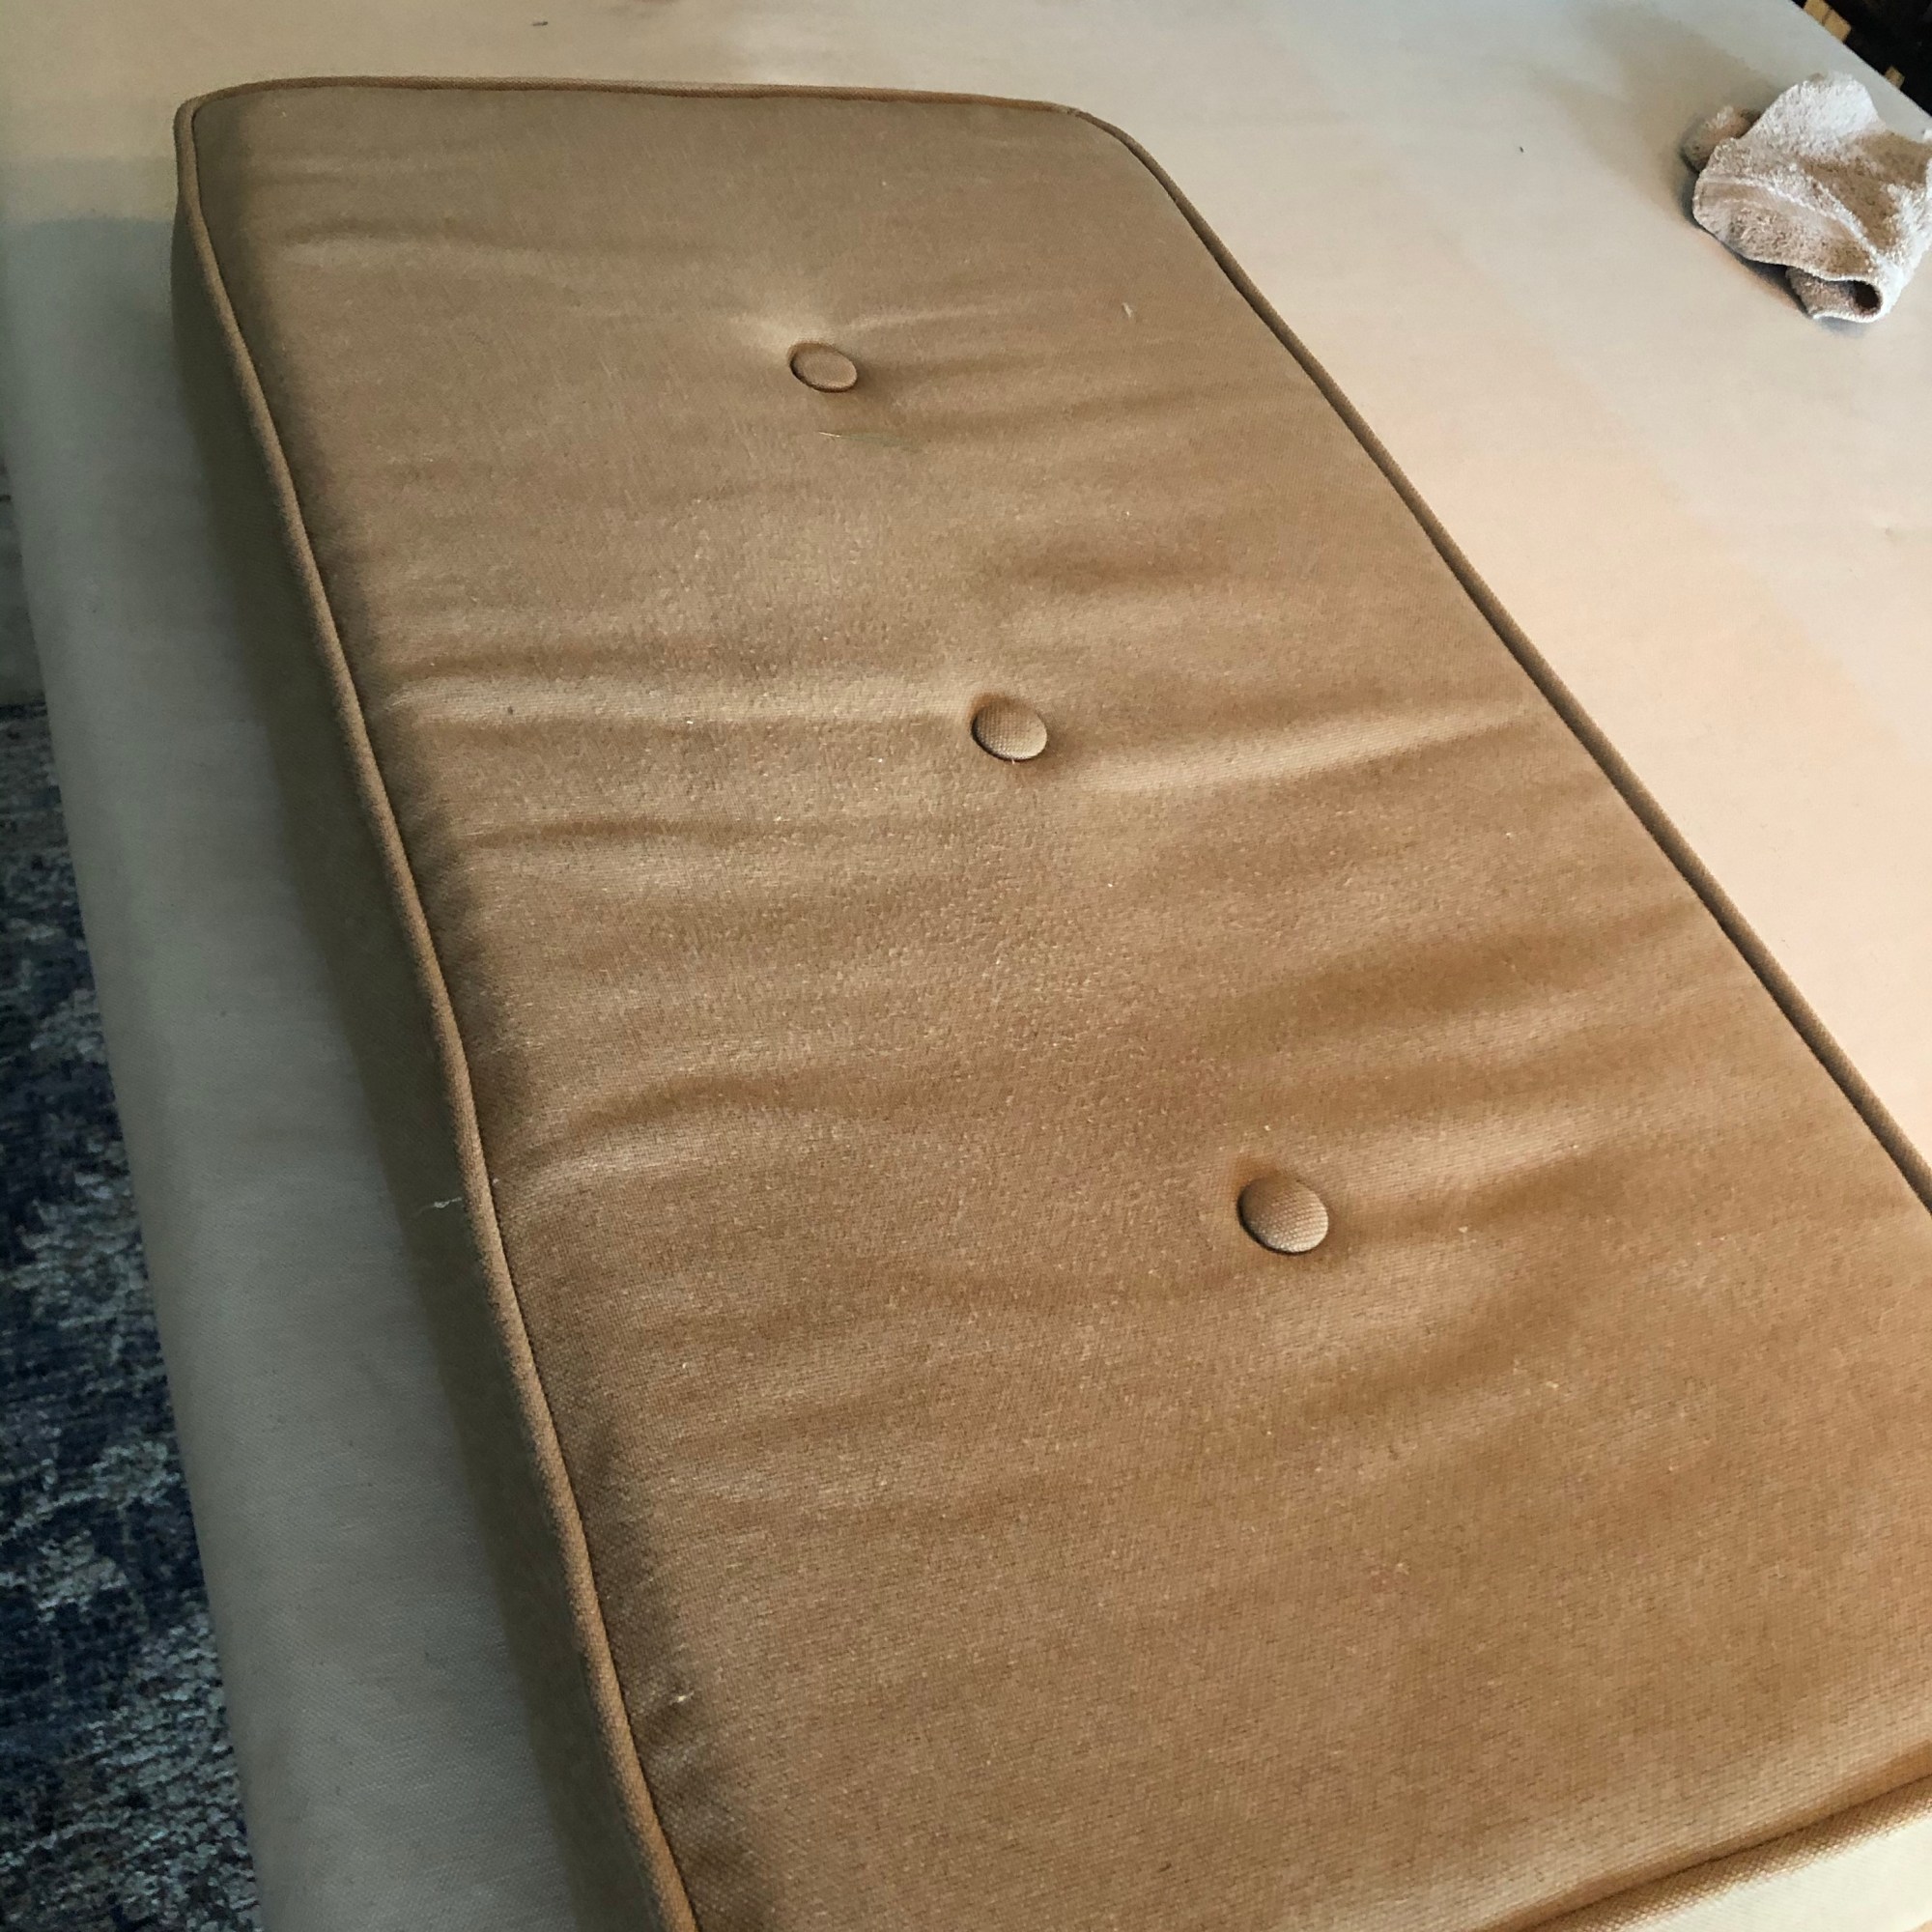
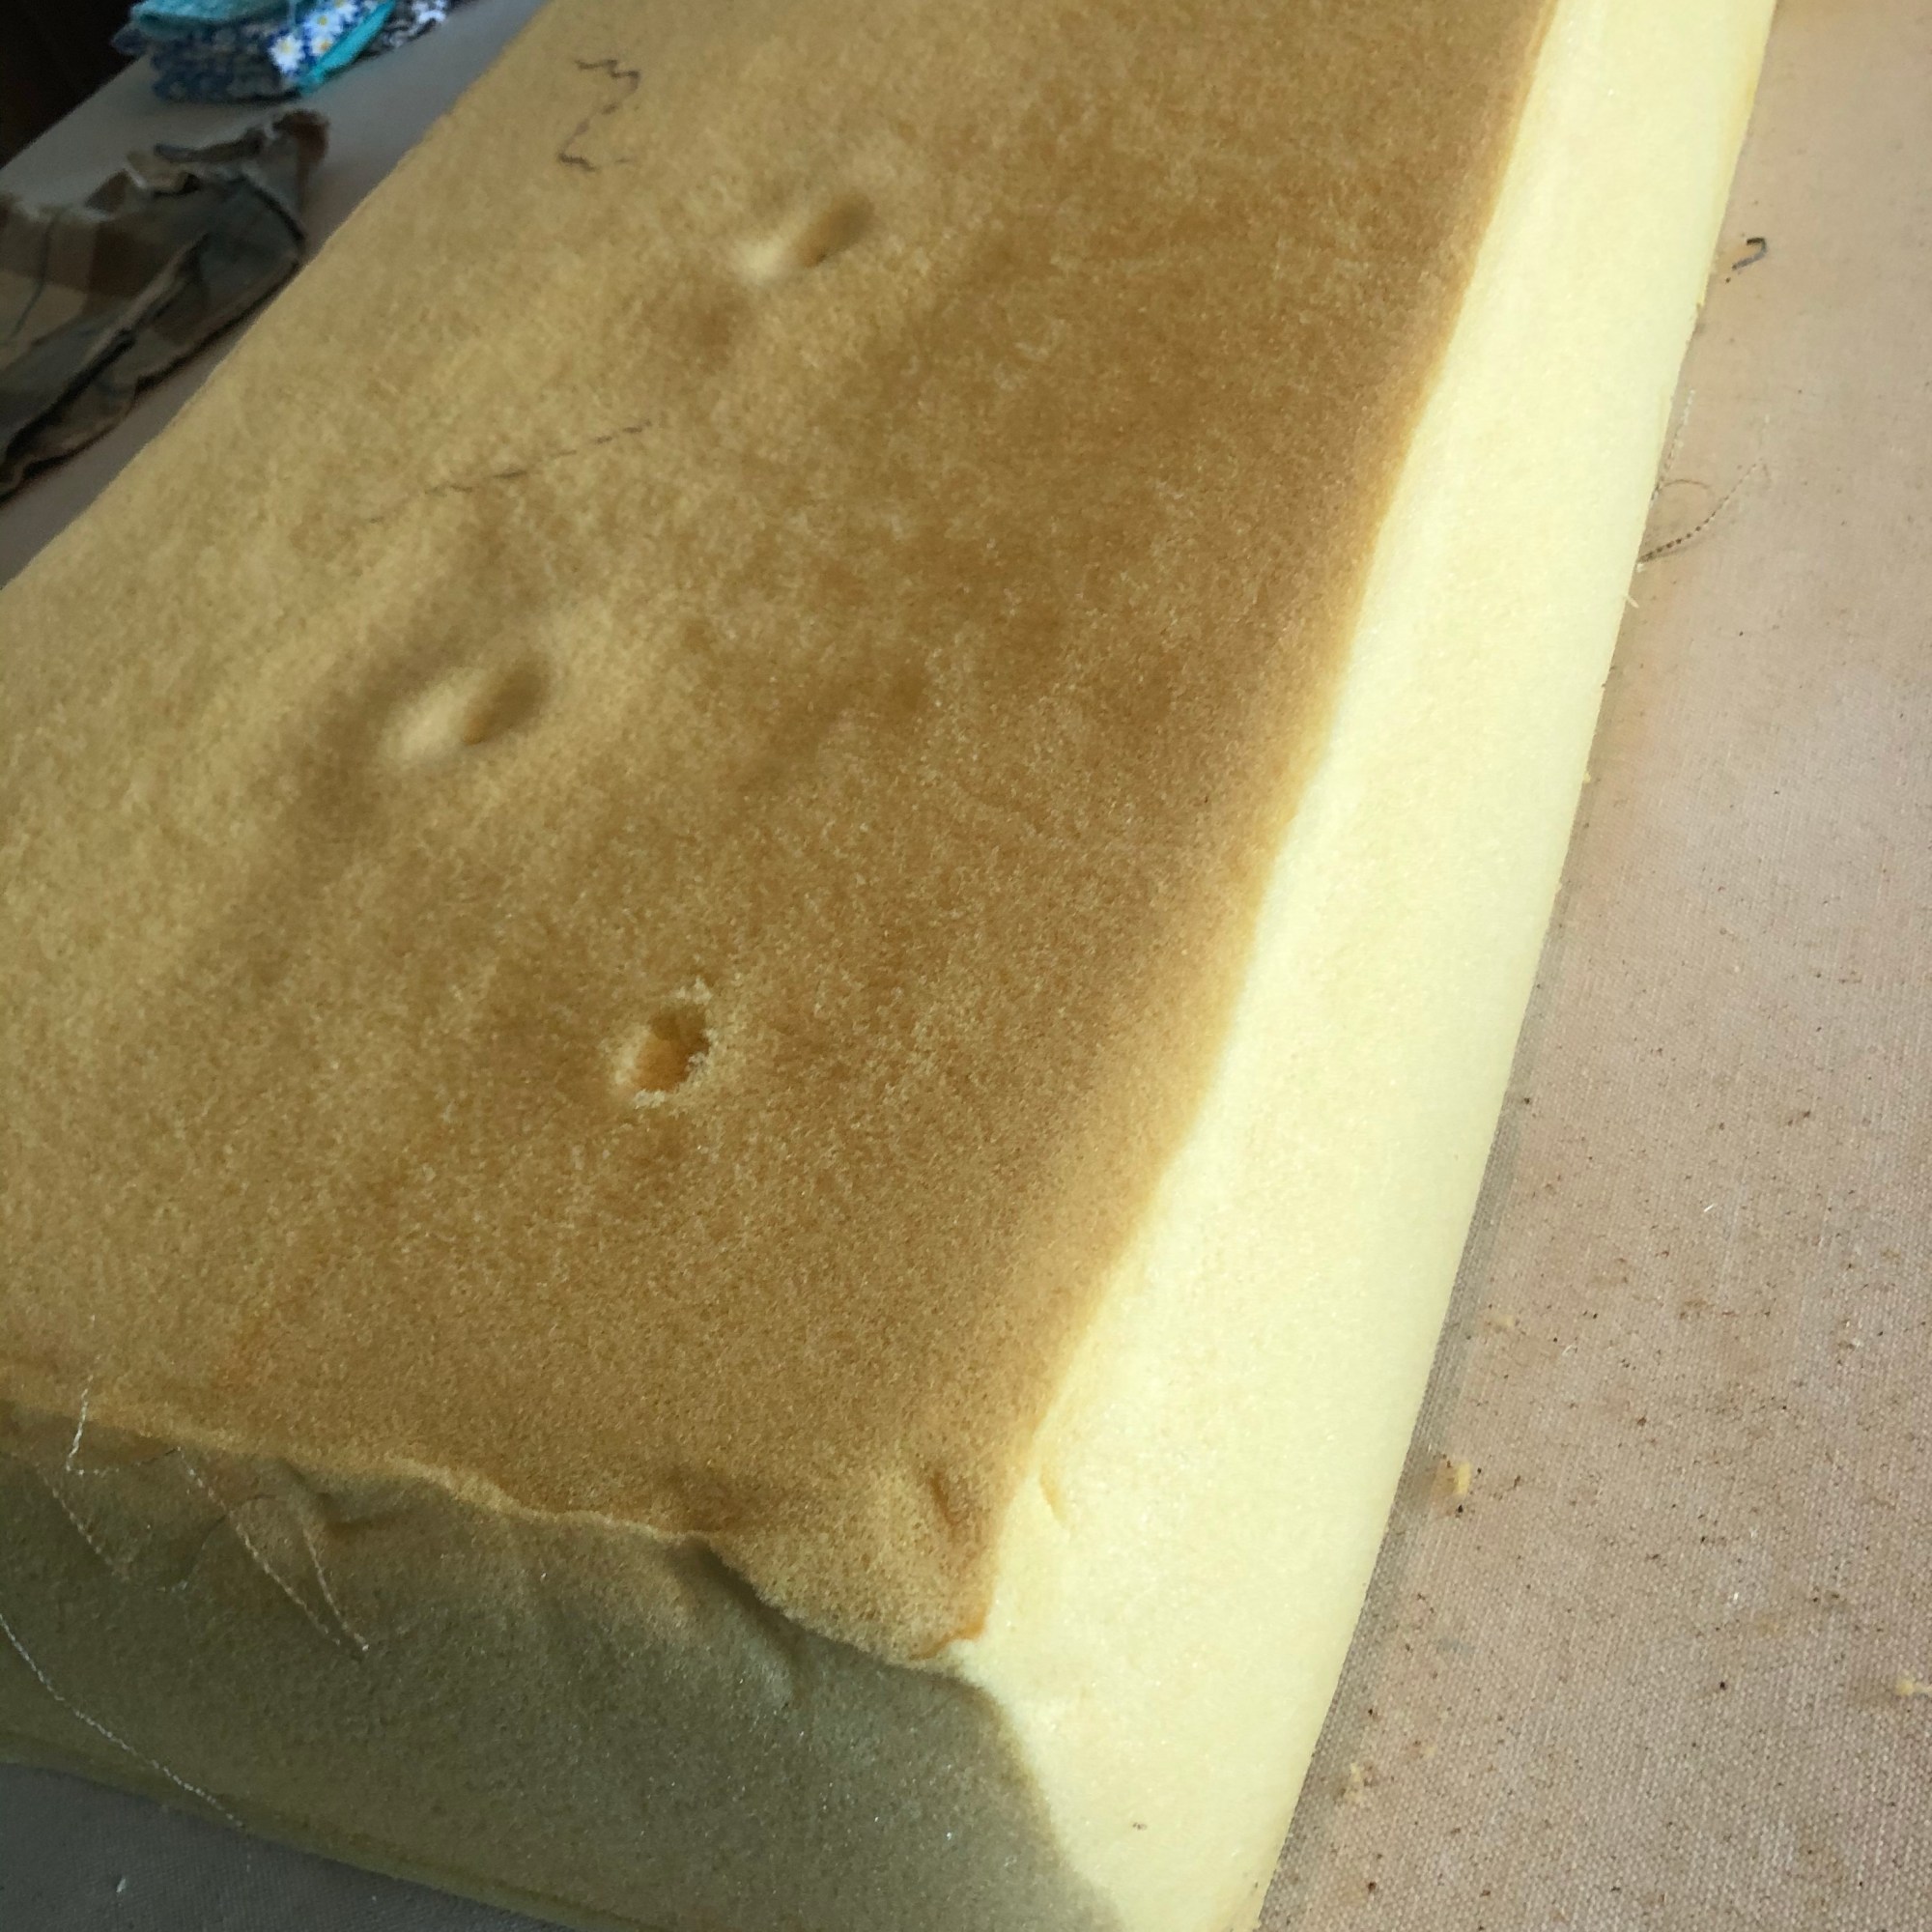
Almost immediately when I first purchased these benches, I covered them with a lighter cream colored top. I didn’t go through too much effort, just made a simple corded top and stapled it to the bottom. They stayed that way for several years and after several attempts to clean them (good grief…white cushions for a foot stool at the lake!), I decided that I was just going to remove the covers I made and go natural. The good news was that they were clean and like new. The bad news, was that the foam had deteriorated and lost it’s plumpness. The fabric looked saggy. I moved them to the end of our bed and in their current state, were fine for a couple years.
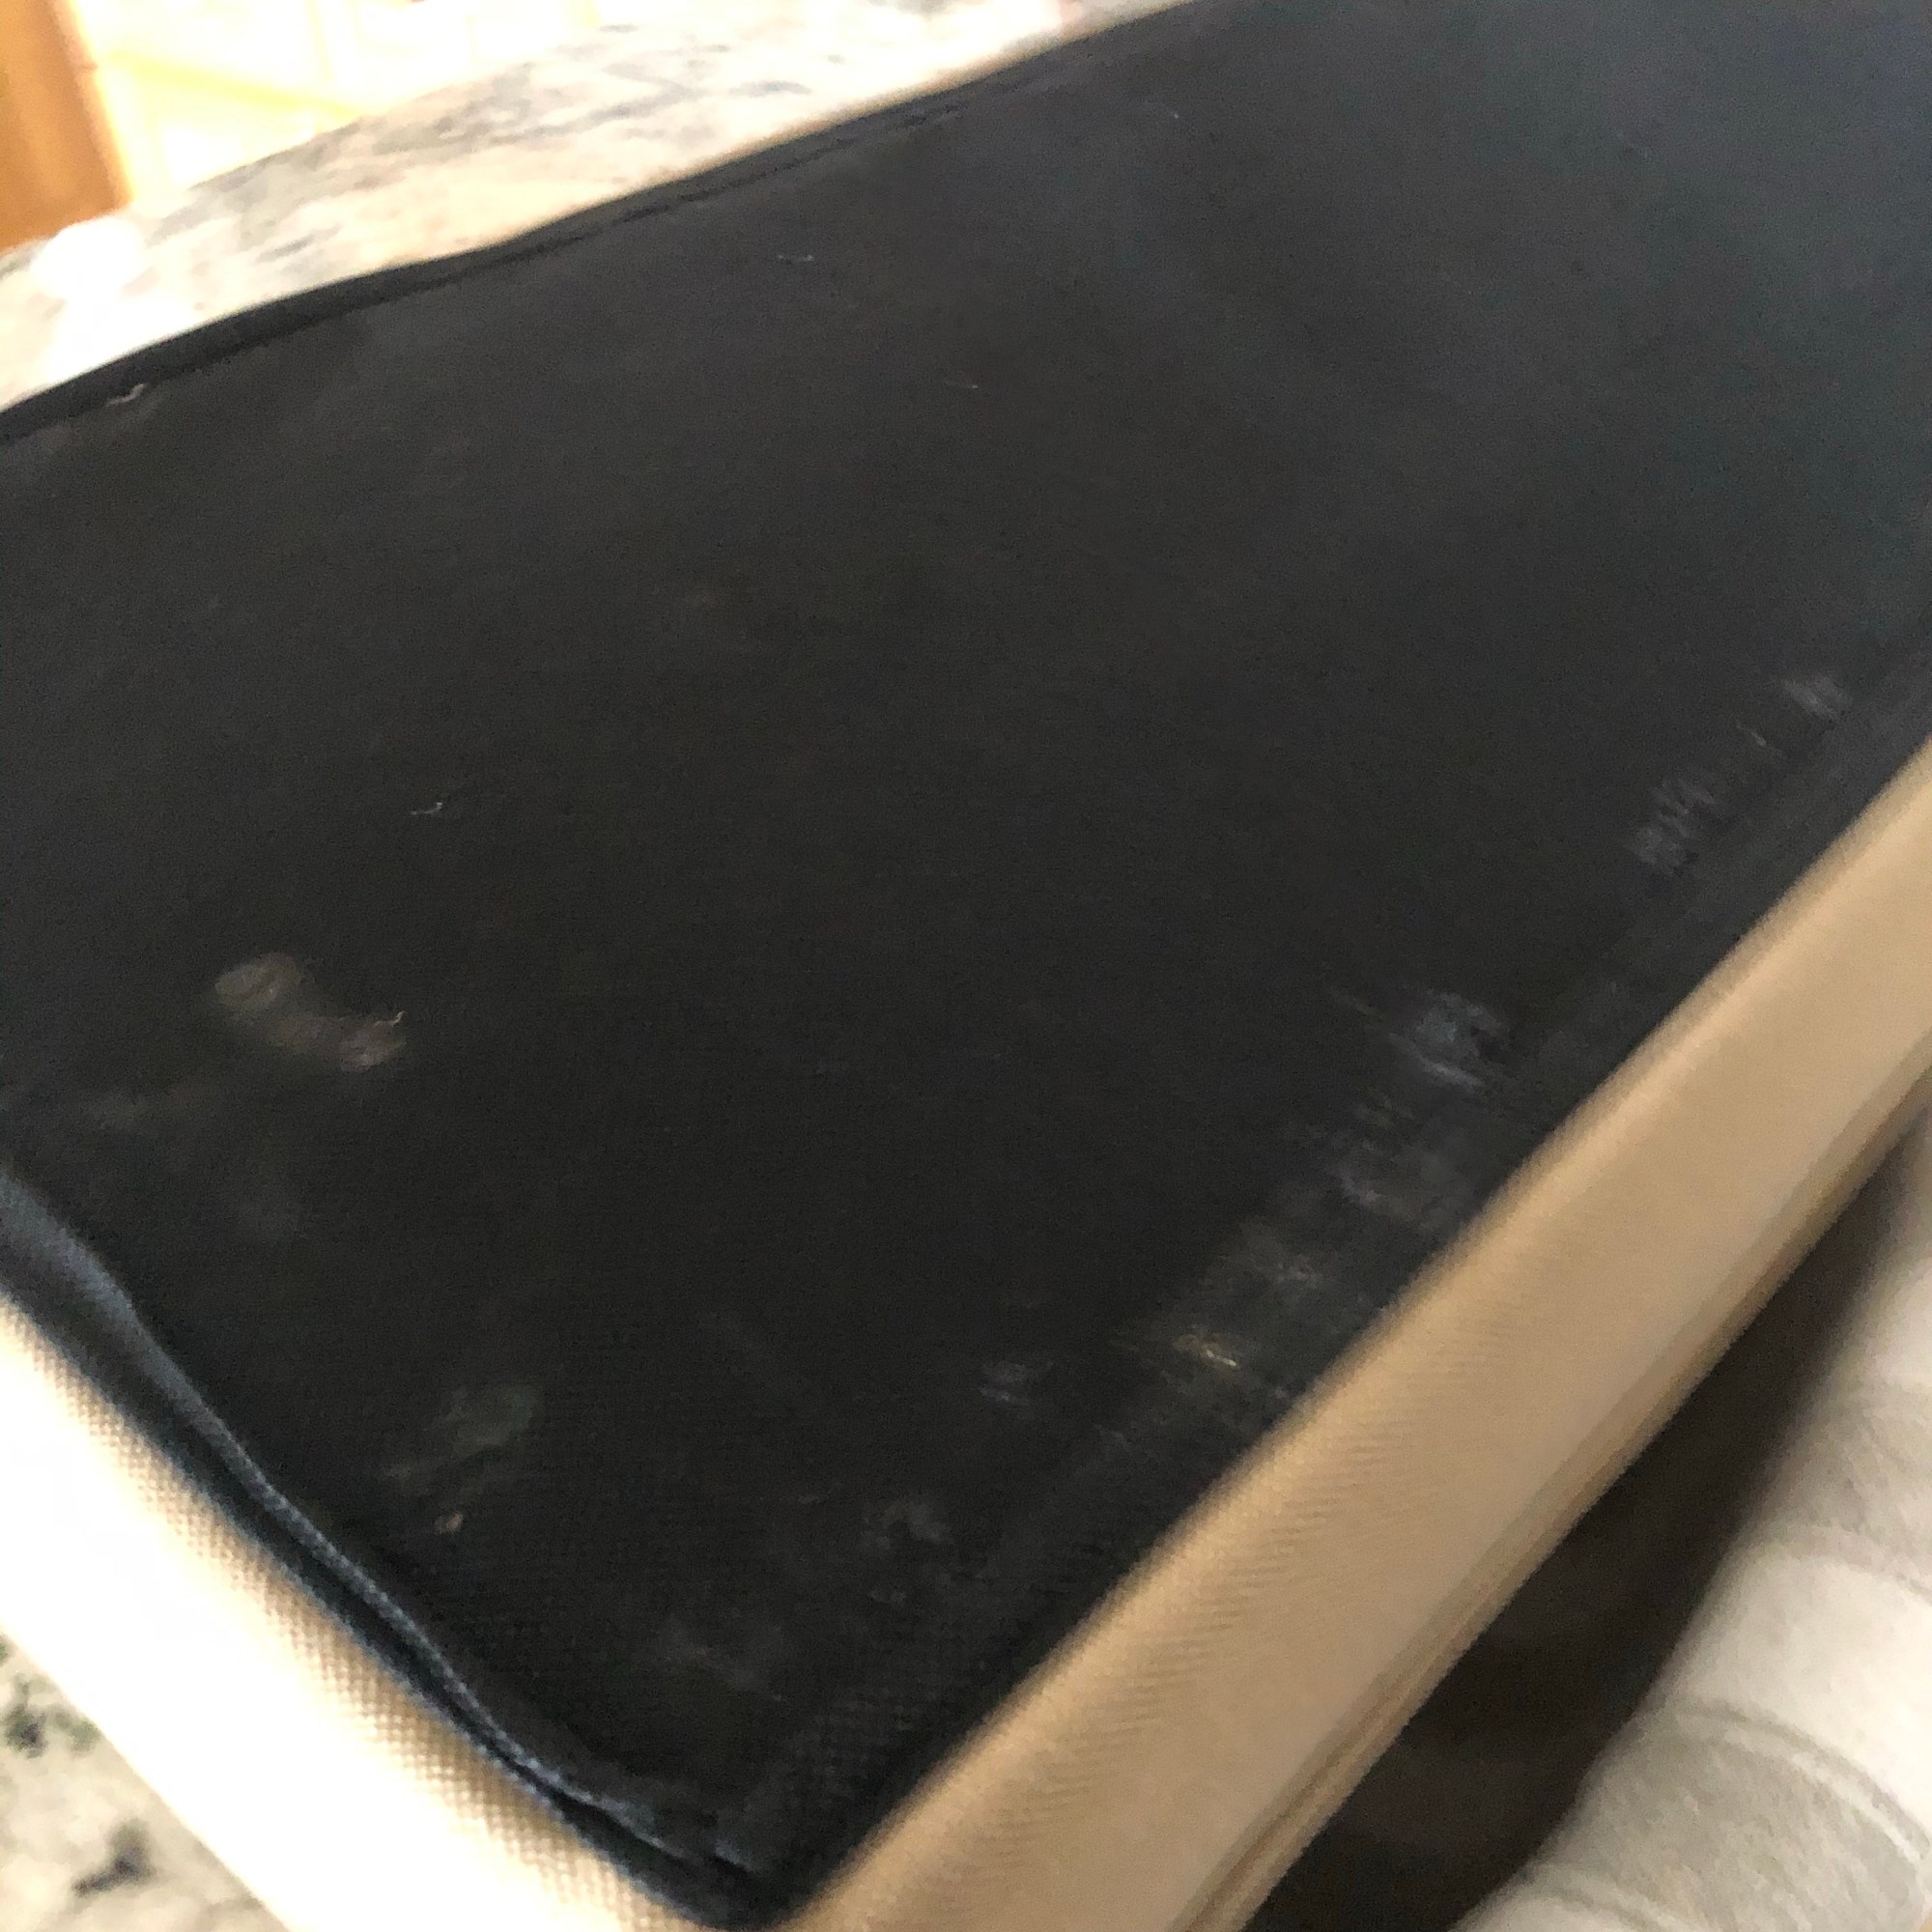
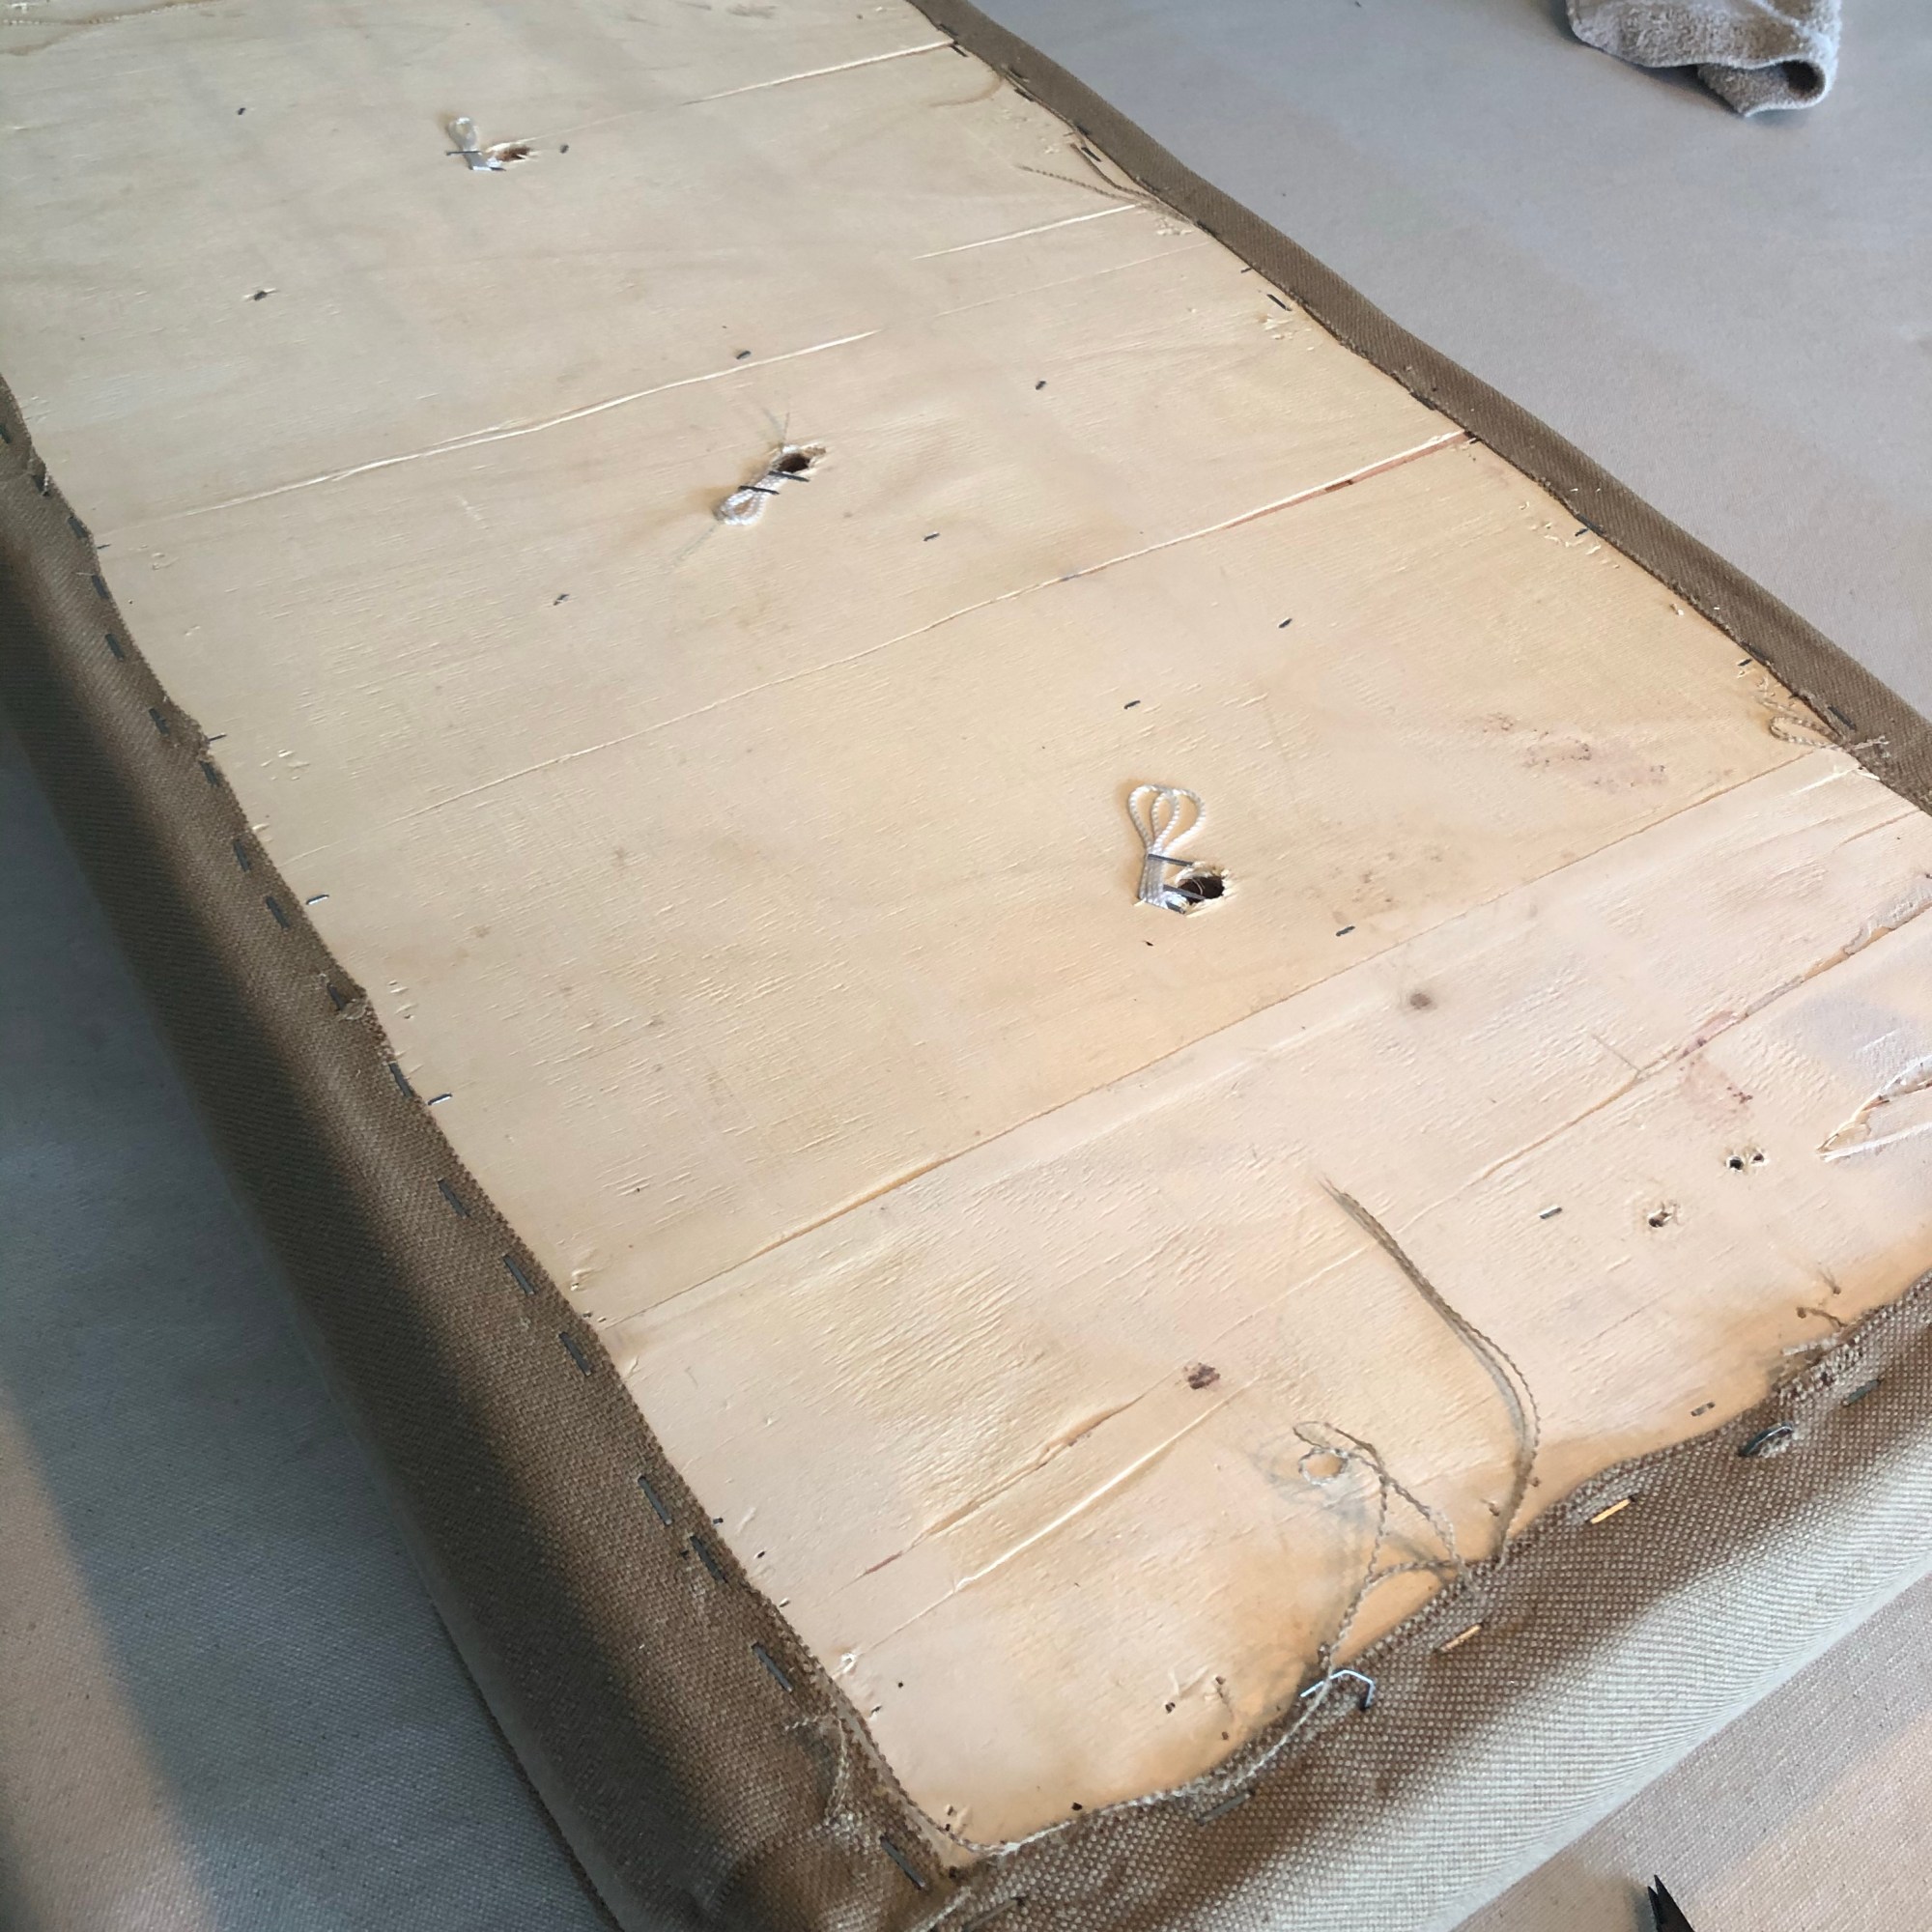
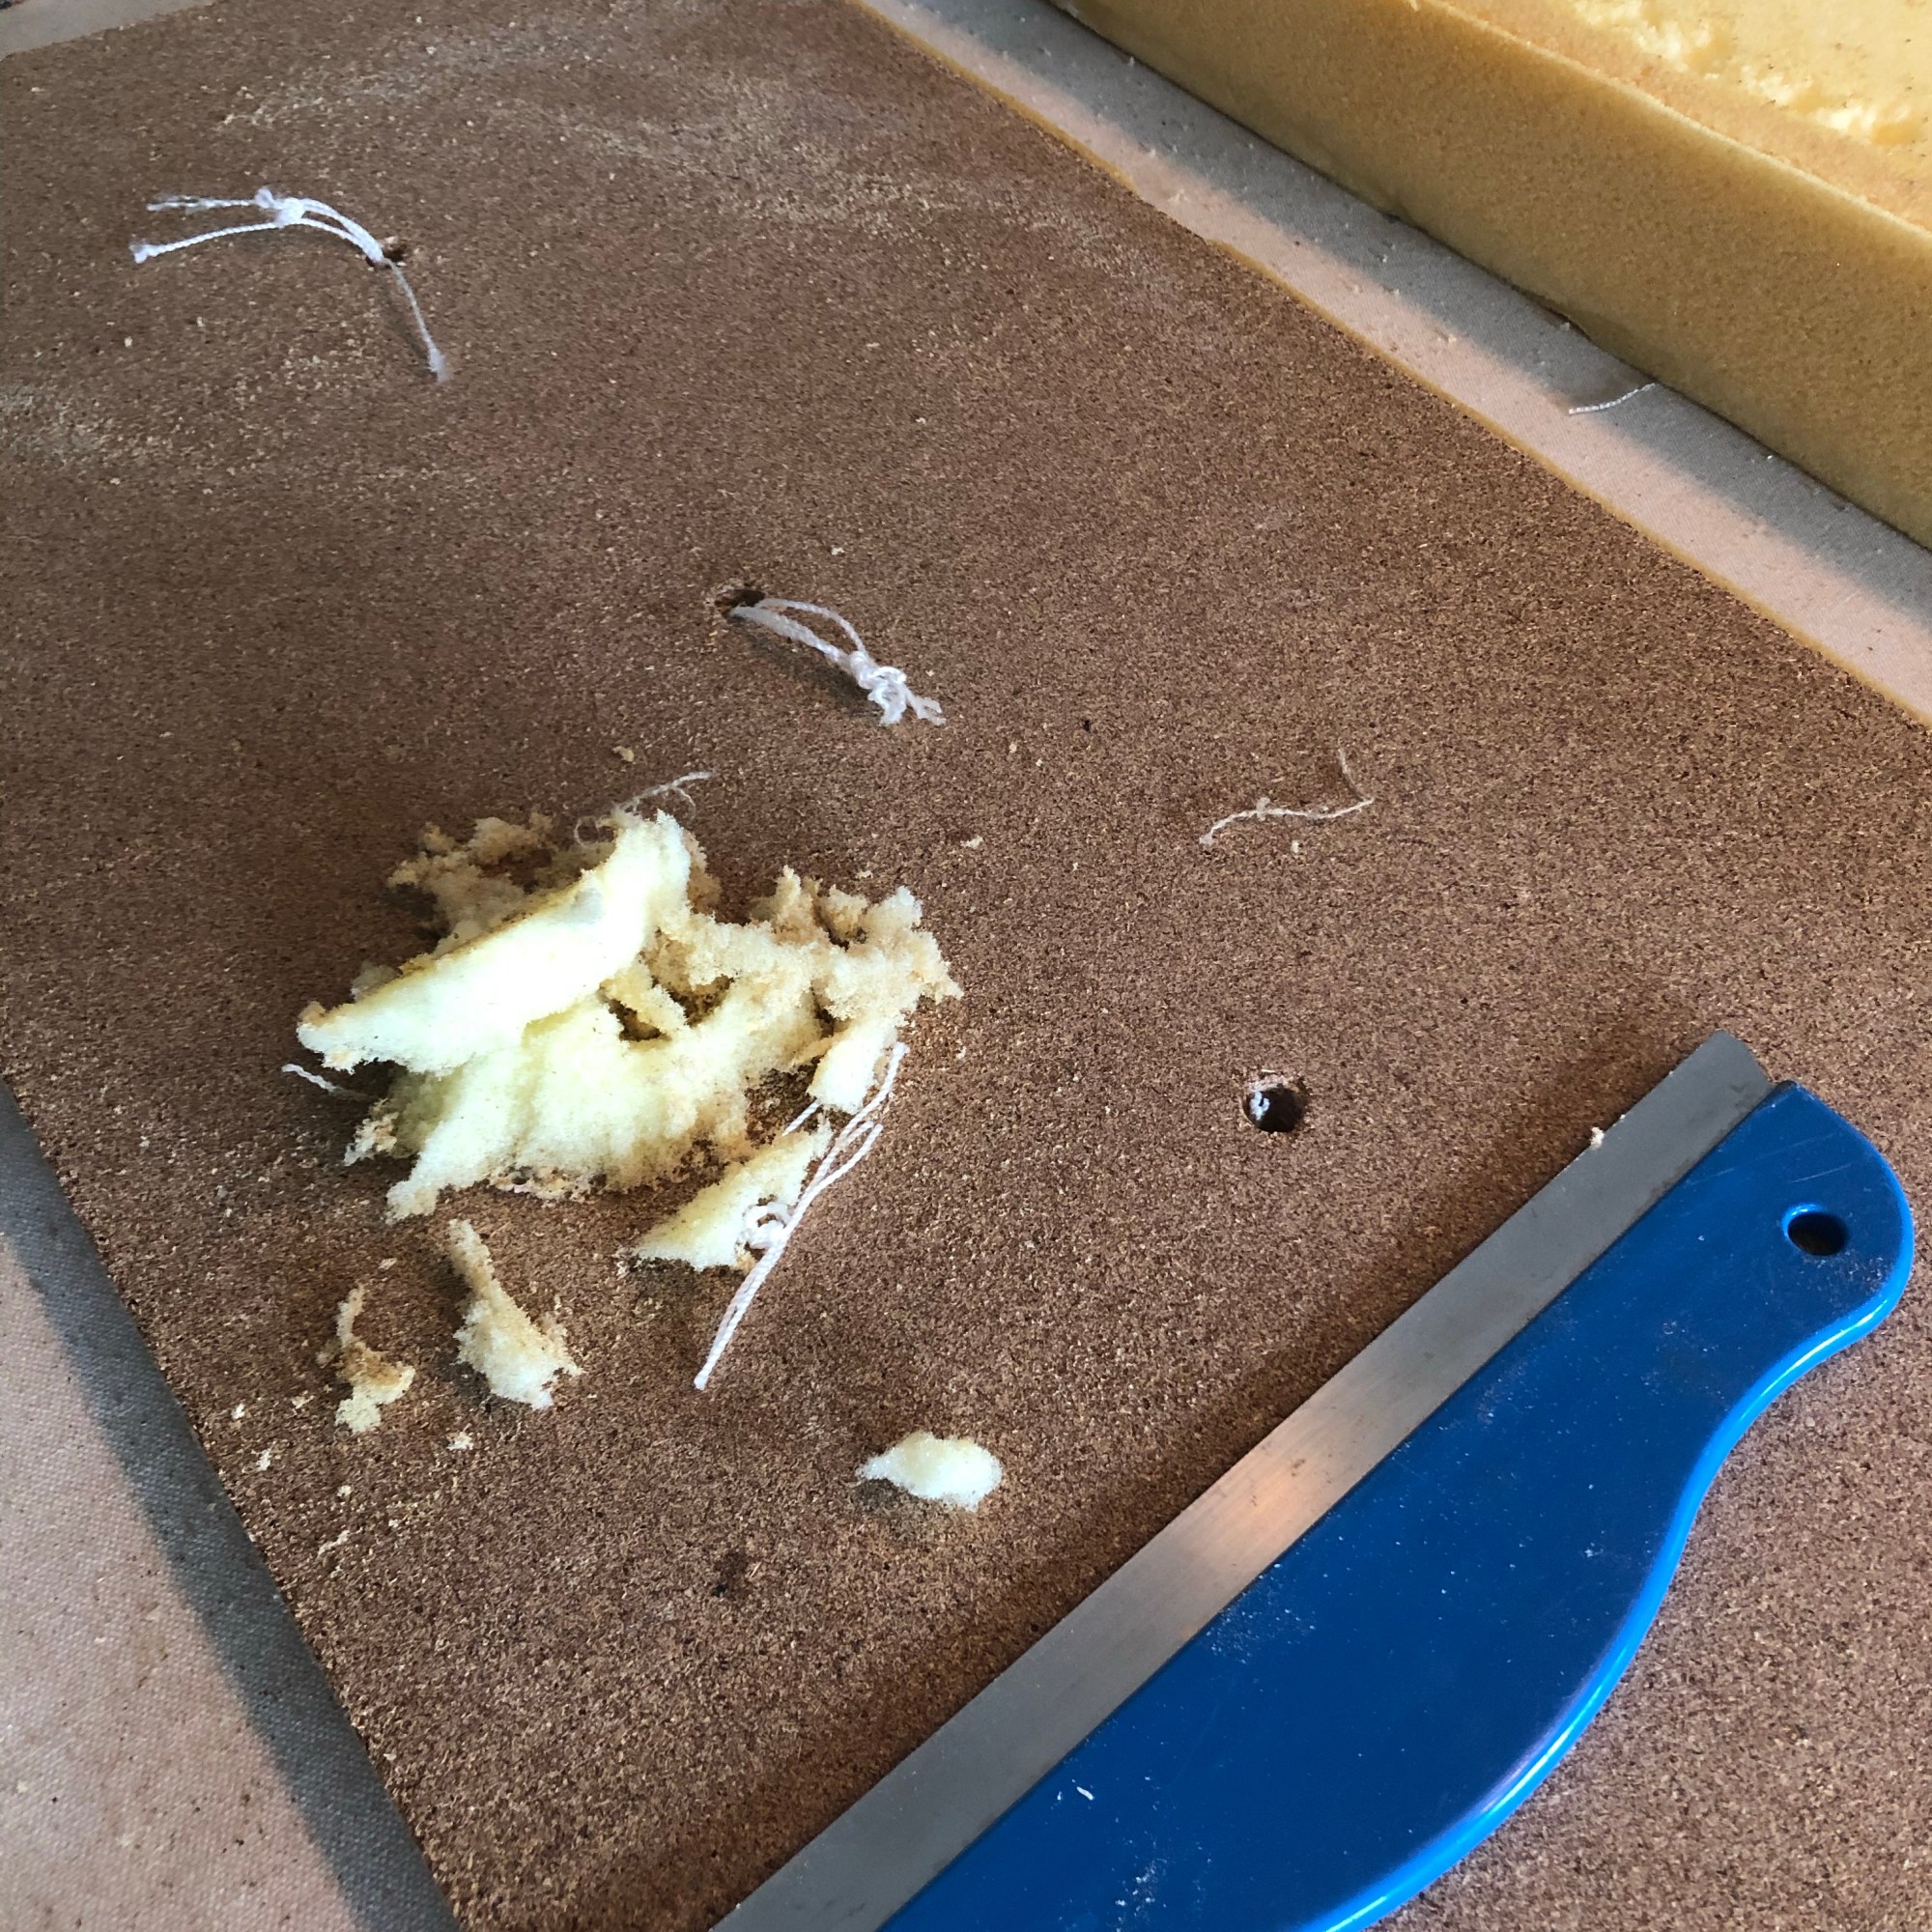
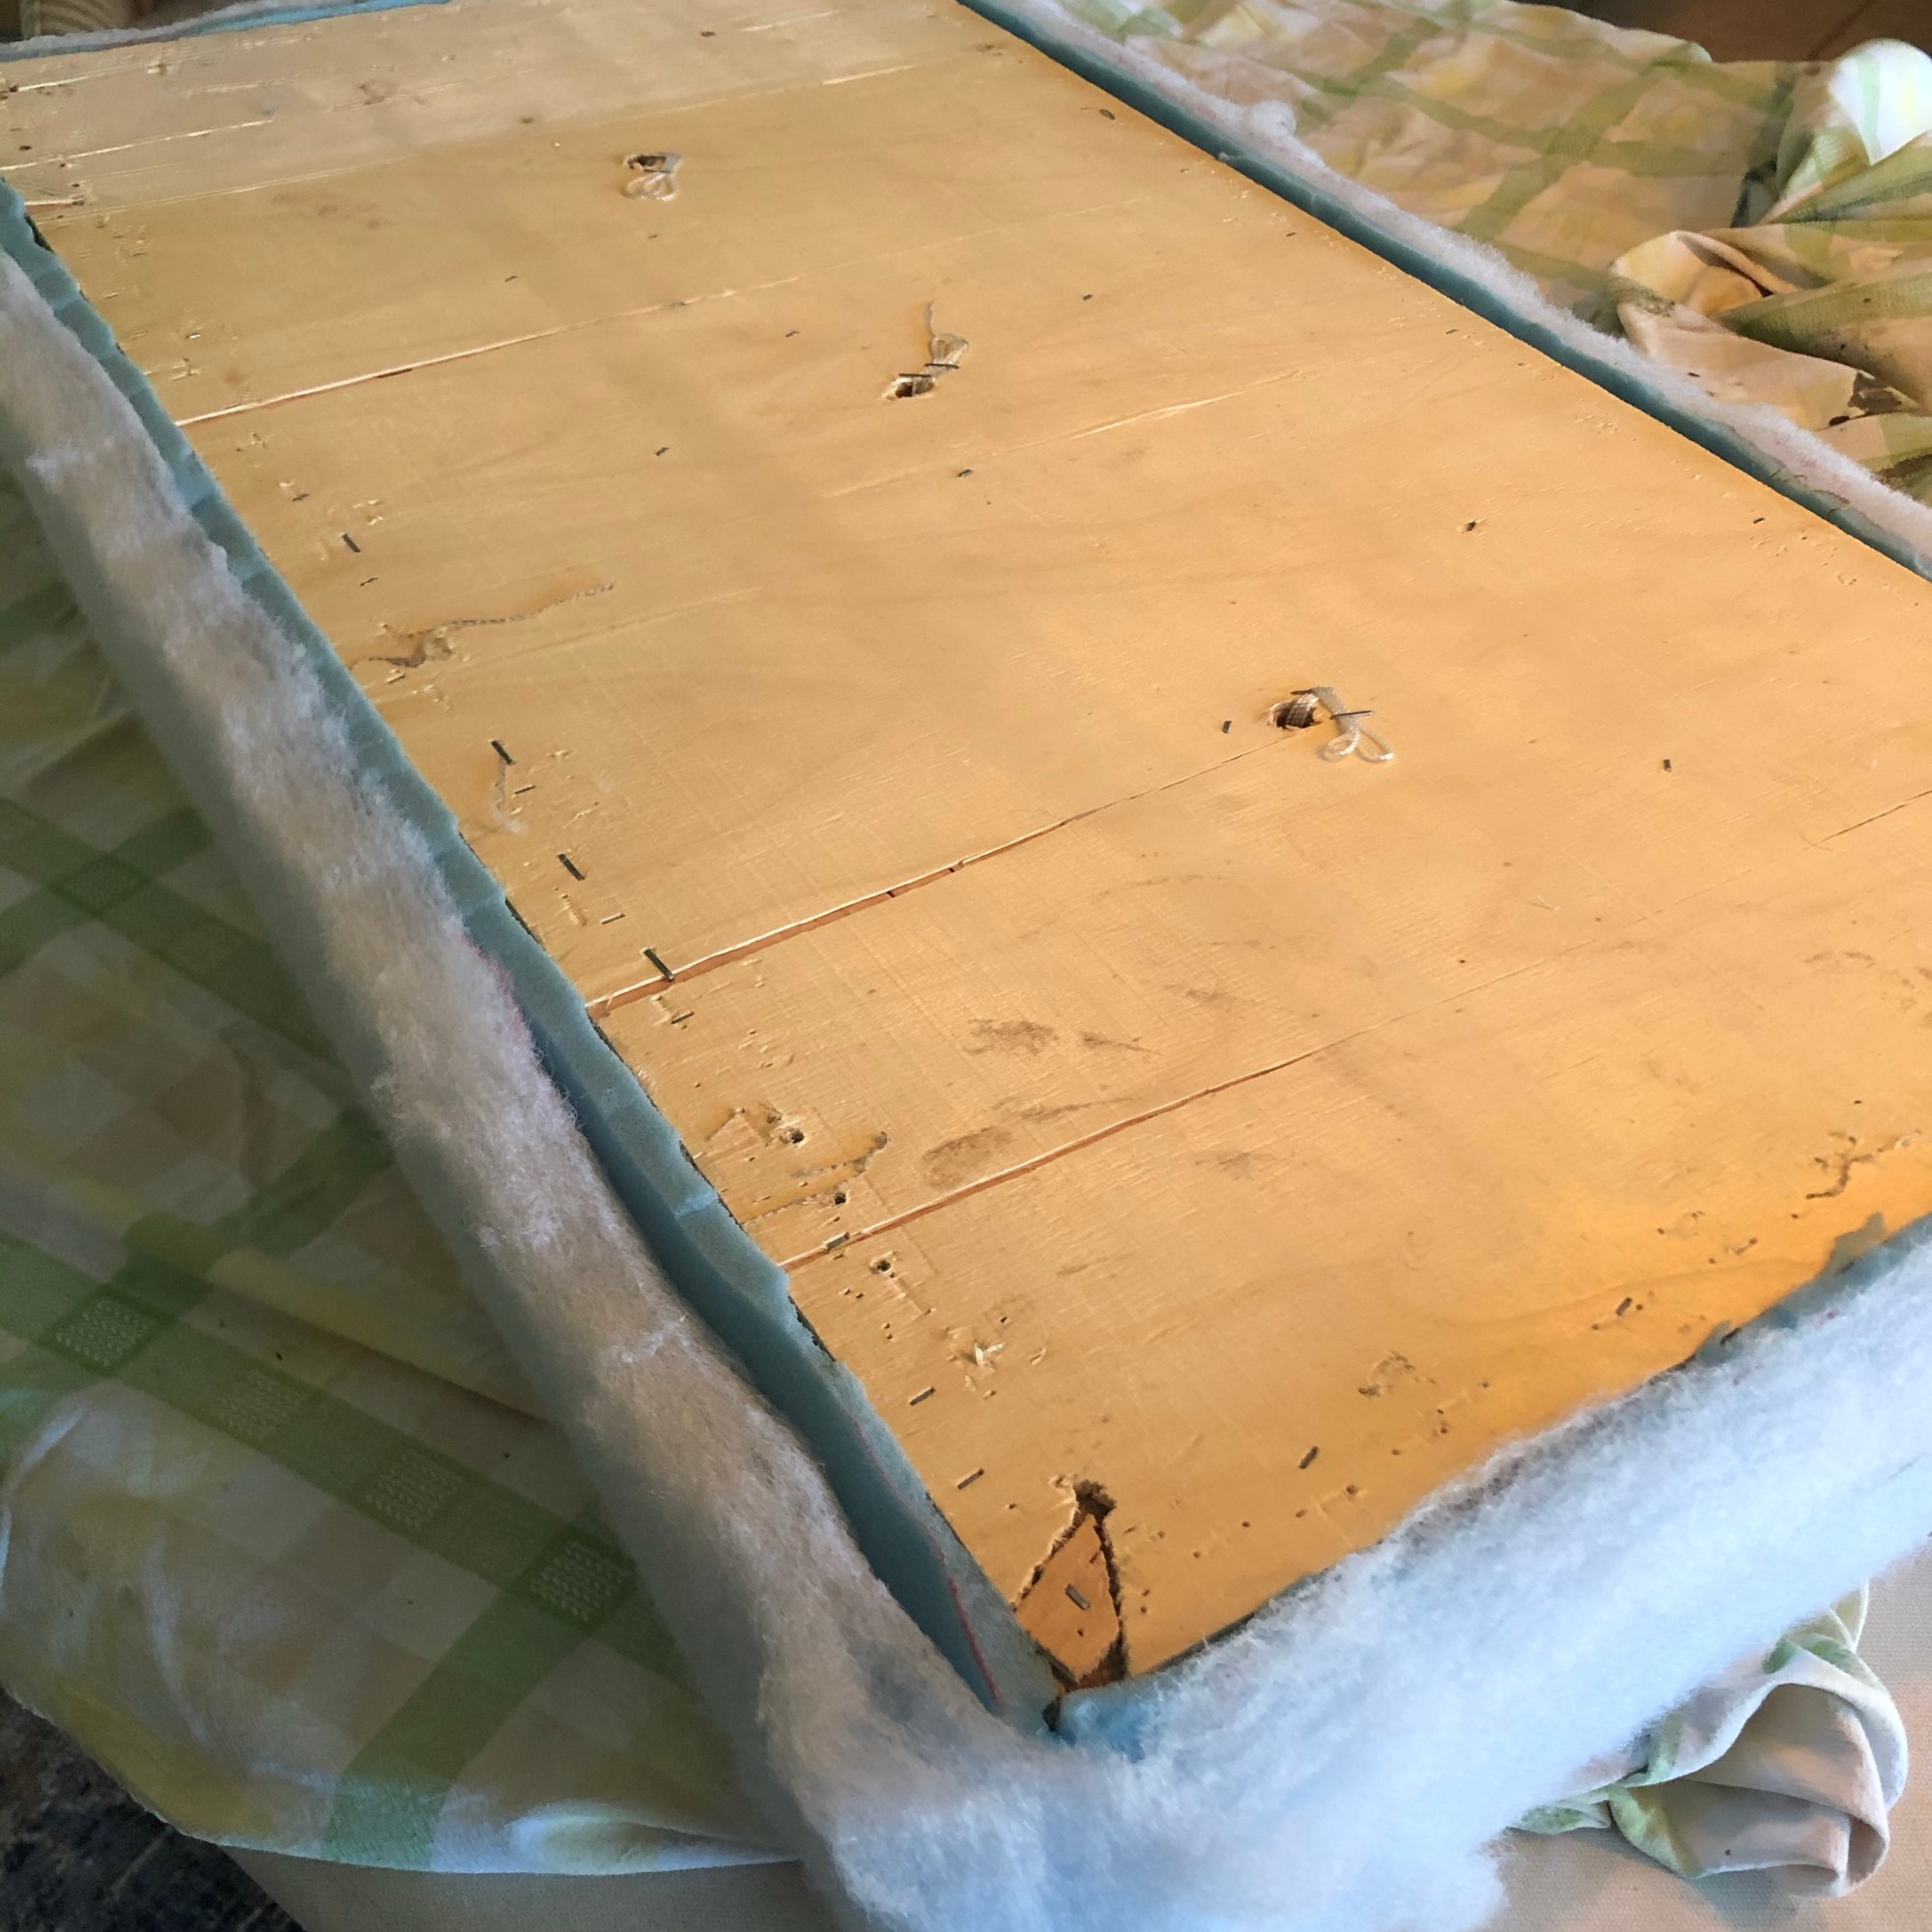
If these benches weren’t perfect for the end of the bed, I wouldn’t have bothered redoing them. After all, they probably cost $80 a piece at the time. But they were the perfect combination of size, functionality and storage. I needed all three. So I started by doing a tear down of the bench, removing the top, the cambric (to reuse if I could), the fabric and finally the foam. The foam definitely needed to be replaced as it had collapsed almost 1/2 inch. I ordered a firm foam from the Foam Factory and a performance fabric from Revolution Fabrics.

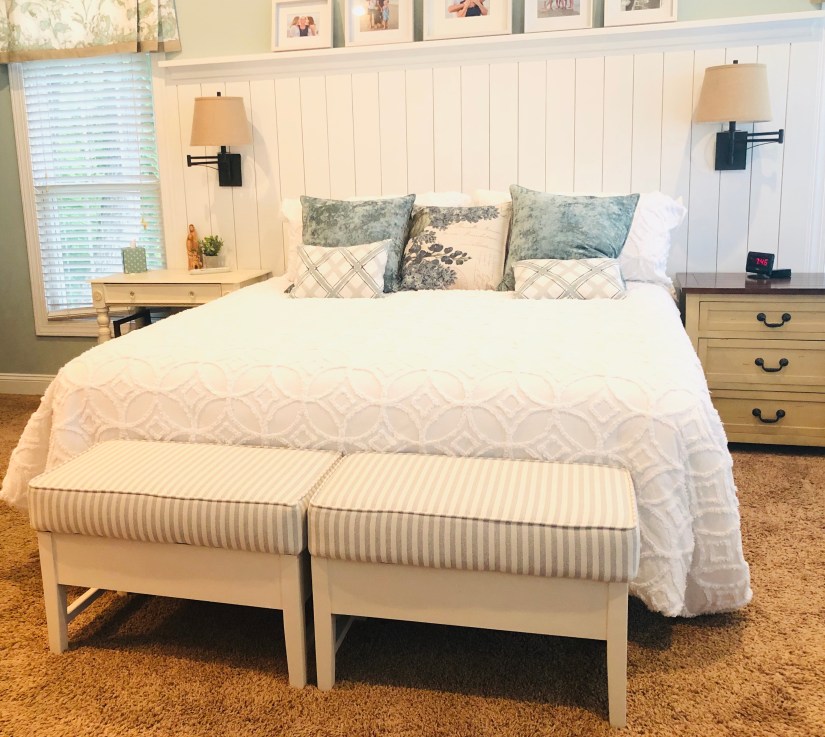
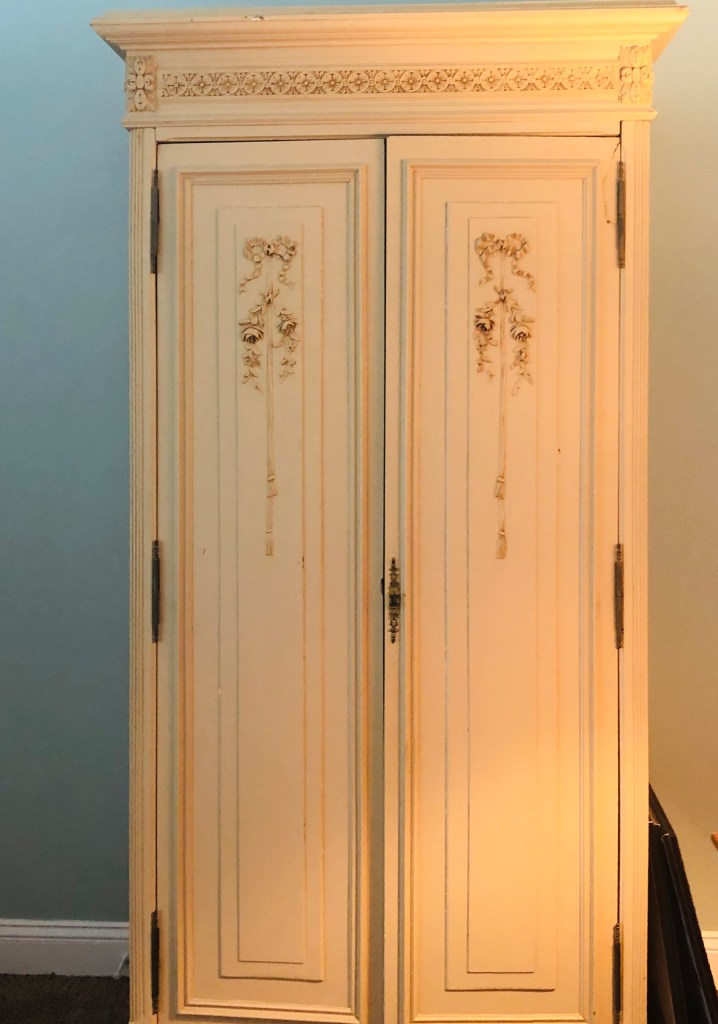
While I waited for these orders to come in, I painted the bottoms in a color that I had matched with the white stripe in the fabric. I hope to use this same color for a big fabric storage antique wardrobe that I picked up at a local store that I am so excited about.
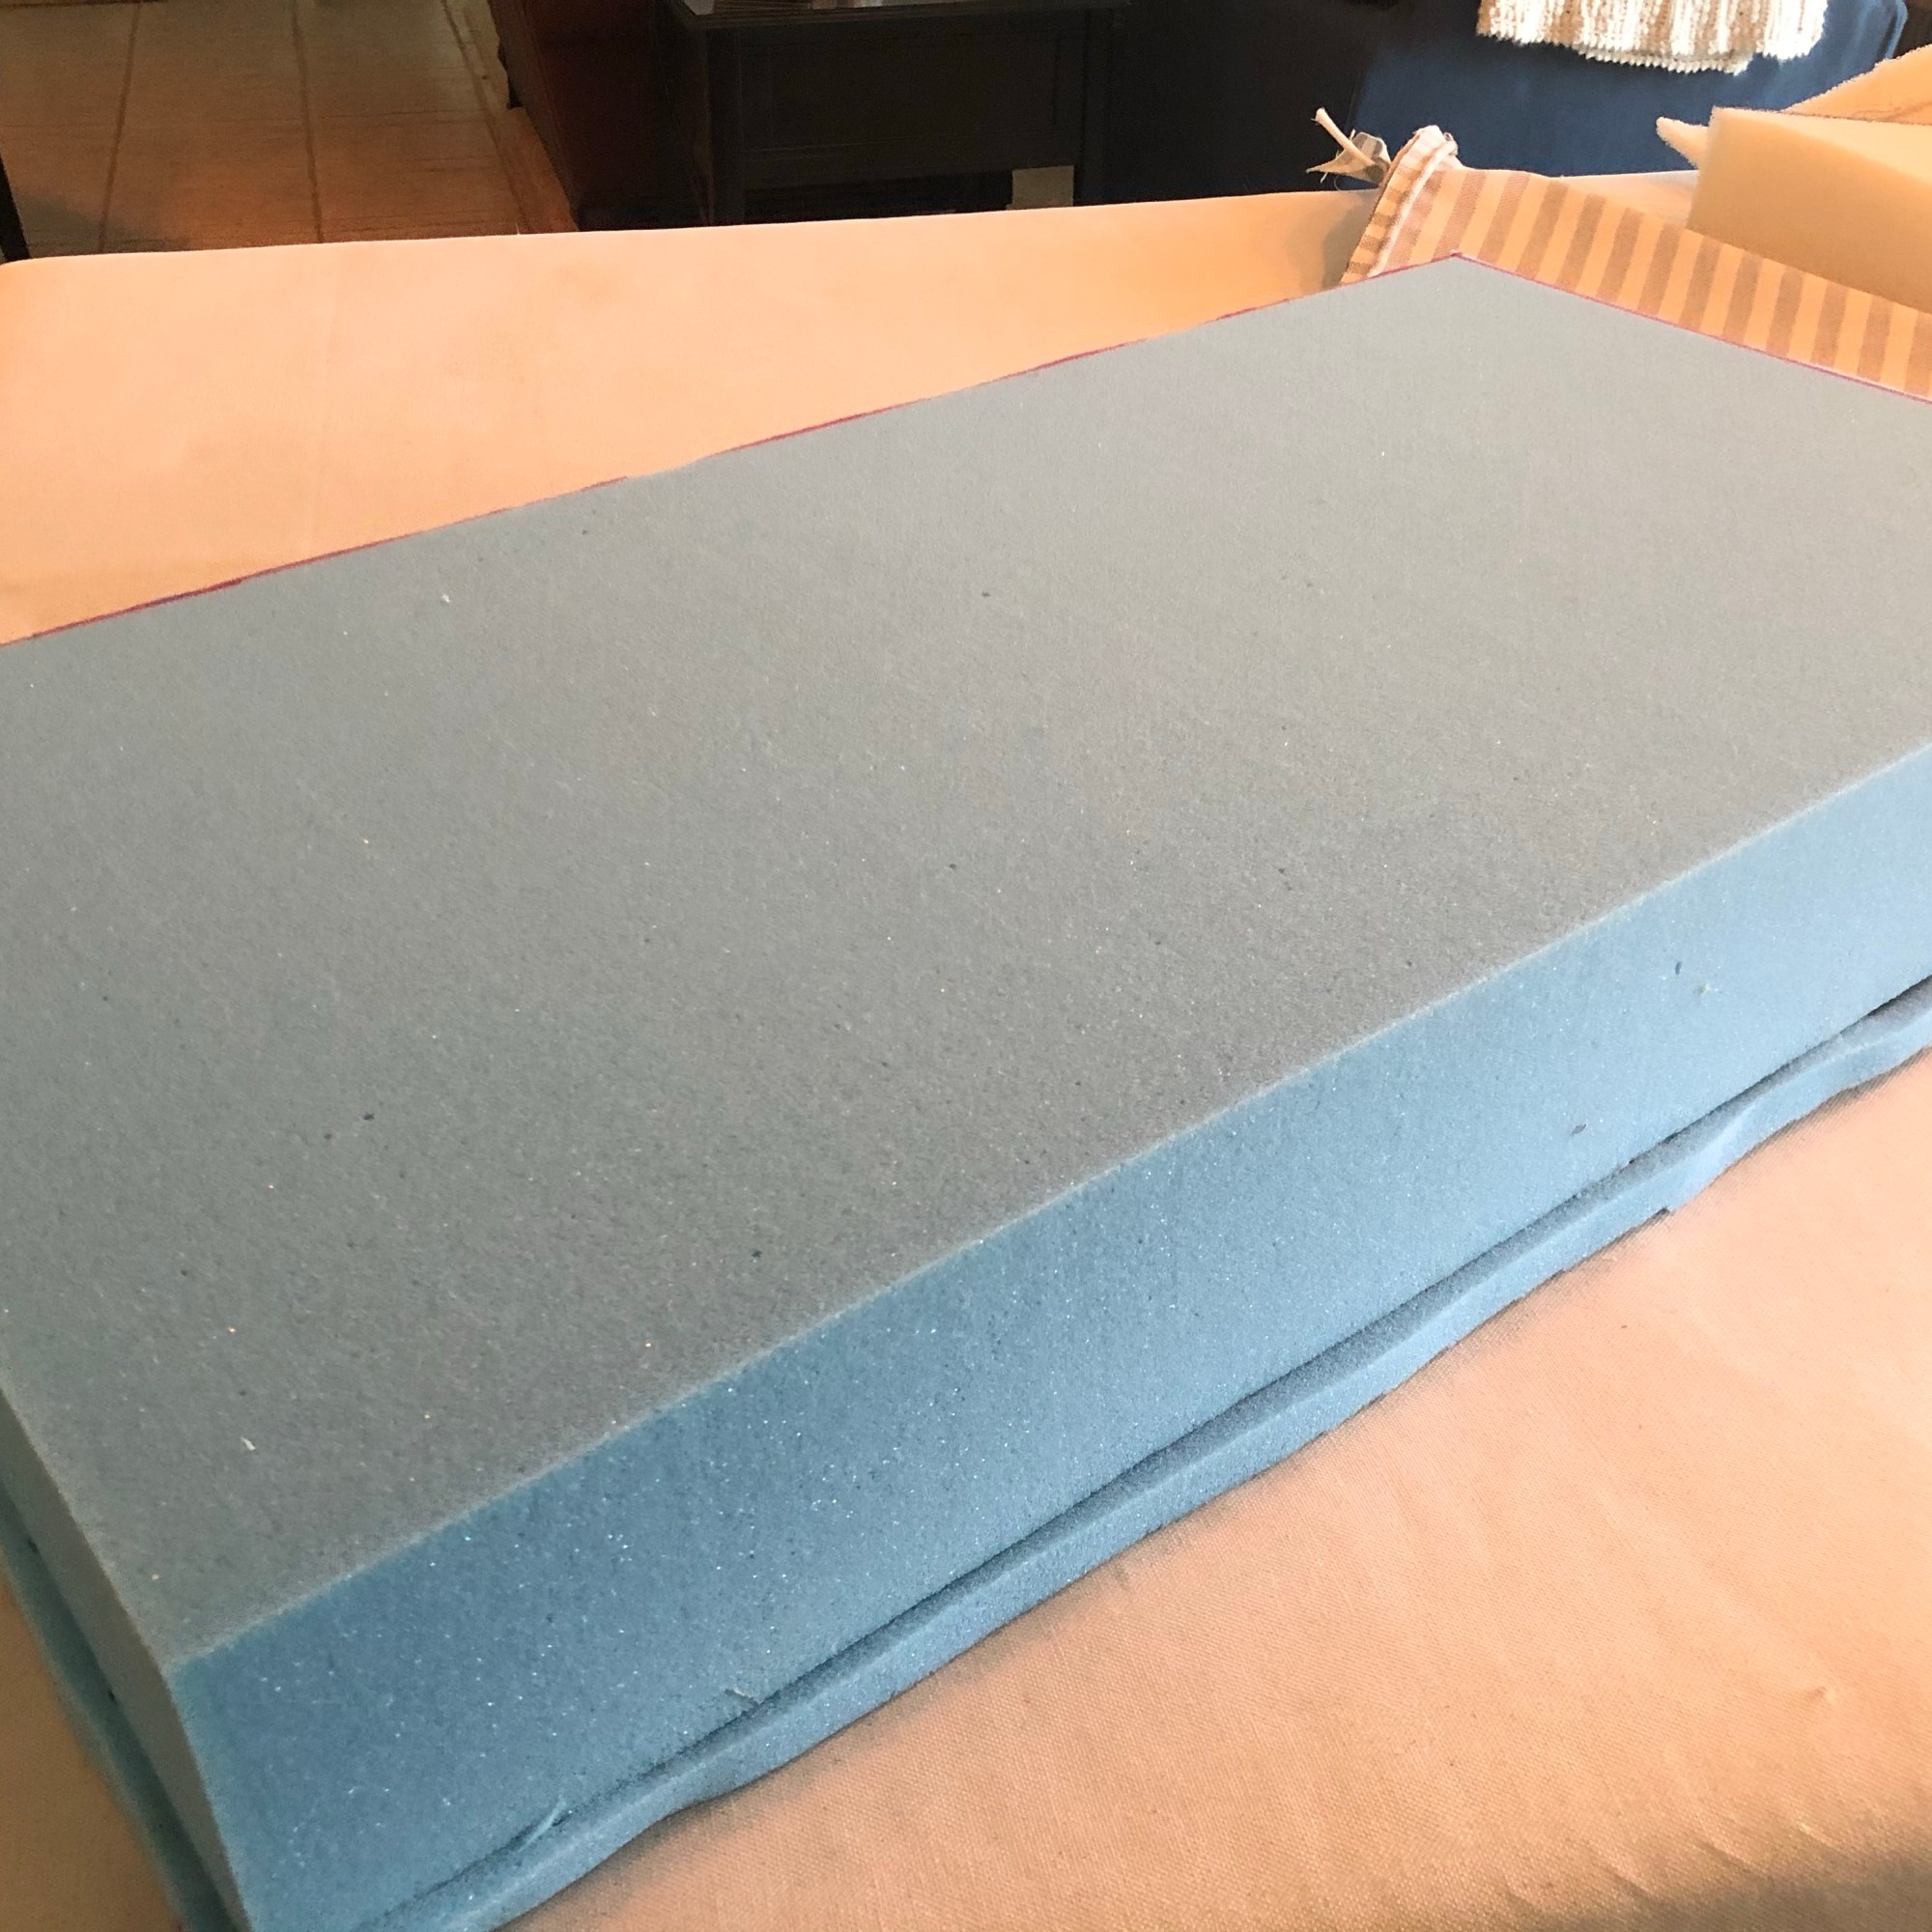
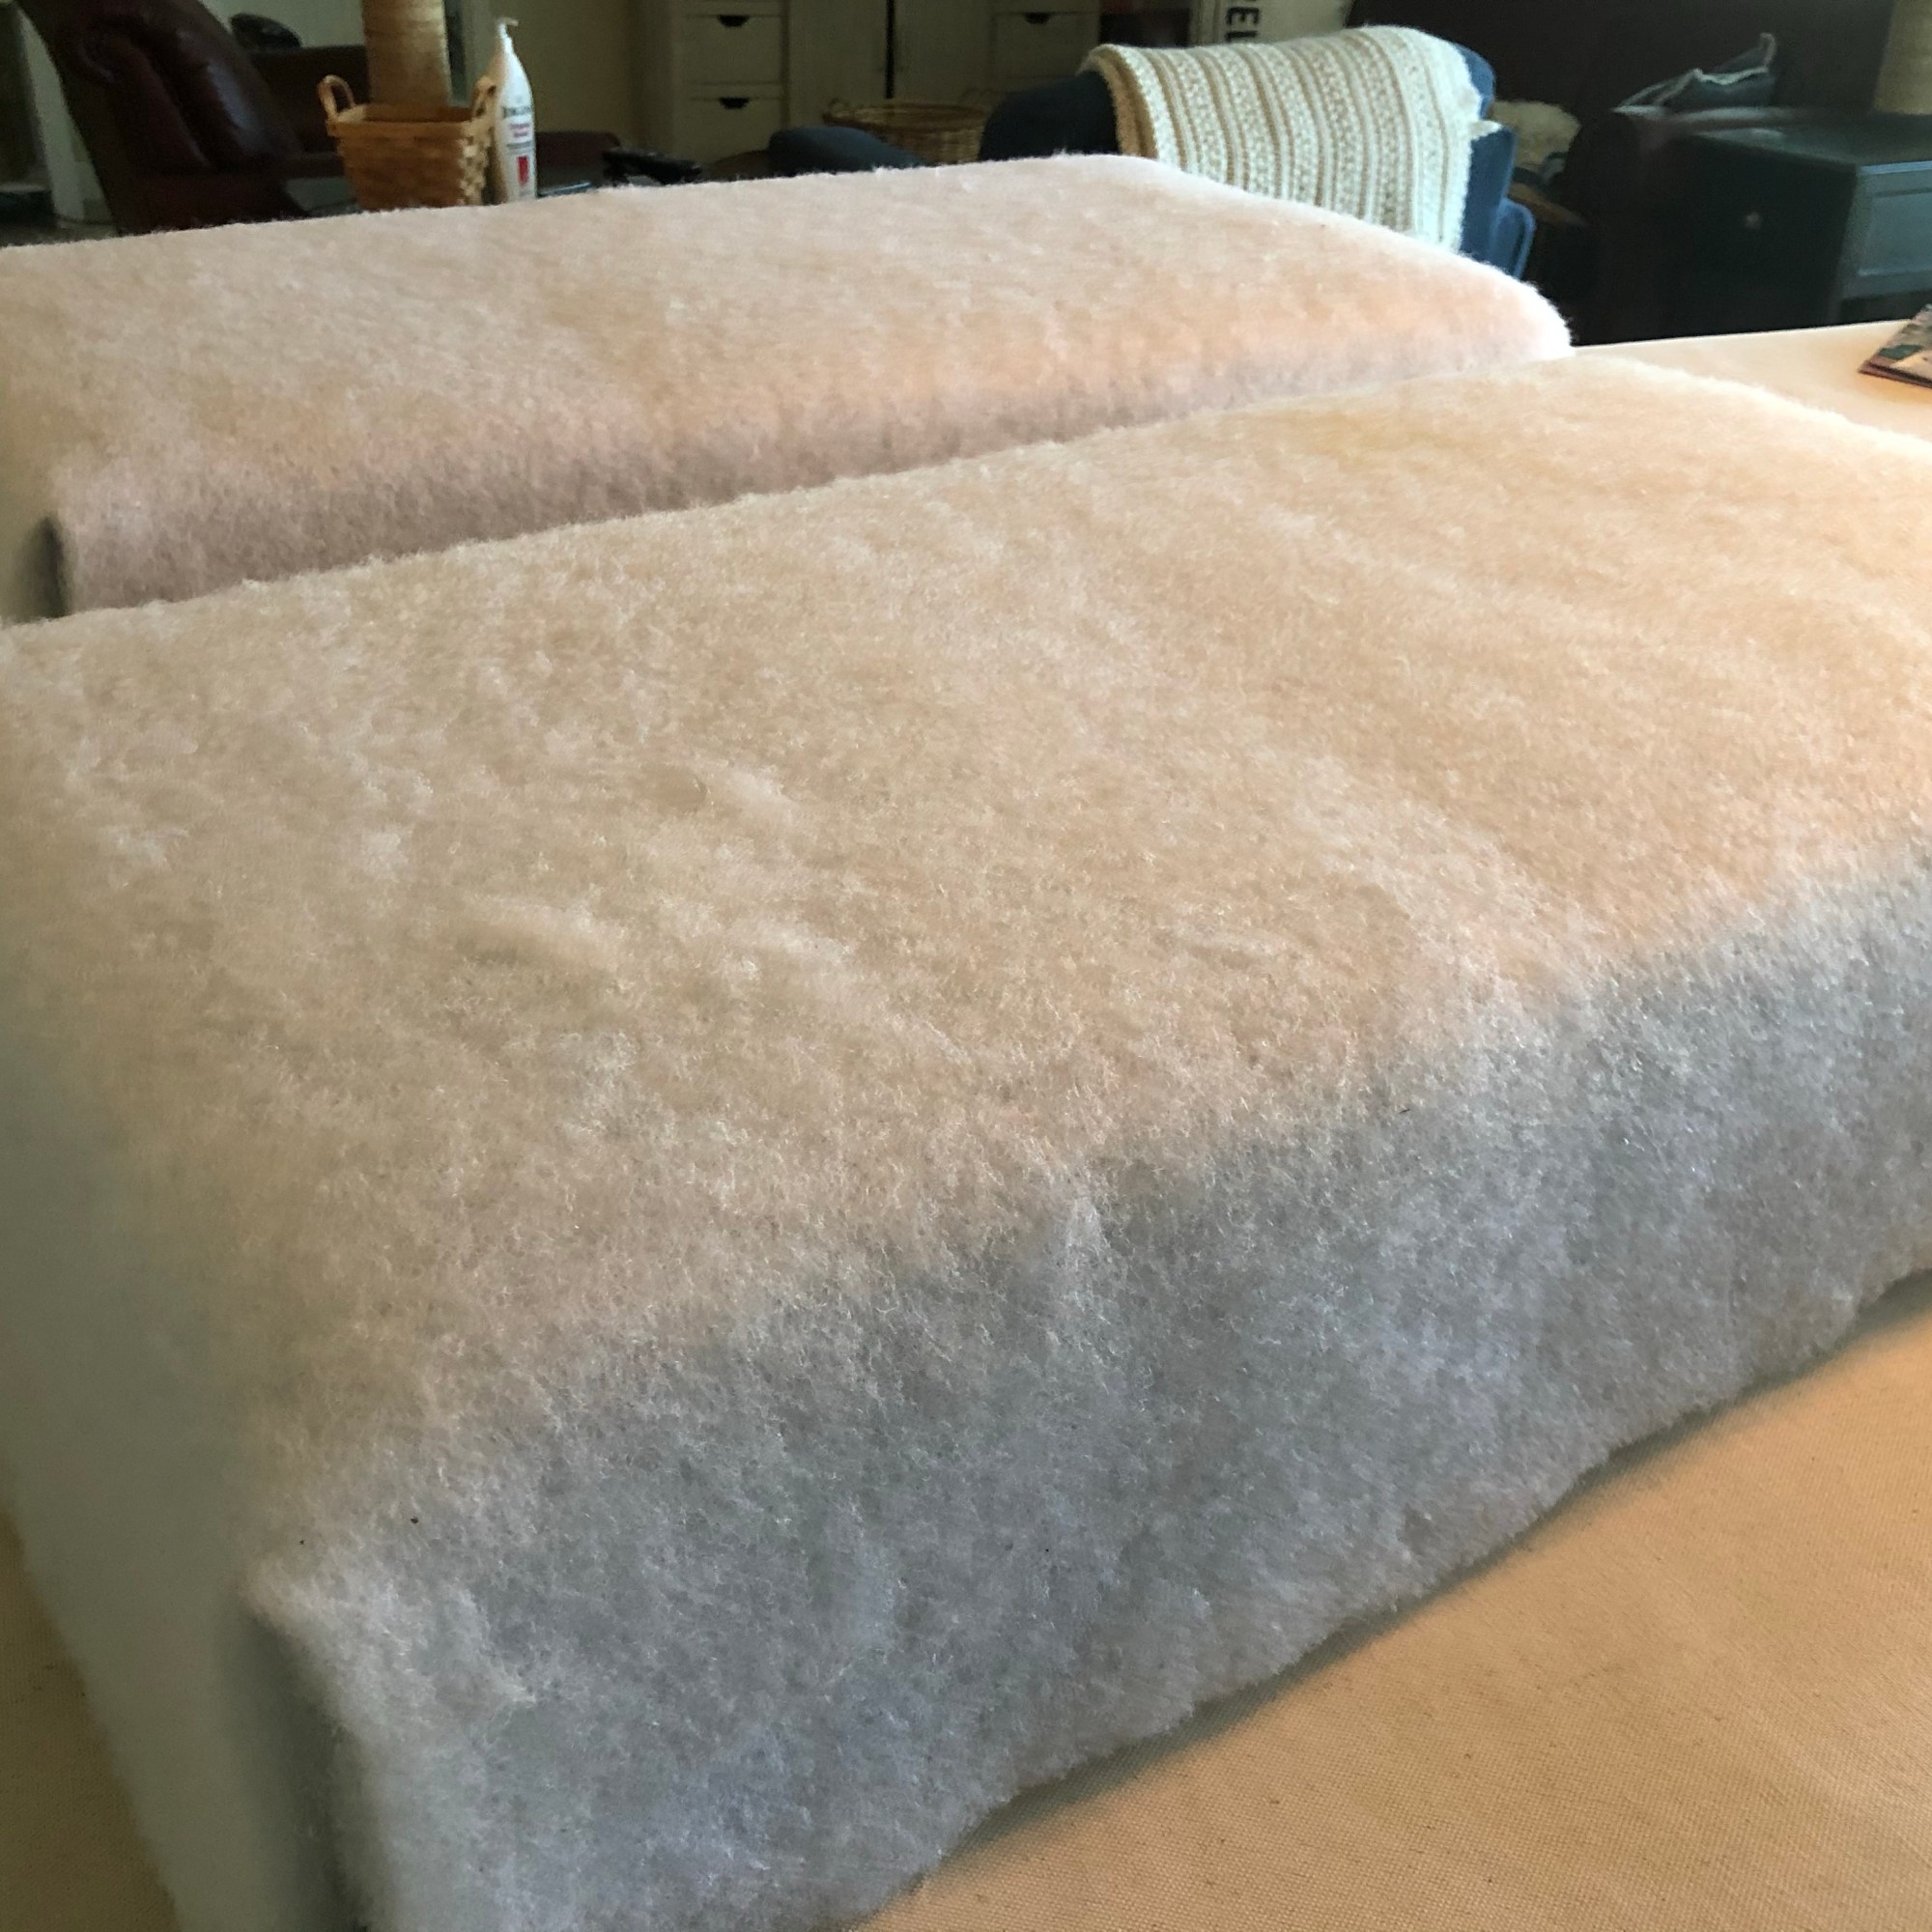
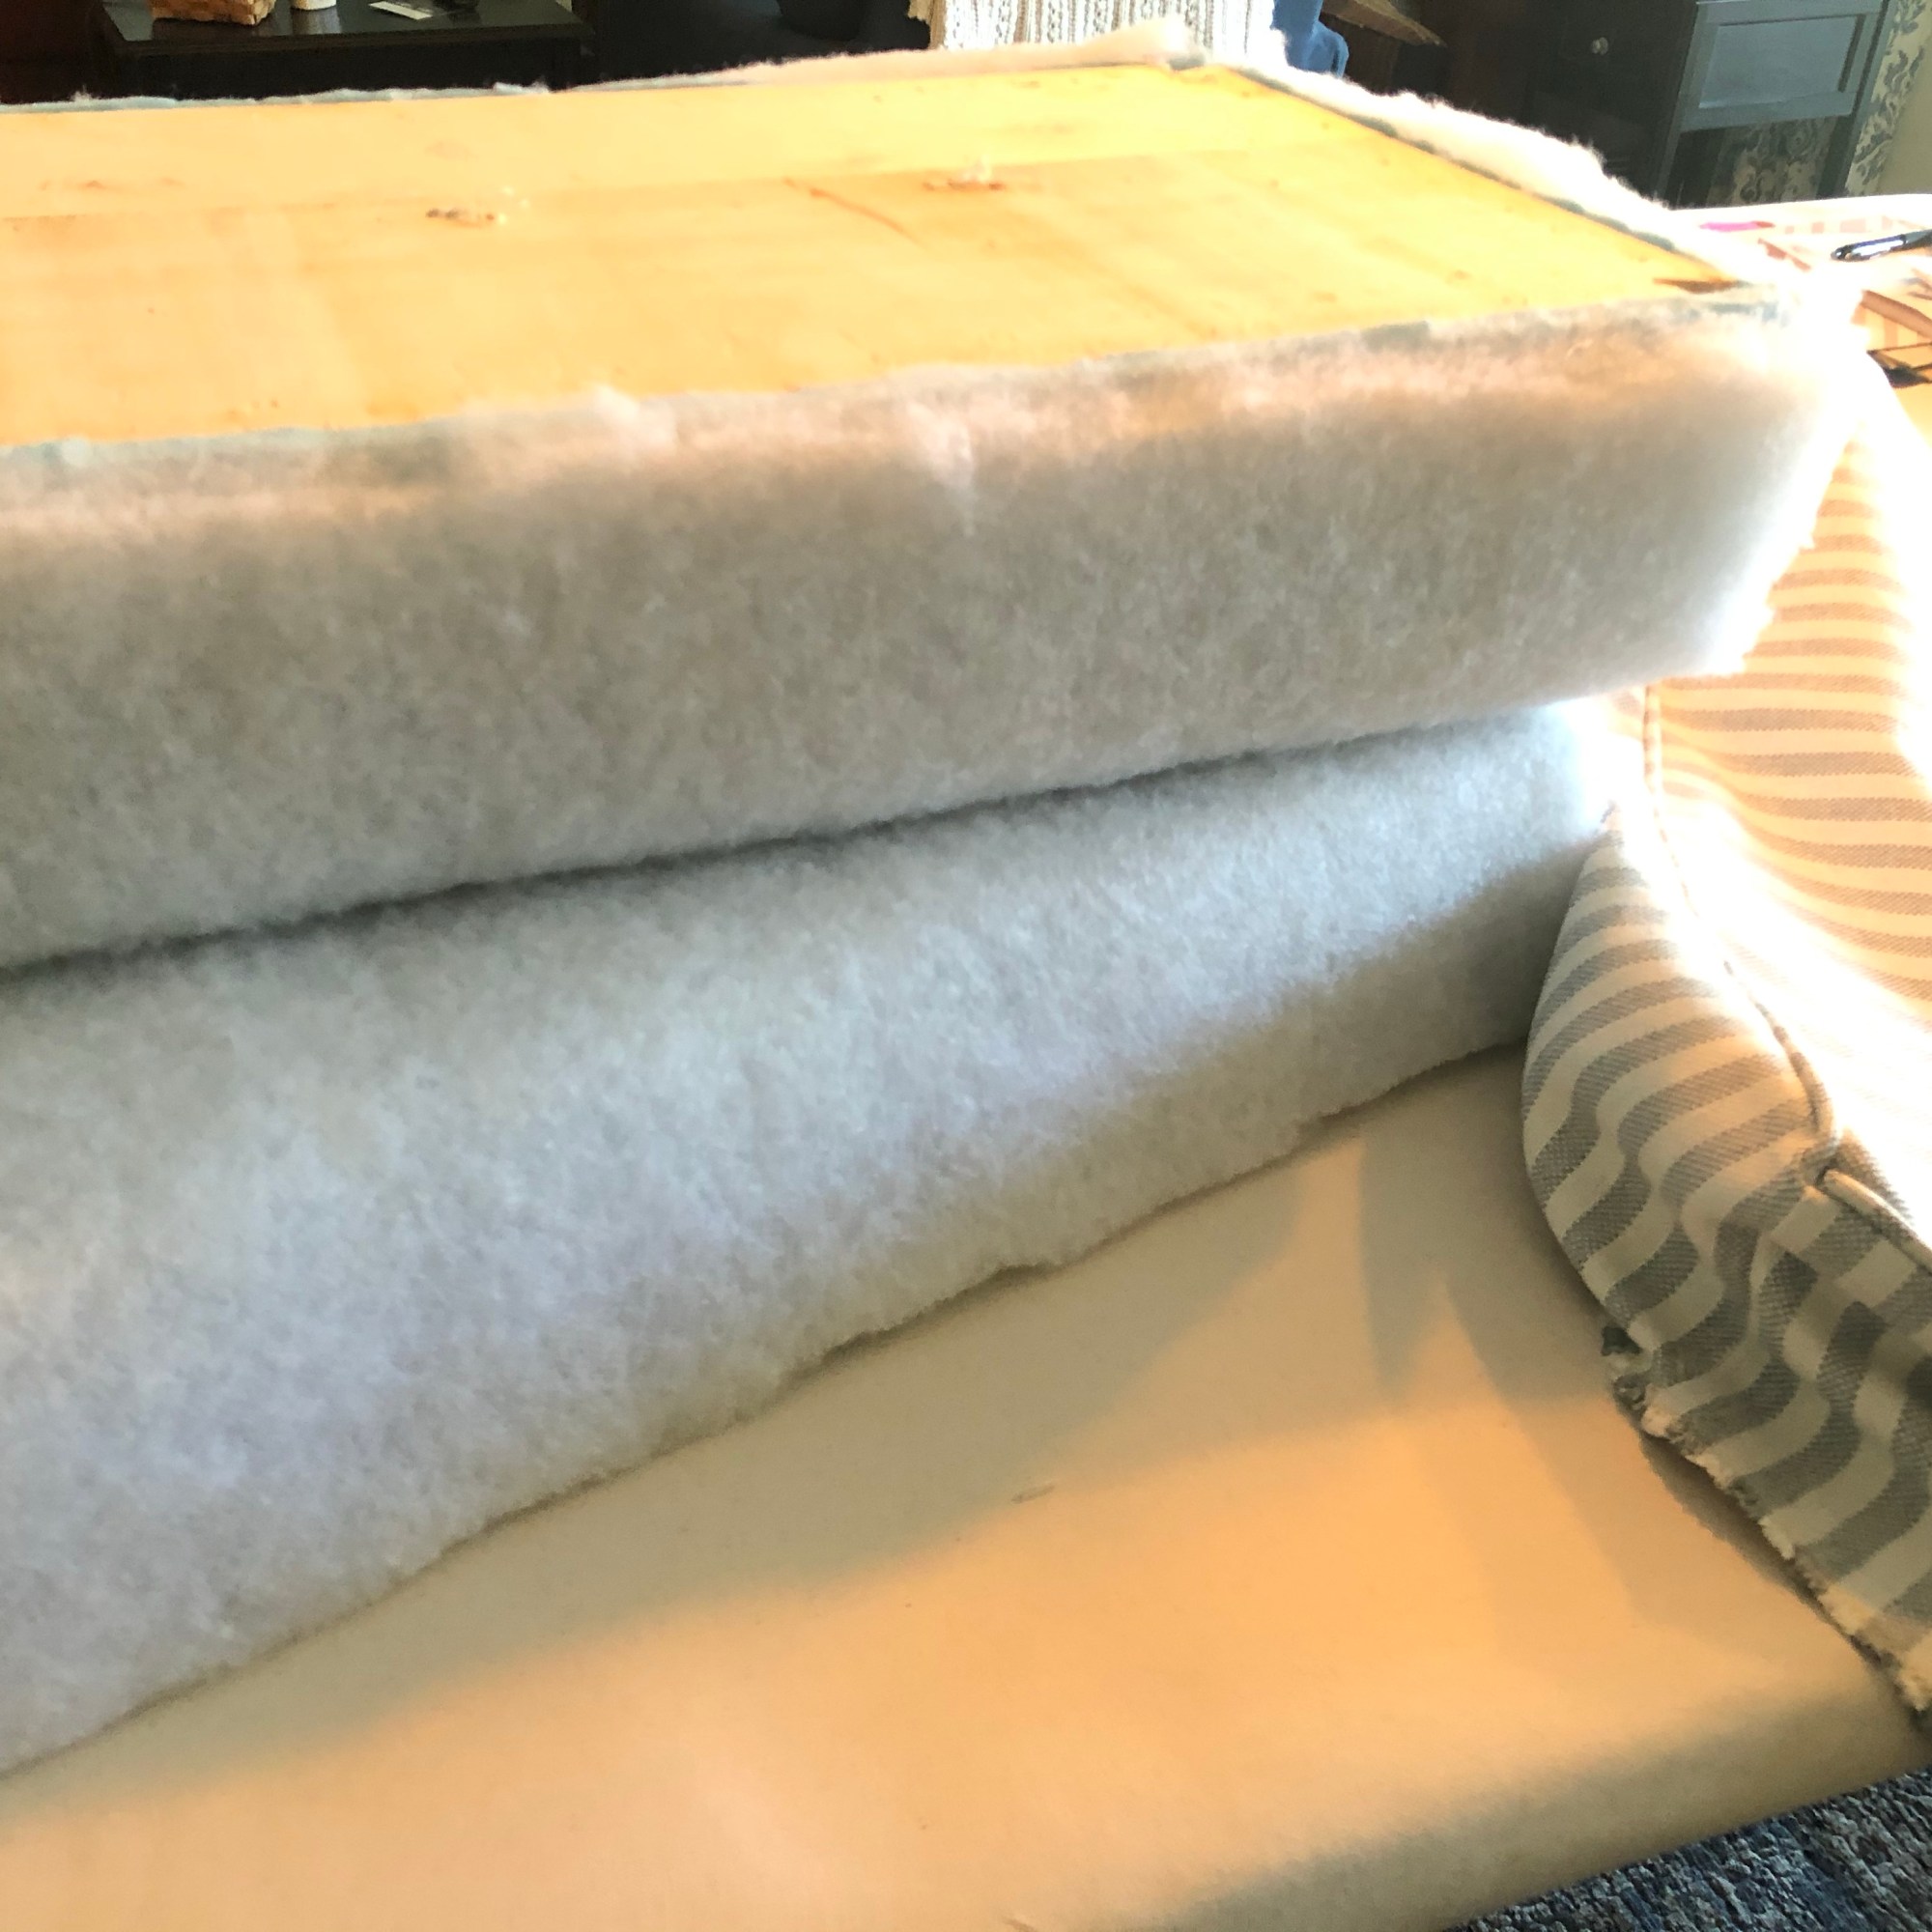
The Foam Factory actually cut the foam to the exact dimensions I needed so when it came vacuum packed, I needed to wait a day for it to expand to its exact dimensions before I could move forward. Once it was ready, I wrapped the top with a cushion wrap to give it a cushy plump top. I wanted to create the continuous line of the stripe from front to back and down the front of the bench so instead of cutting the cording on a bias, I cut it straight. Matching up the stripes is not as easy as it looks.
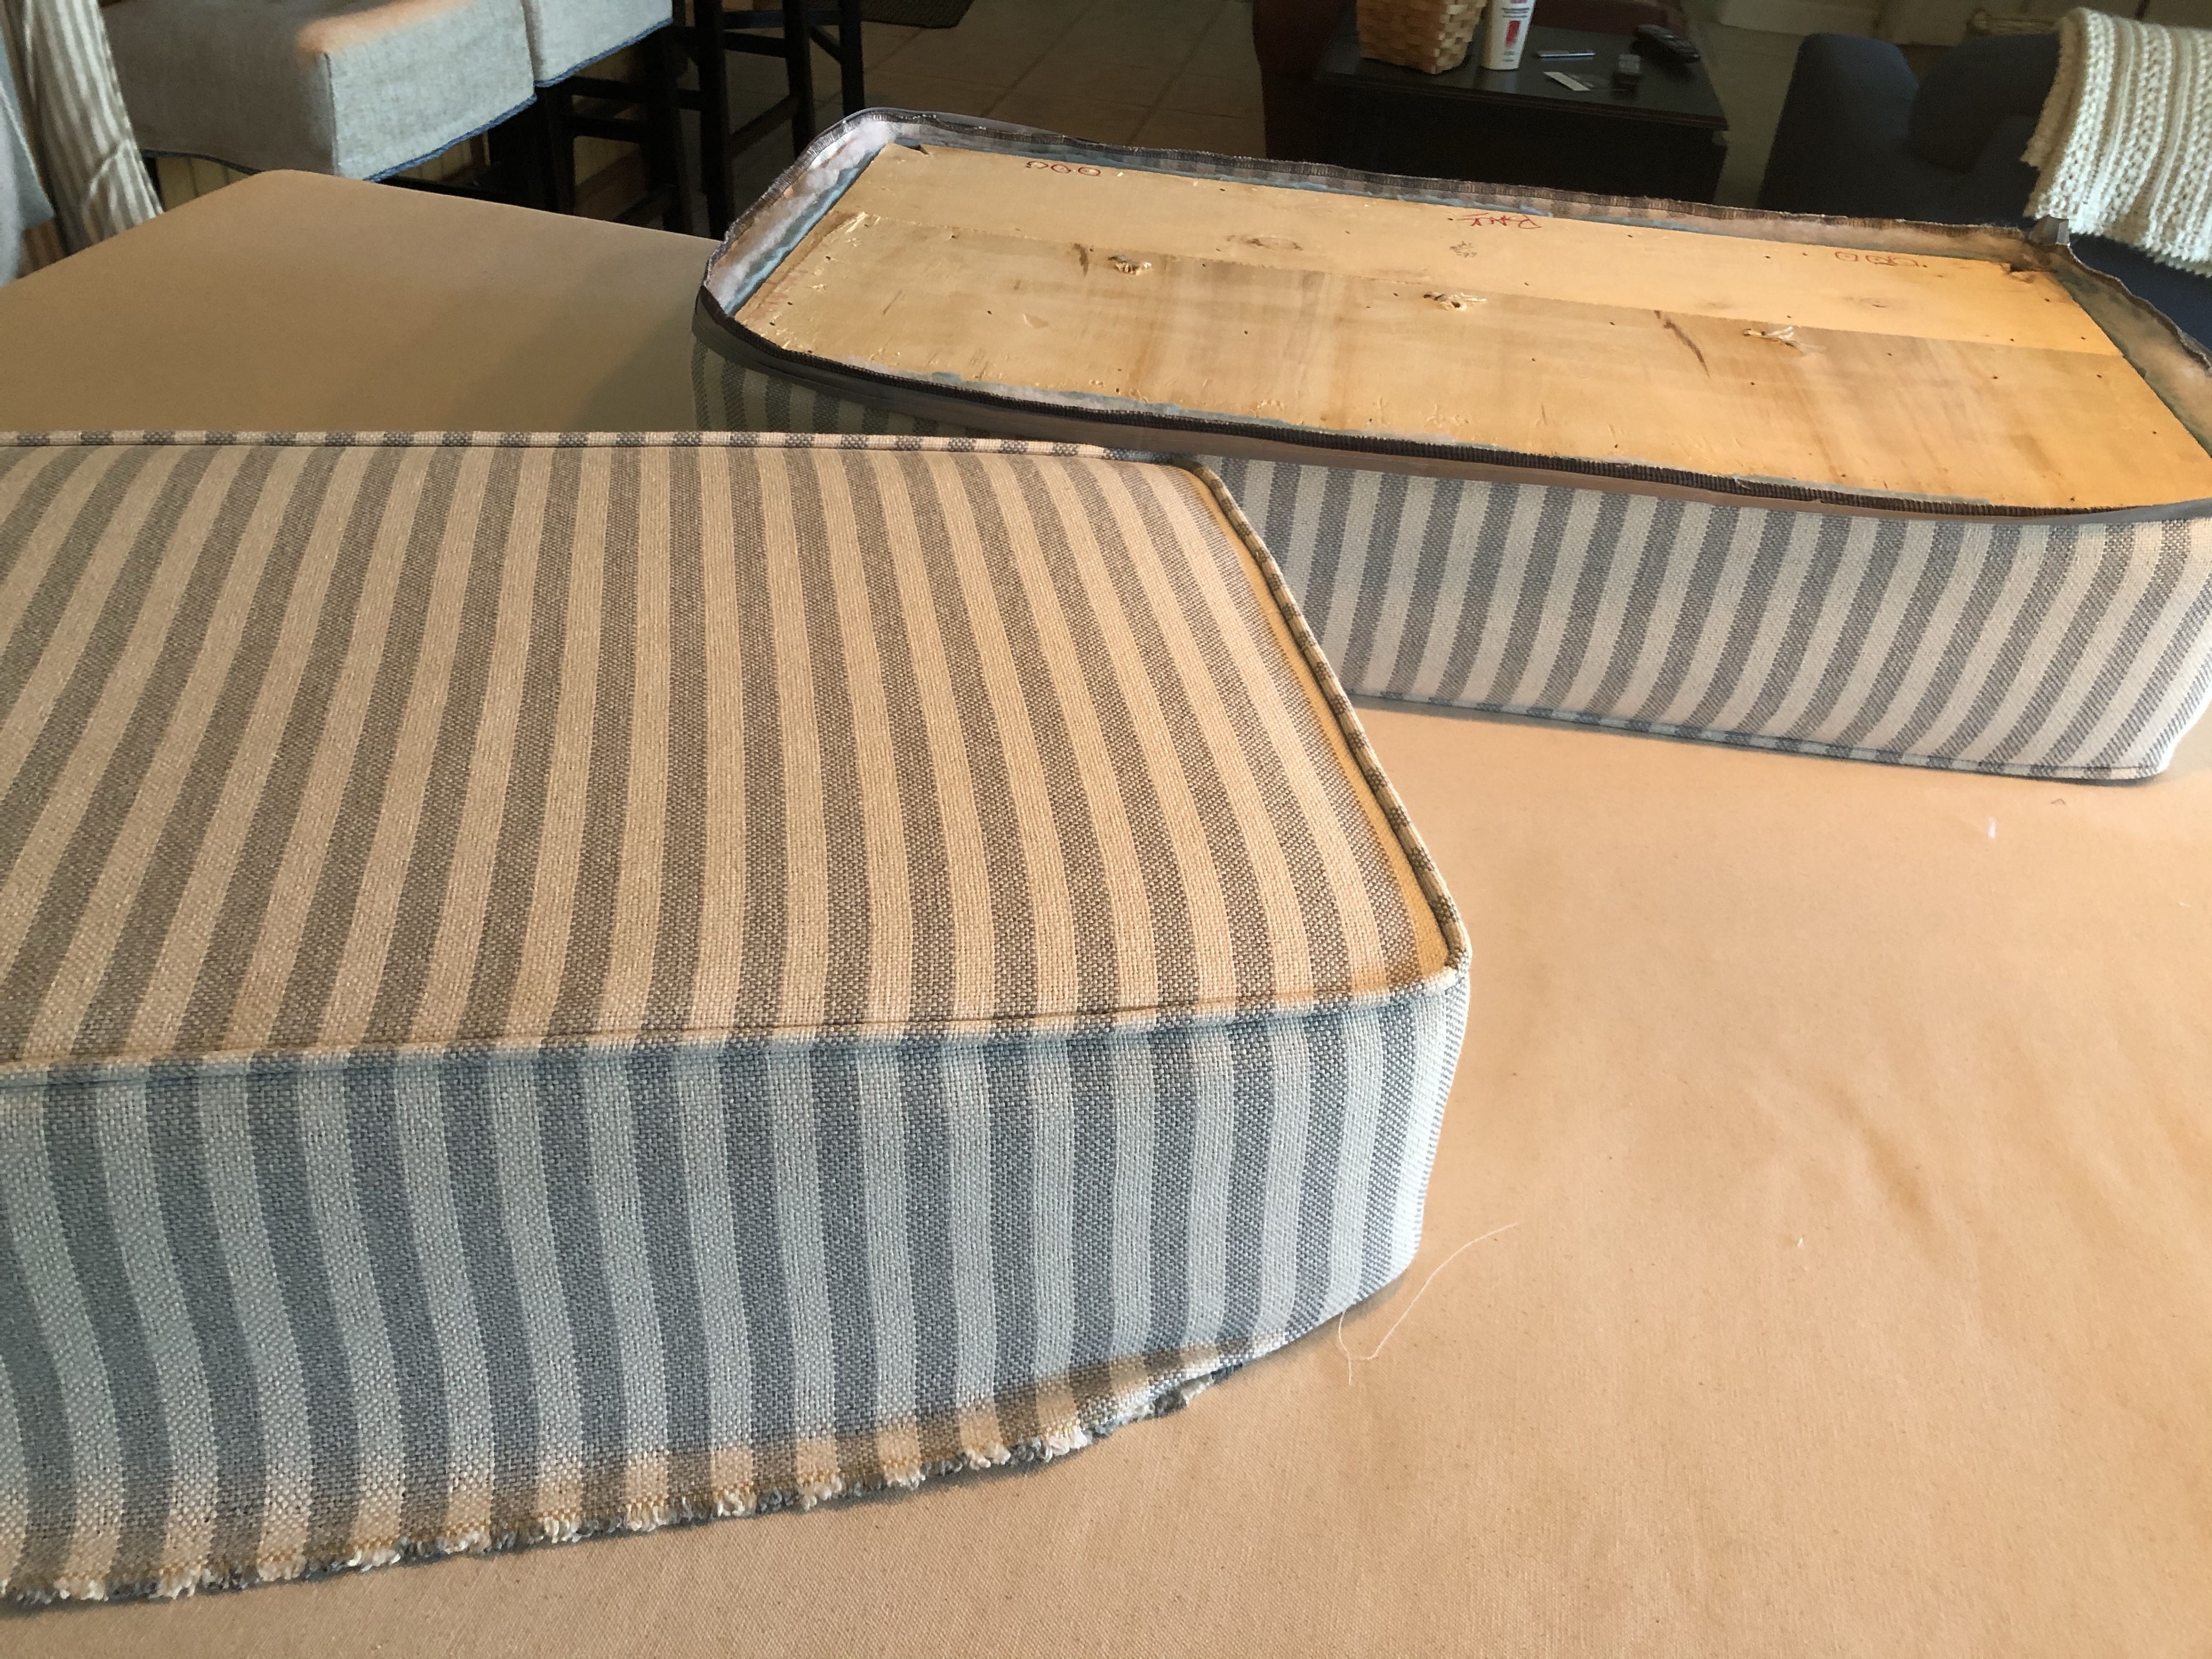
After stapling the fabric to the bottom, reattaching the cambric to cover the board, and reattaching the hardware, it was finished!
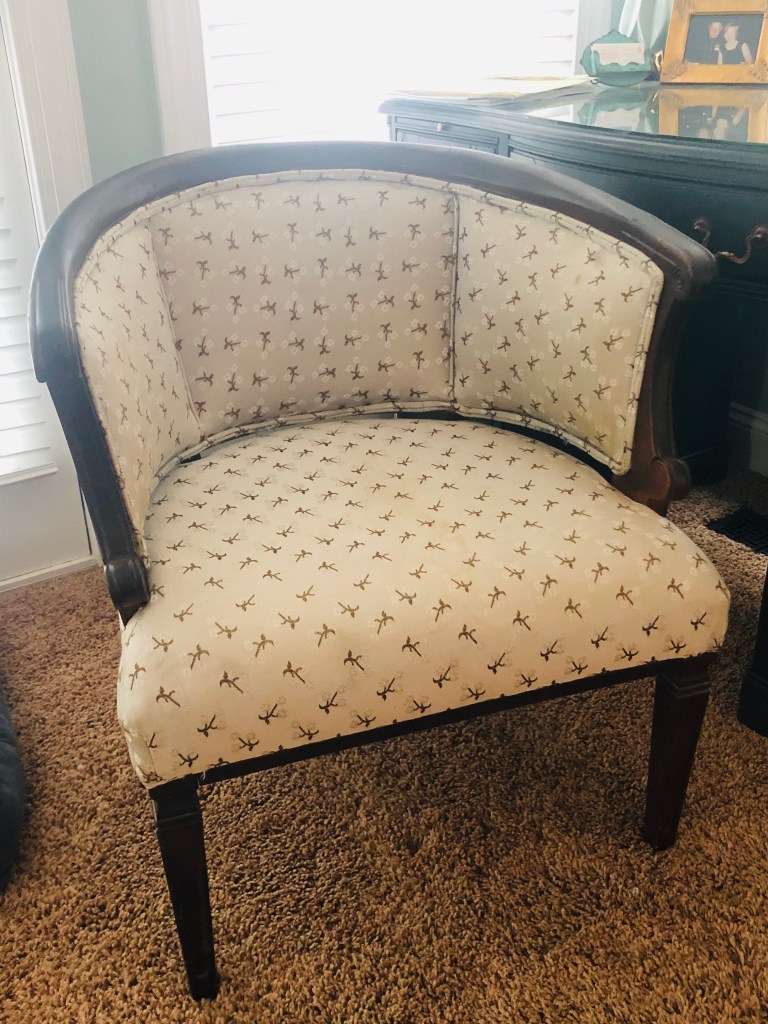
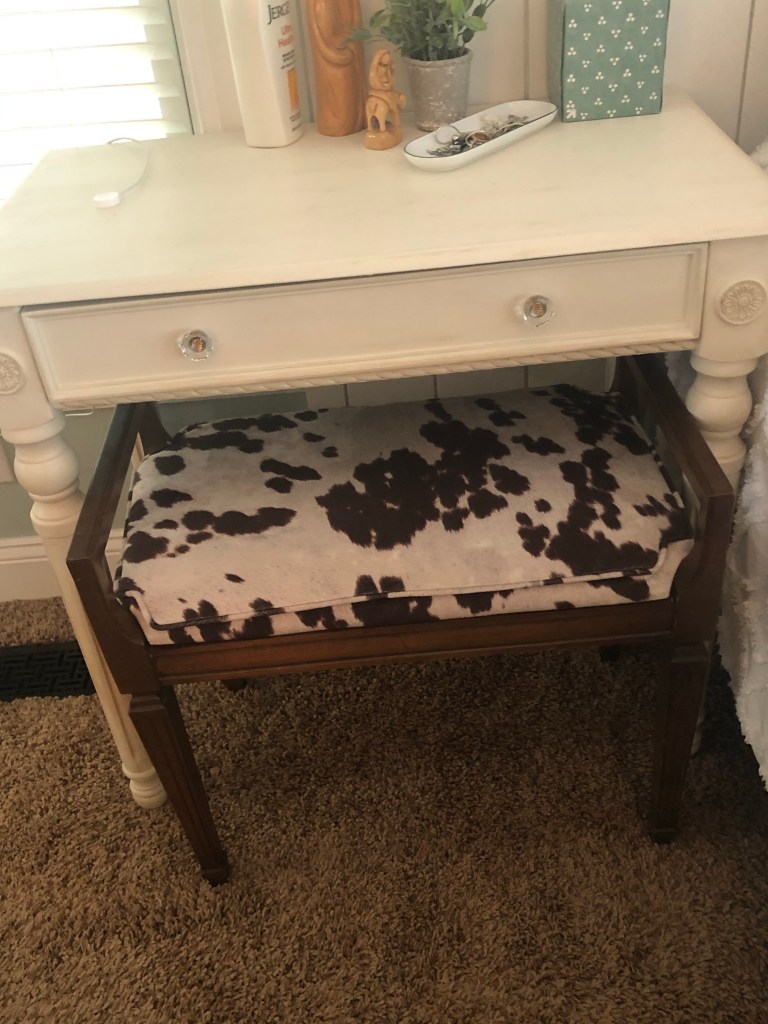
I have a few more pieces of furniture in this room that need a little makeover with new paint and upholstery. The chair at my desk, a stool under a side table and my fabric storage armoire.
Stay safe,
Denise
