My extended time at our lakehouse during this time of social isolation has prompted me to prepare for my eventual permanent move here next year. I never seem to have a shortage of projects to work on whether it is a client’s cushions that I transported from “up north”, a new lake client’s project, my own slipcover makeovers or my new obsession roman shades. I am currently working off of my large oak table in the basement but after visiting the Workroom Tech in NC in February and recently making a roman shade, was pretty certain that I NEEDED to have a padded work table. But space would definitely be an issue.
I decided on constructing a padded table top that I could lay on top of my existing table when I work on a project and then remove it and store it under a bed or in my storage room against a wall until I need it again. With that decision made and after doing a bit of research on the best method to go about this, we got started.
Project Supplies
Here is a list of the supplies I used for this project.
- 3/8″ sheet of plywood cut to 48”x 80”
- ceiling tiles (used 7 tiles total)
- dense batting (I used cornice wrap since I had so much on hand)
- spray adhesive
- staple gun
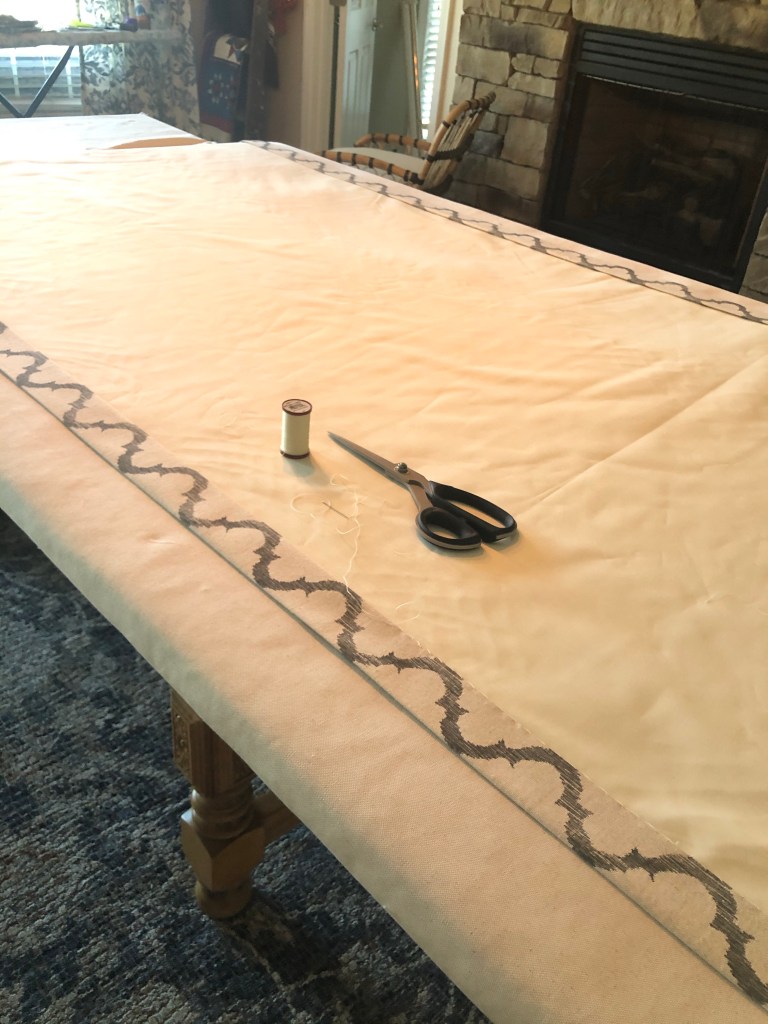
- heavy duty canvas (ordered from Carr Textile)
- trim for bottom finishing
- bottom fabric/material
Since my table is 78″x 38″, I decided to make the top 96″ x 48″ so that it would fit over the table and overhang by a little bit. It would be long enough for a roman shade to lay flat for construction and I could actually roll out a bolt of 54″ fabric on the wide end so I could cut out slipcover pieces. Would it be better to have a wider table? Yes, but I also knew I needed to be reasonable about storage and working with what I had. I didn’t want to have to deal with hinging or piecing together plywood to make it wider and then it being more difficult to not only carry but to find a space to store. It was definitely bigger than what I currently had in my other workroom, and the padded top was a bigger deal to me, so I was happy with this. My husband cut the sheet of plywood to 84″ and left the 4 foot width.
Construction Steps
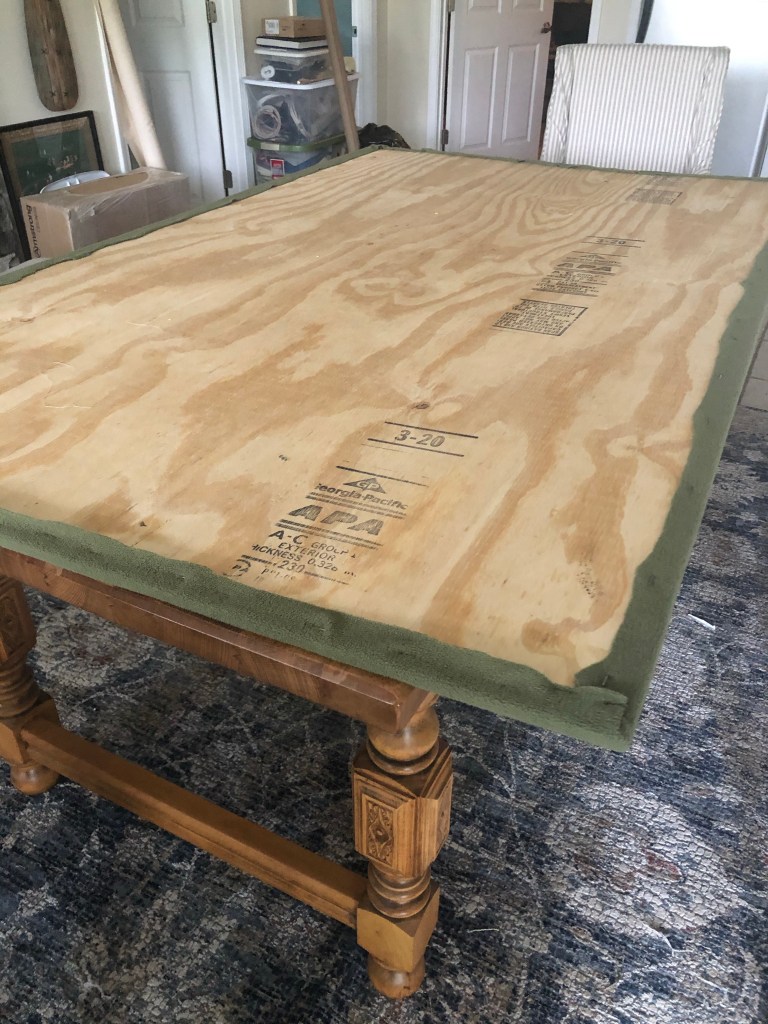
I wanted something on the bottom of the worktop to cover the raw wood and to project my oak table when it sits on top and gets moved around. With limited resources due to social isolation, I looked around my house to see what I could re-purpose. I found an army green fleece blanket that never gets used in a spare closet. It was soft, strong and large enough to cover the bottom and wrap around to the front. First I laid the blanket on the table, then I placed the plywood on top, cut the blanket to just enough to pull over the edge, stapled to the board and cut off the excess.

The next layer would be the ceiling tiles. You can find these at any home improvement store. I found these tiles at Lowes. The 2’x2’ tiles fit perfectly on top of the table. I did have to score and cut one tile for the last 8 1/2 inches. Once I laid out their placement, I lifted each tile, sprayed both the tile and plywood with spray adhesive and set them back in place. It held perfectly. This layer would allow me to pin into my table and is also heat and moisture resistant so I could iron on it when making shades.

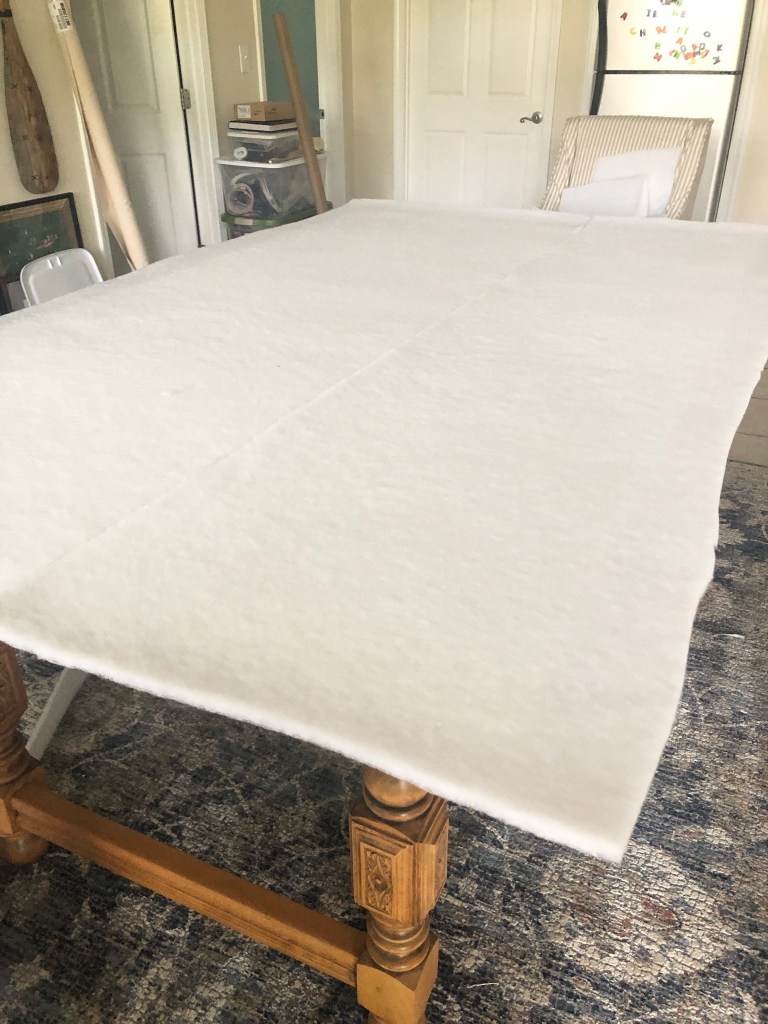
Next, I placed a layer of a dense low loft cushion wrap on top. I had a huge roll of cornice batting that I had at the lake and though I had to piece it in two strips, it was the right thickness for what I wanted. I just overlapped it about 1/2 inch to make sure there was no gap exposing the ceiling tile in the layer beneath it. I cut it big enough to wrap around the back to staple on in a later step.
The last layer would be the heavy canvas. I purchased a few yards from Carr Textile a couple weeks ago in anticipation of this project. I laid the canvas on top of the batting and cut the length and width big enough to again wrap around to the back of the board for stapling. With the help of my husband, we pulled each side over and around and placed a few holding staples on the bottom side so it would hold in place while we flipped the board over again.
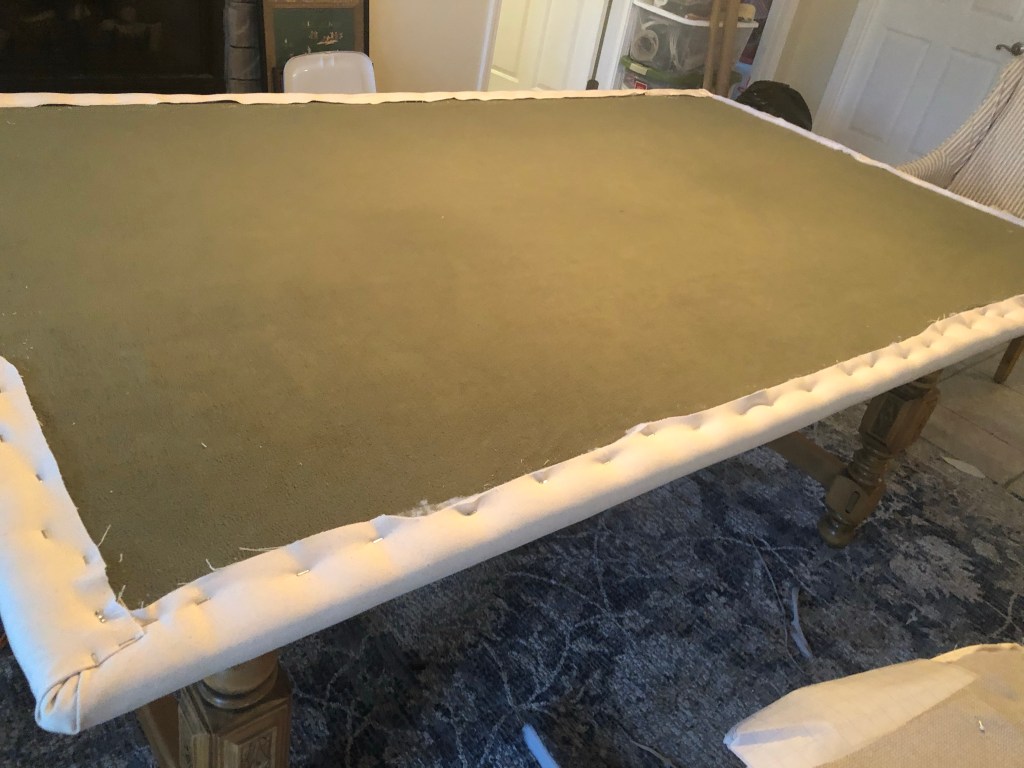
Now to finish the board! With the holding staples in place, I hooked up the pheumatic staple gun, pulled the batting and canvas taut and stapled around the board, finishing the corners and finally trimming the excess close to the staples.
The last step to finish this project and to just make it a bit cleaner, is to place a trim piece over the staples on the underside. This is to hide the staples, provide a finished look and protect my oak table from any possibility of scratch from rogue staples.
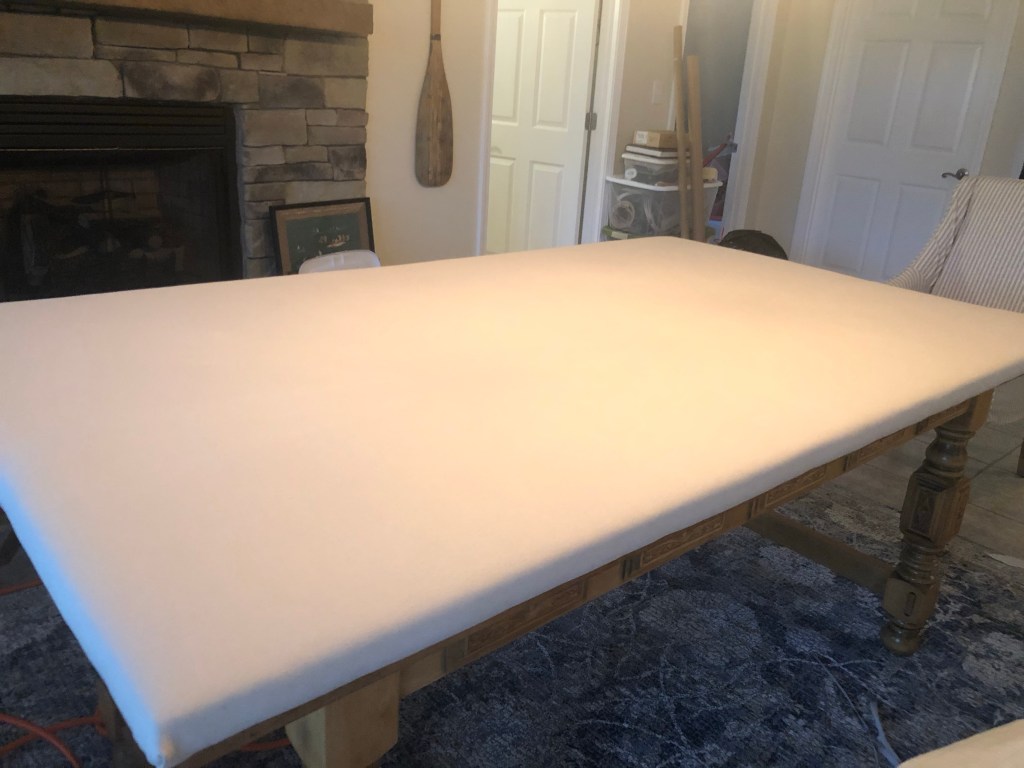
What do you think? I absolutely love it and can’t wait to make my next roman shade on this heat and moisture resistant cutting table that I can actually pin into.
I needed a place to put my serger and home sewing machine, so I slid the workpad over about two feet, made a cover for my table with the scrap canvas with pockets for storage. I put my serger on one end, the sewing machine on the other.
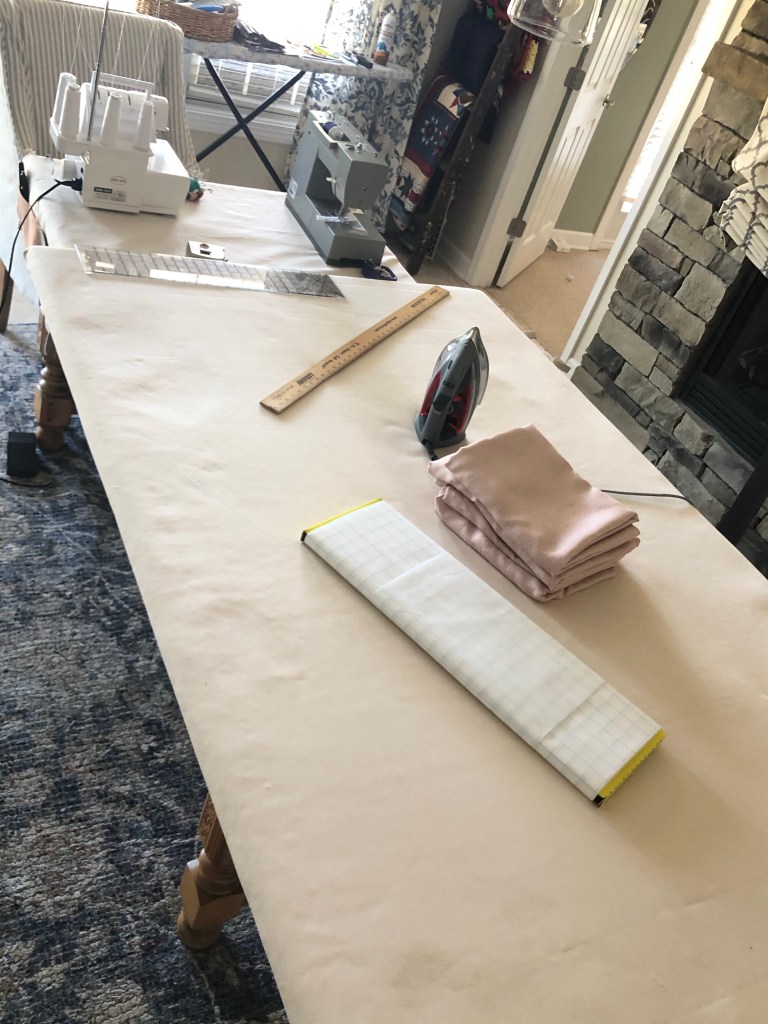
When I’m done with my large sewing projects, I can remove the padded top, slide it under a bed and I’m ready for company!
Stay safe and creative!
Denise
