
I finally completed my first true re-upholstery project and I can tell you I have a new appreciation for upholsterers. It is no joke! As a professional slipcover maker, there is a certain amount of physical labor that goes into it. You are bending, stretching, on the floor, taking the cover on and off, tucking endlessly. It can be very tiring by the time you are done. Probably the worst injury I have had was some serious pin pokes and maybe once I ran over my nail (slightly) with my sewing machine. Sounds painful, huh?
Well, let me tell you, upholstery takes this to a whole new level. There is the tear down, possible painting or refinishing, frame repairs, restringing, pulling, stretching, cutting, fitting, stapling, gluing, sewing. A little bit of everything. Not to mention the hazards of the job…hitting your thumb with a hammer, hot glue burns, rusty nail removal to name just a few that I had the pleasure of experiencing through this process.
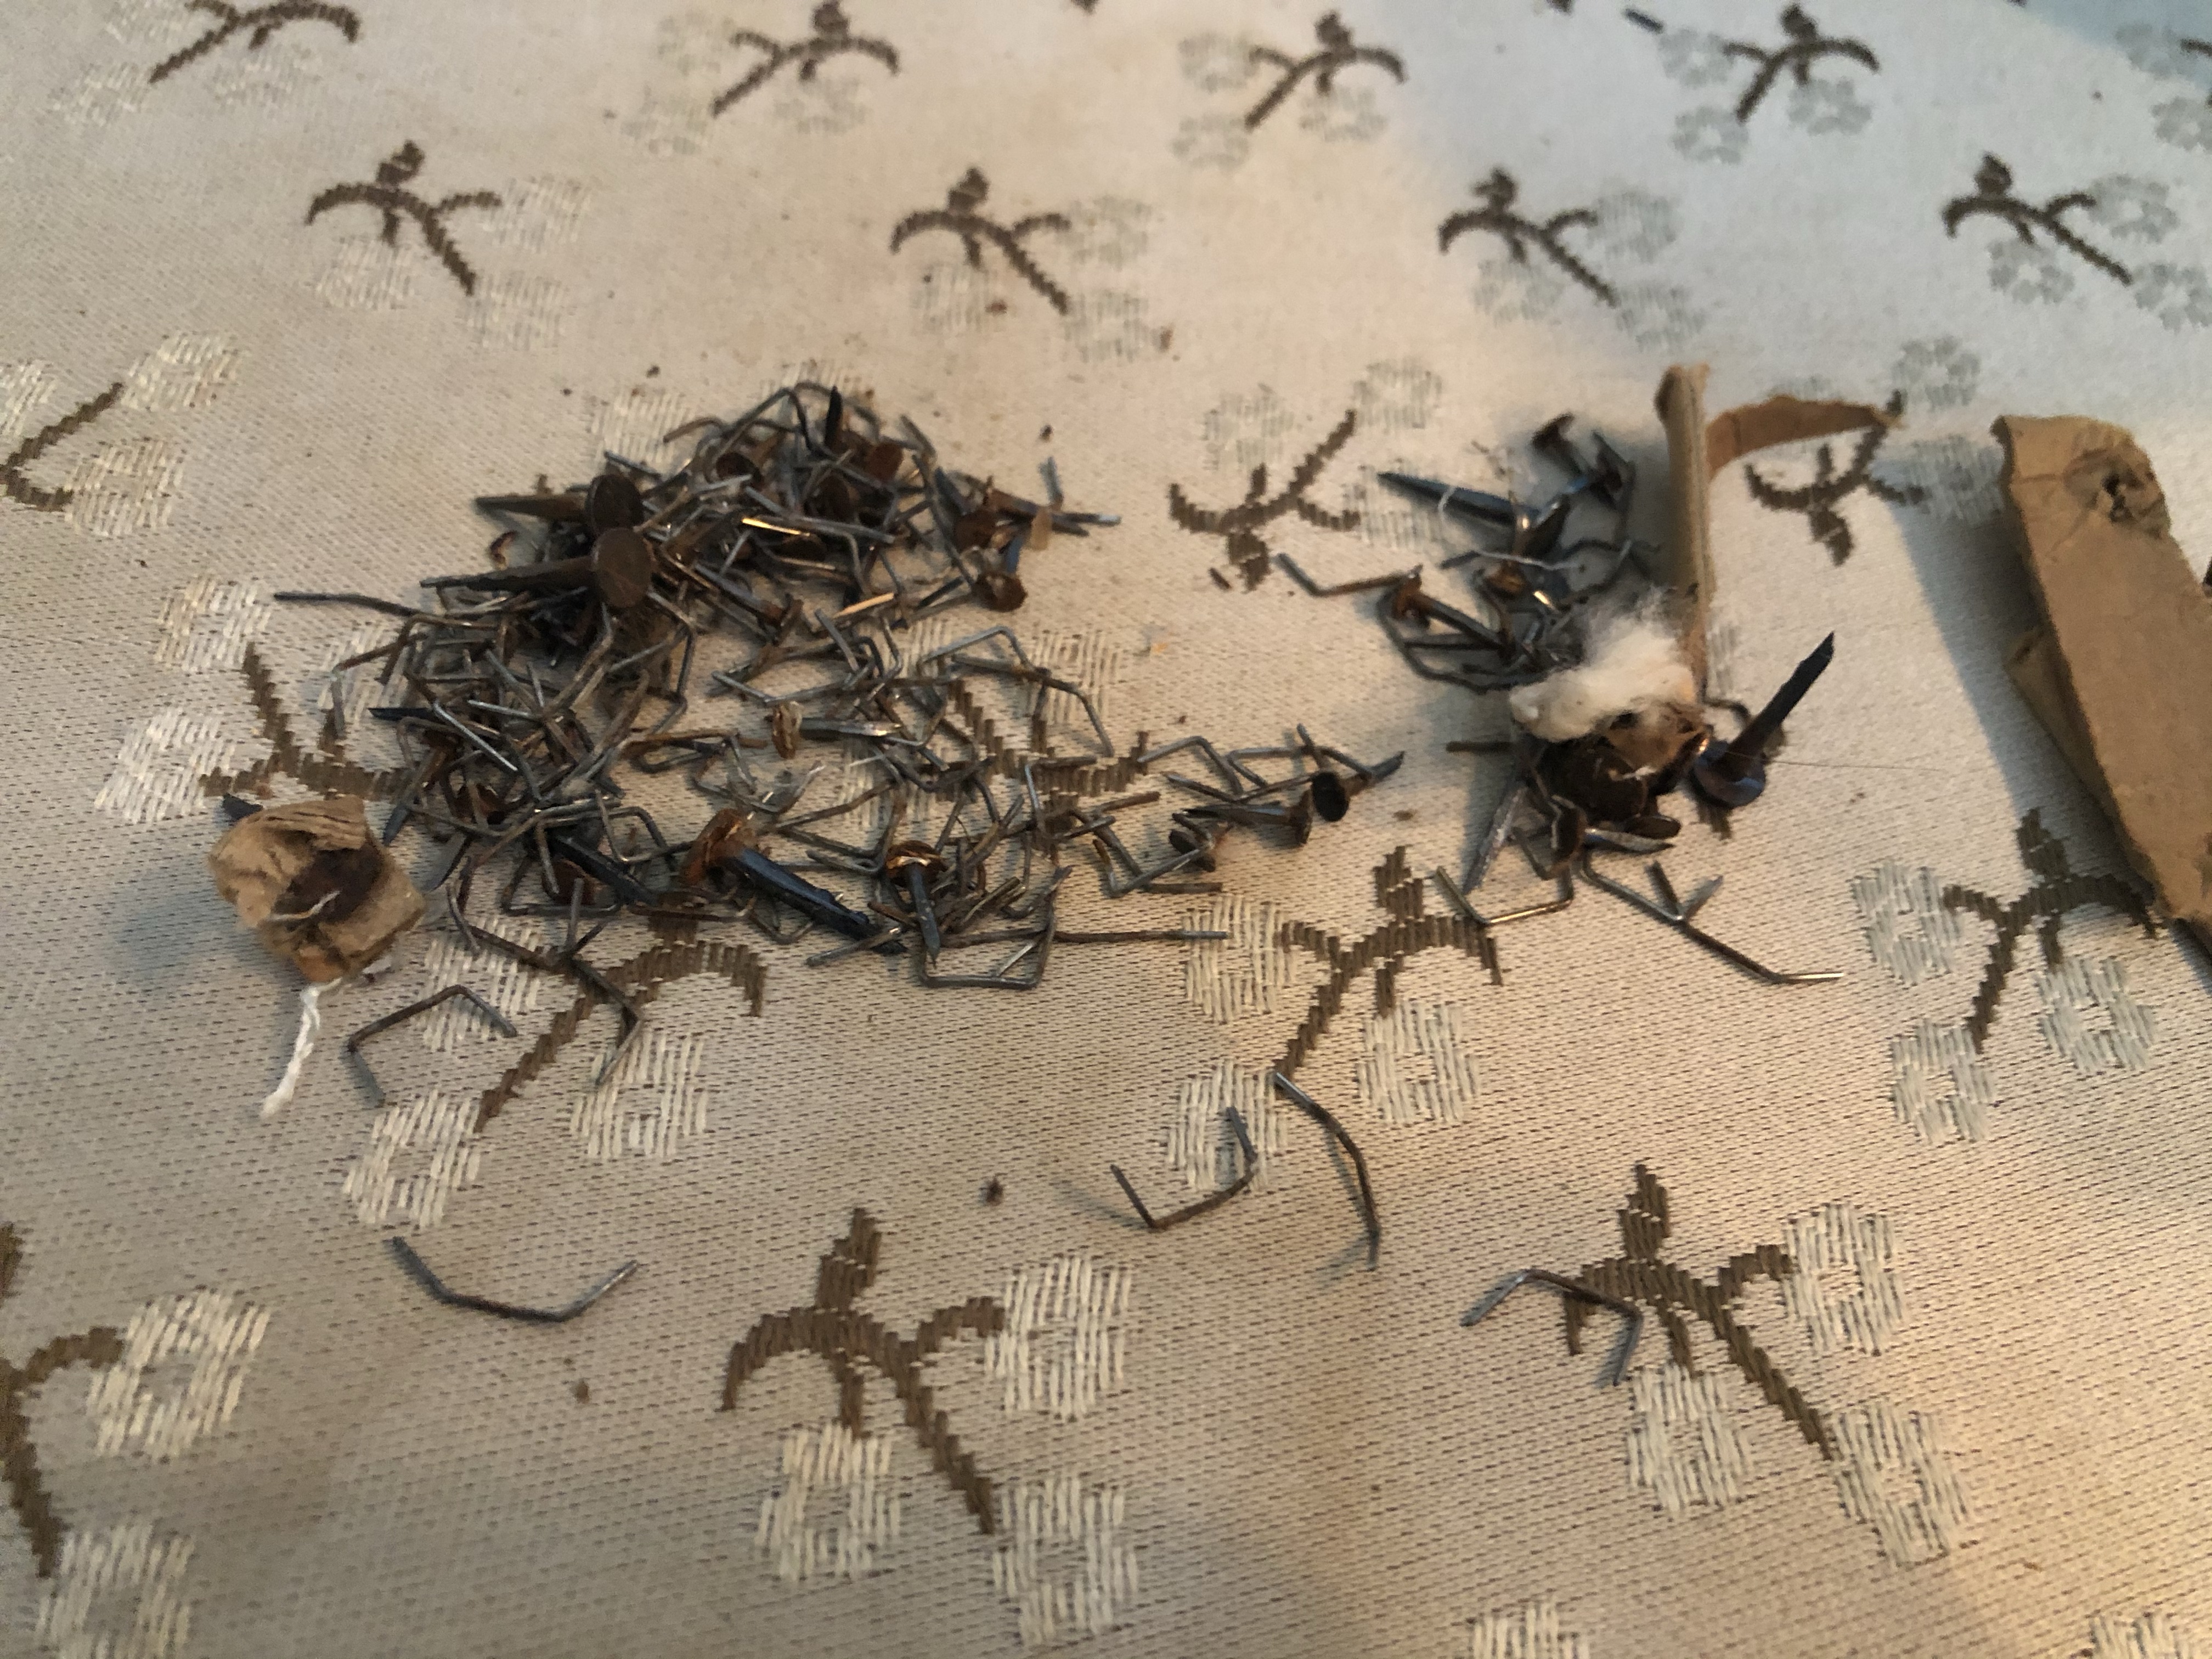
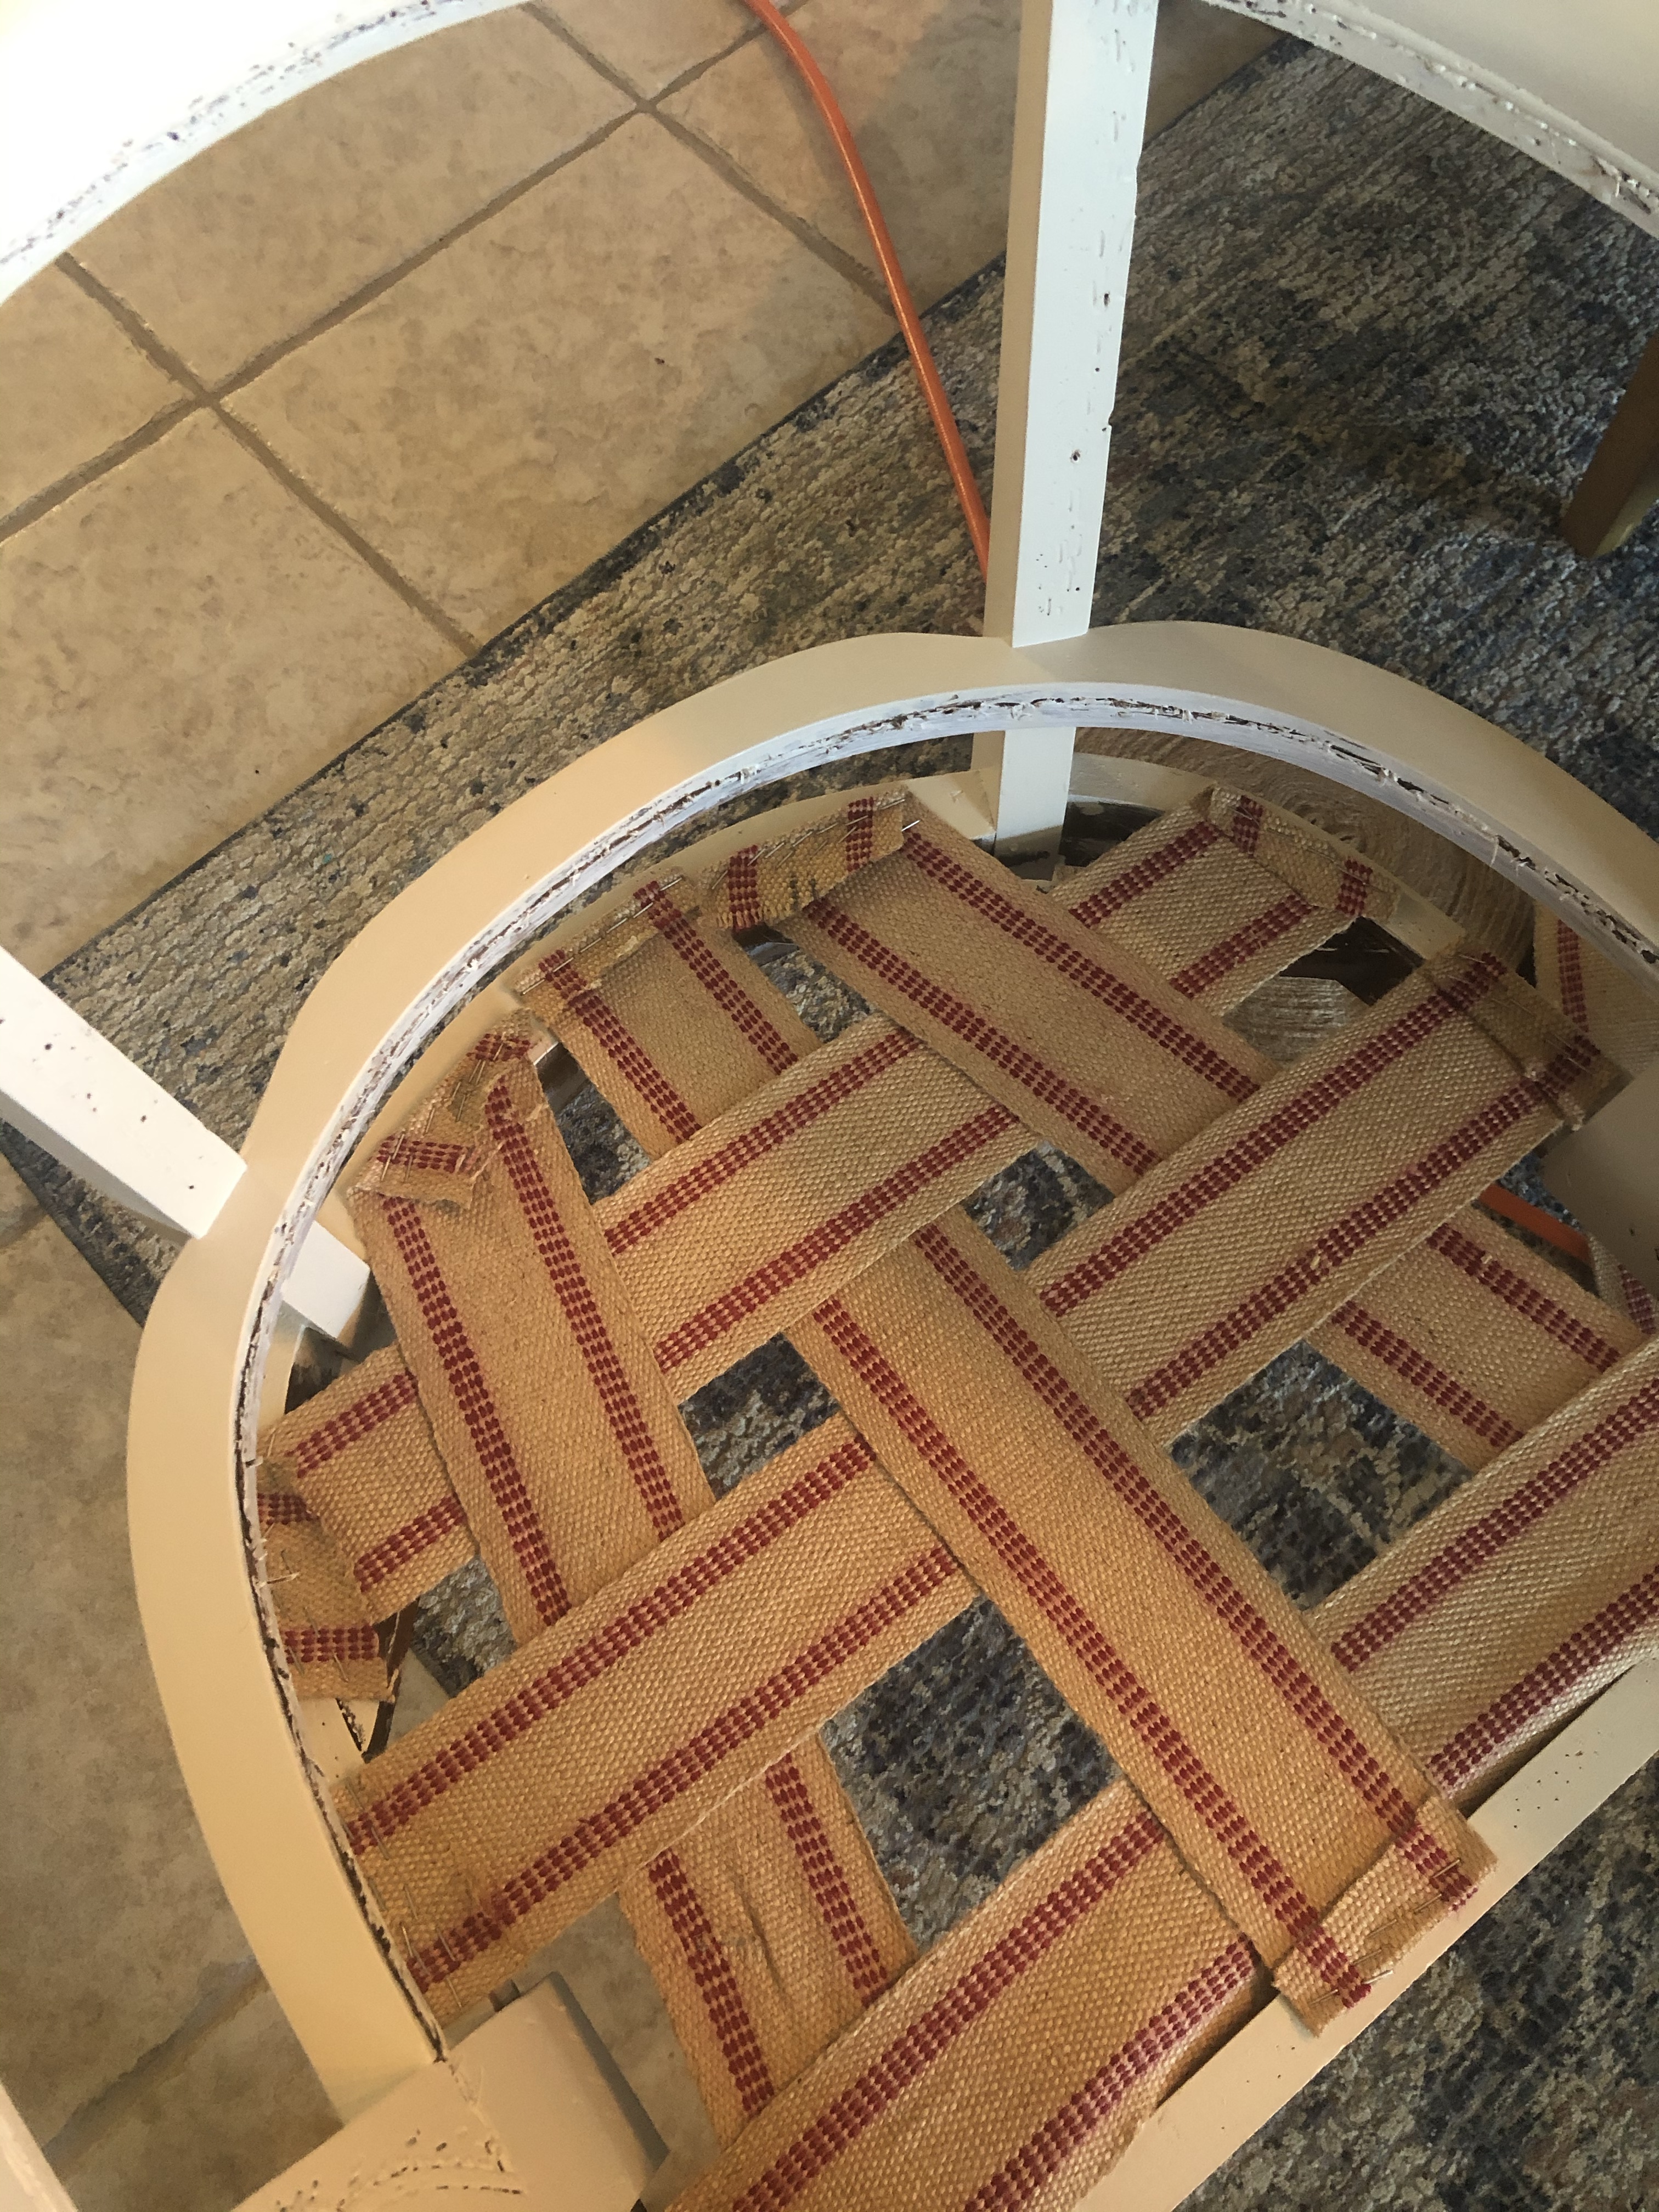
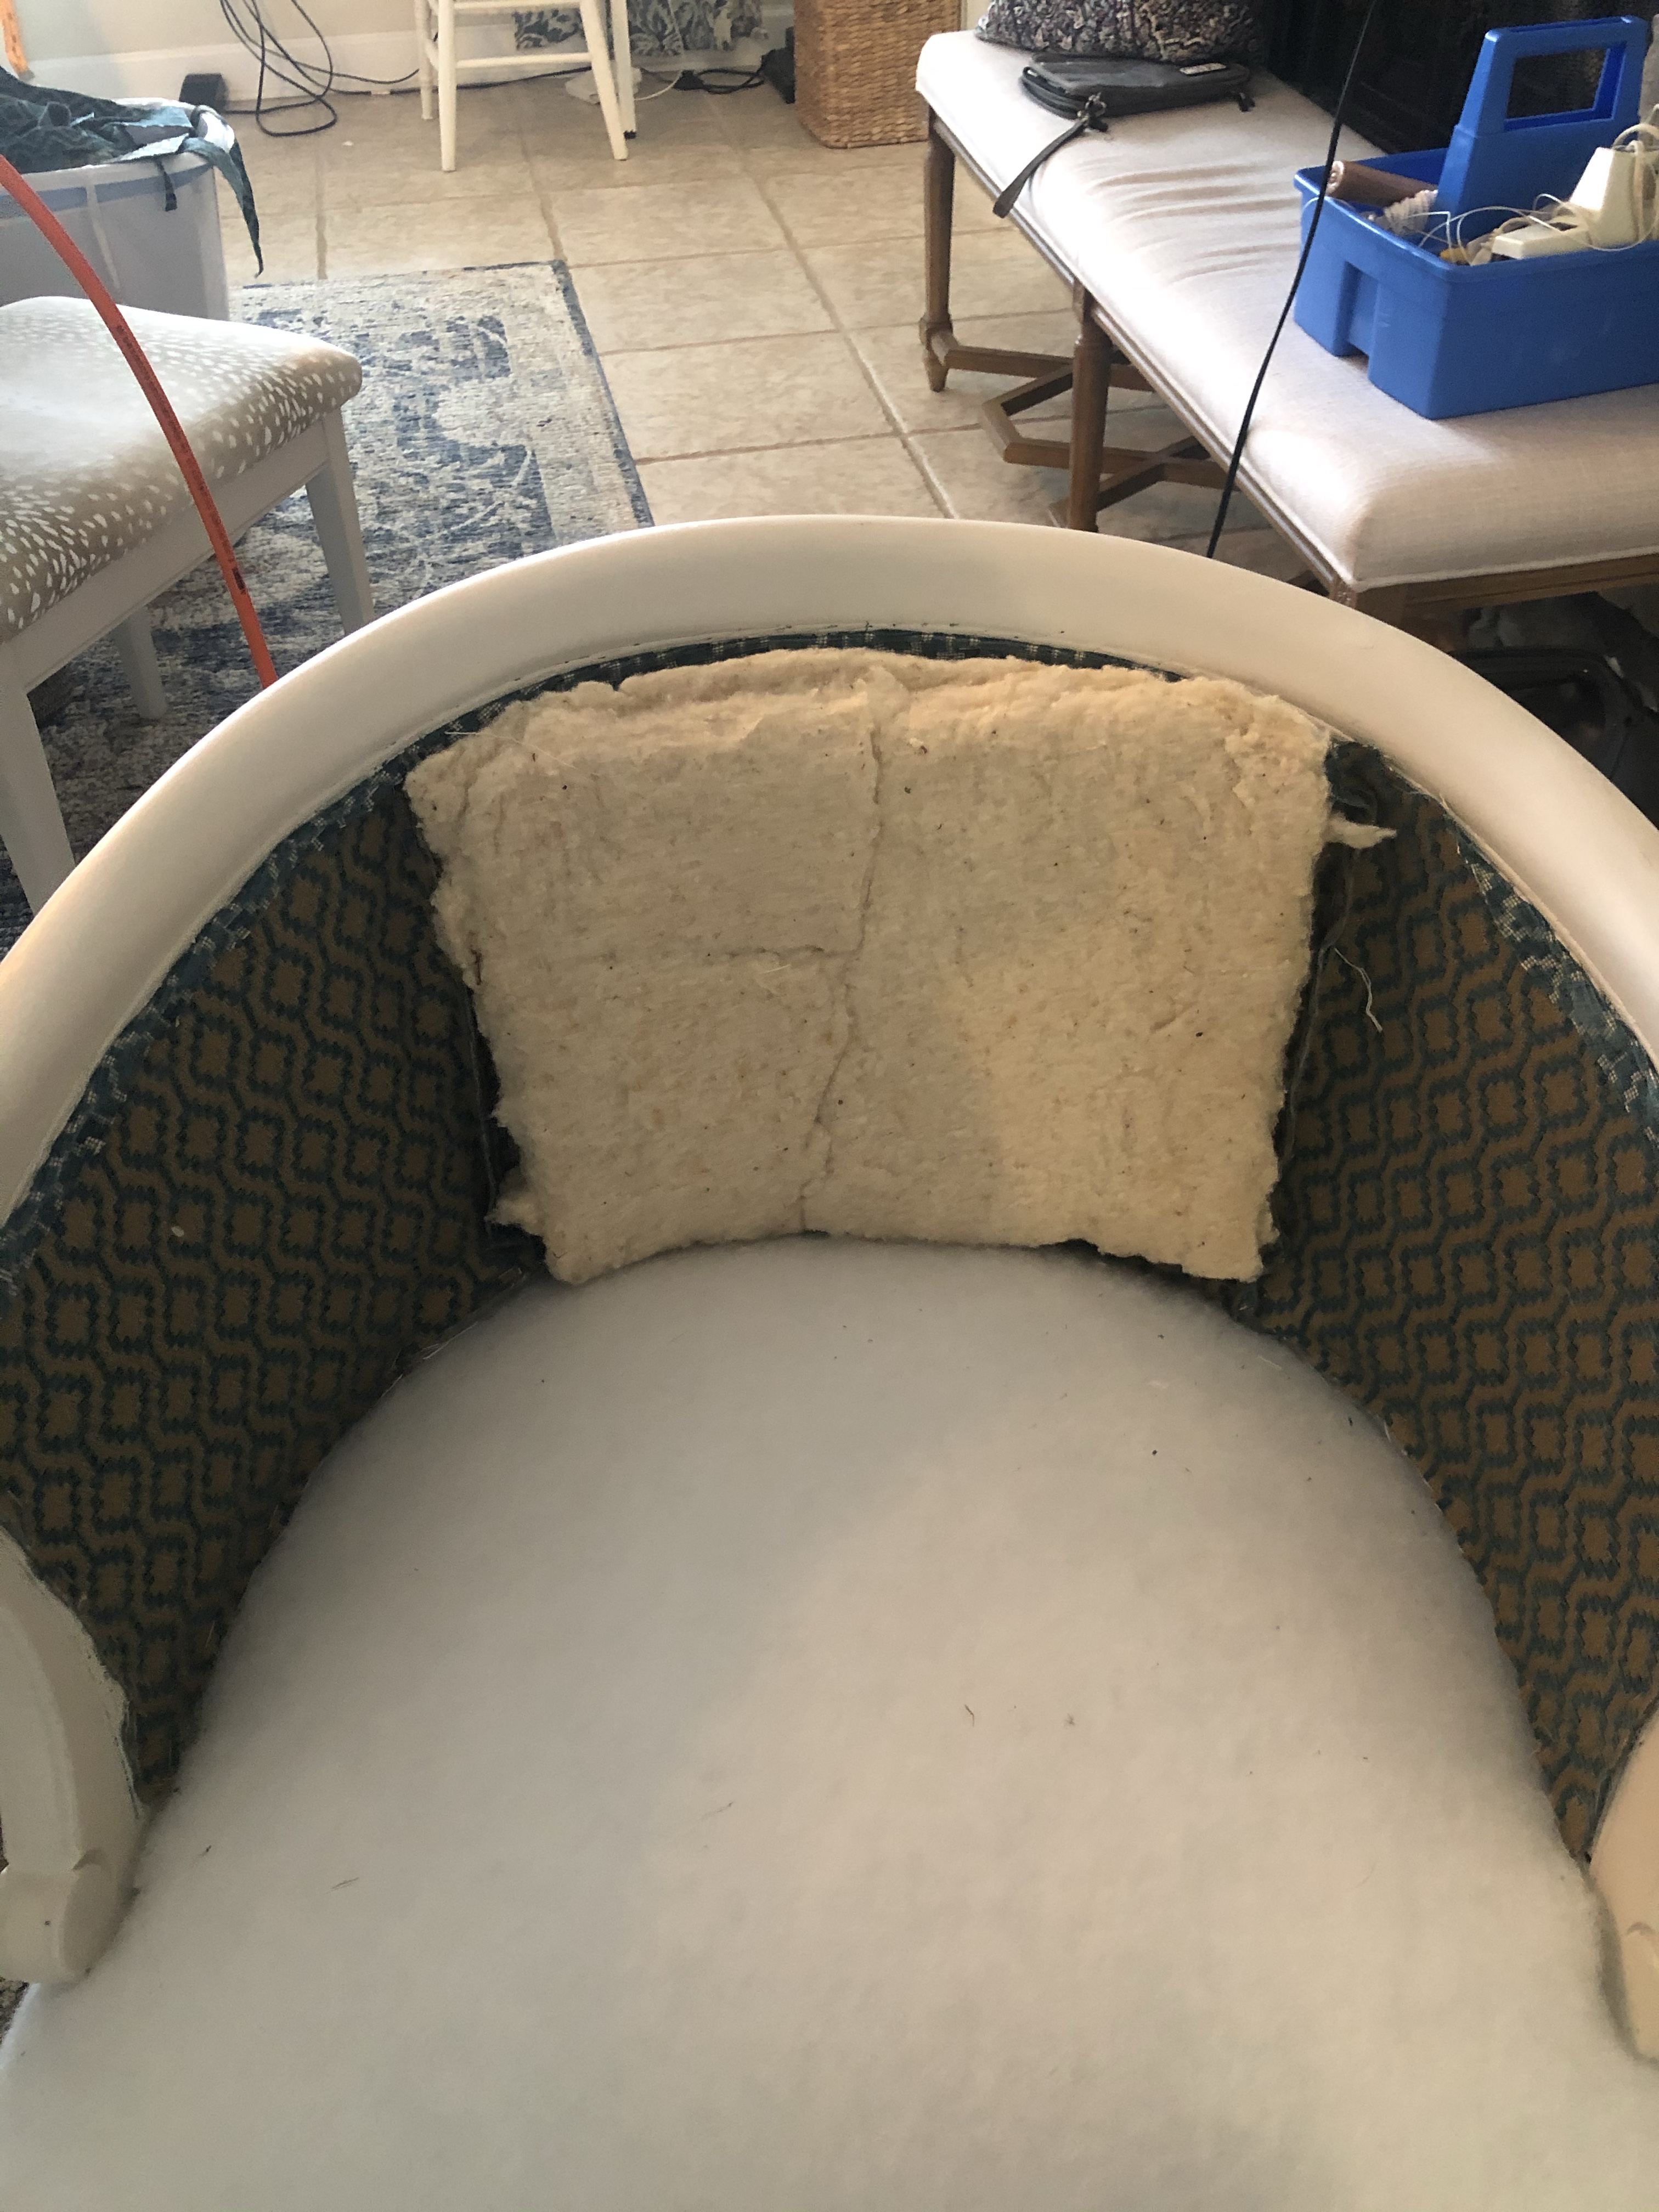
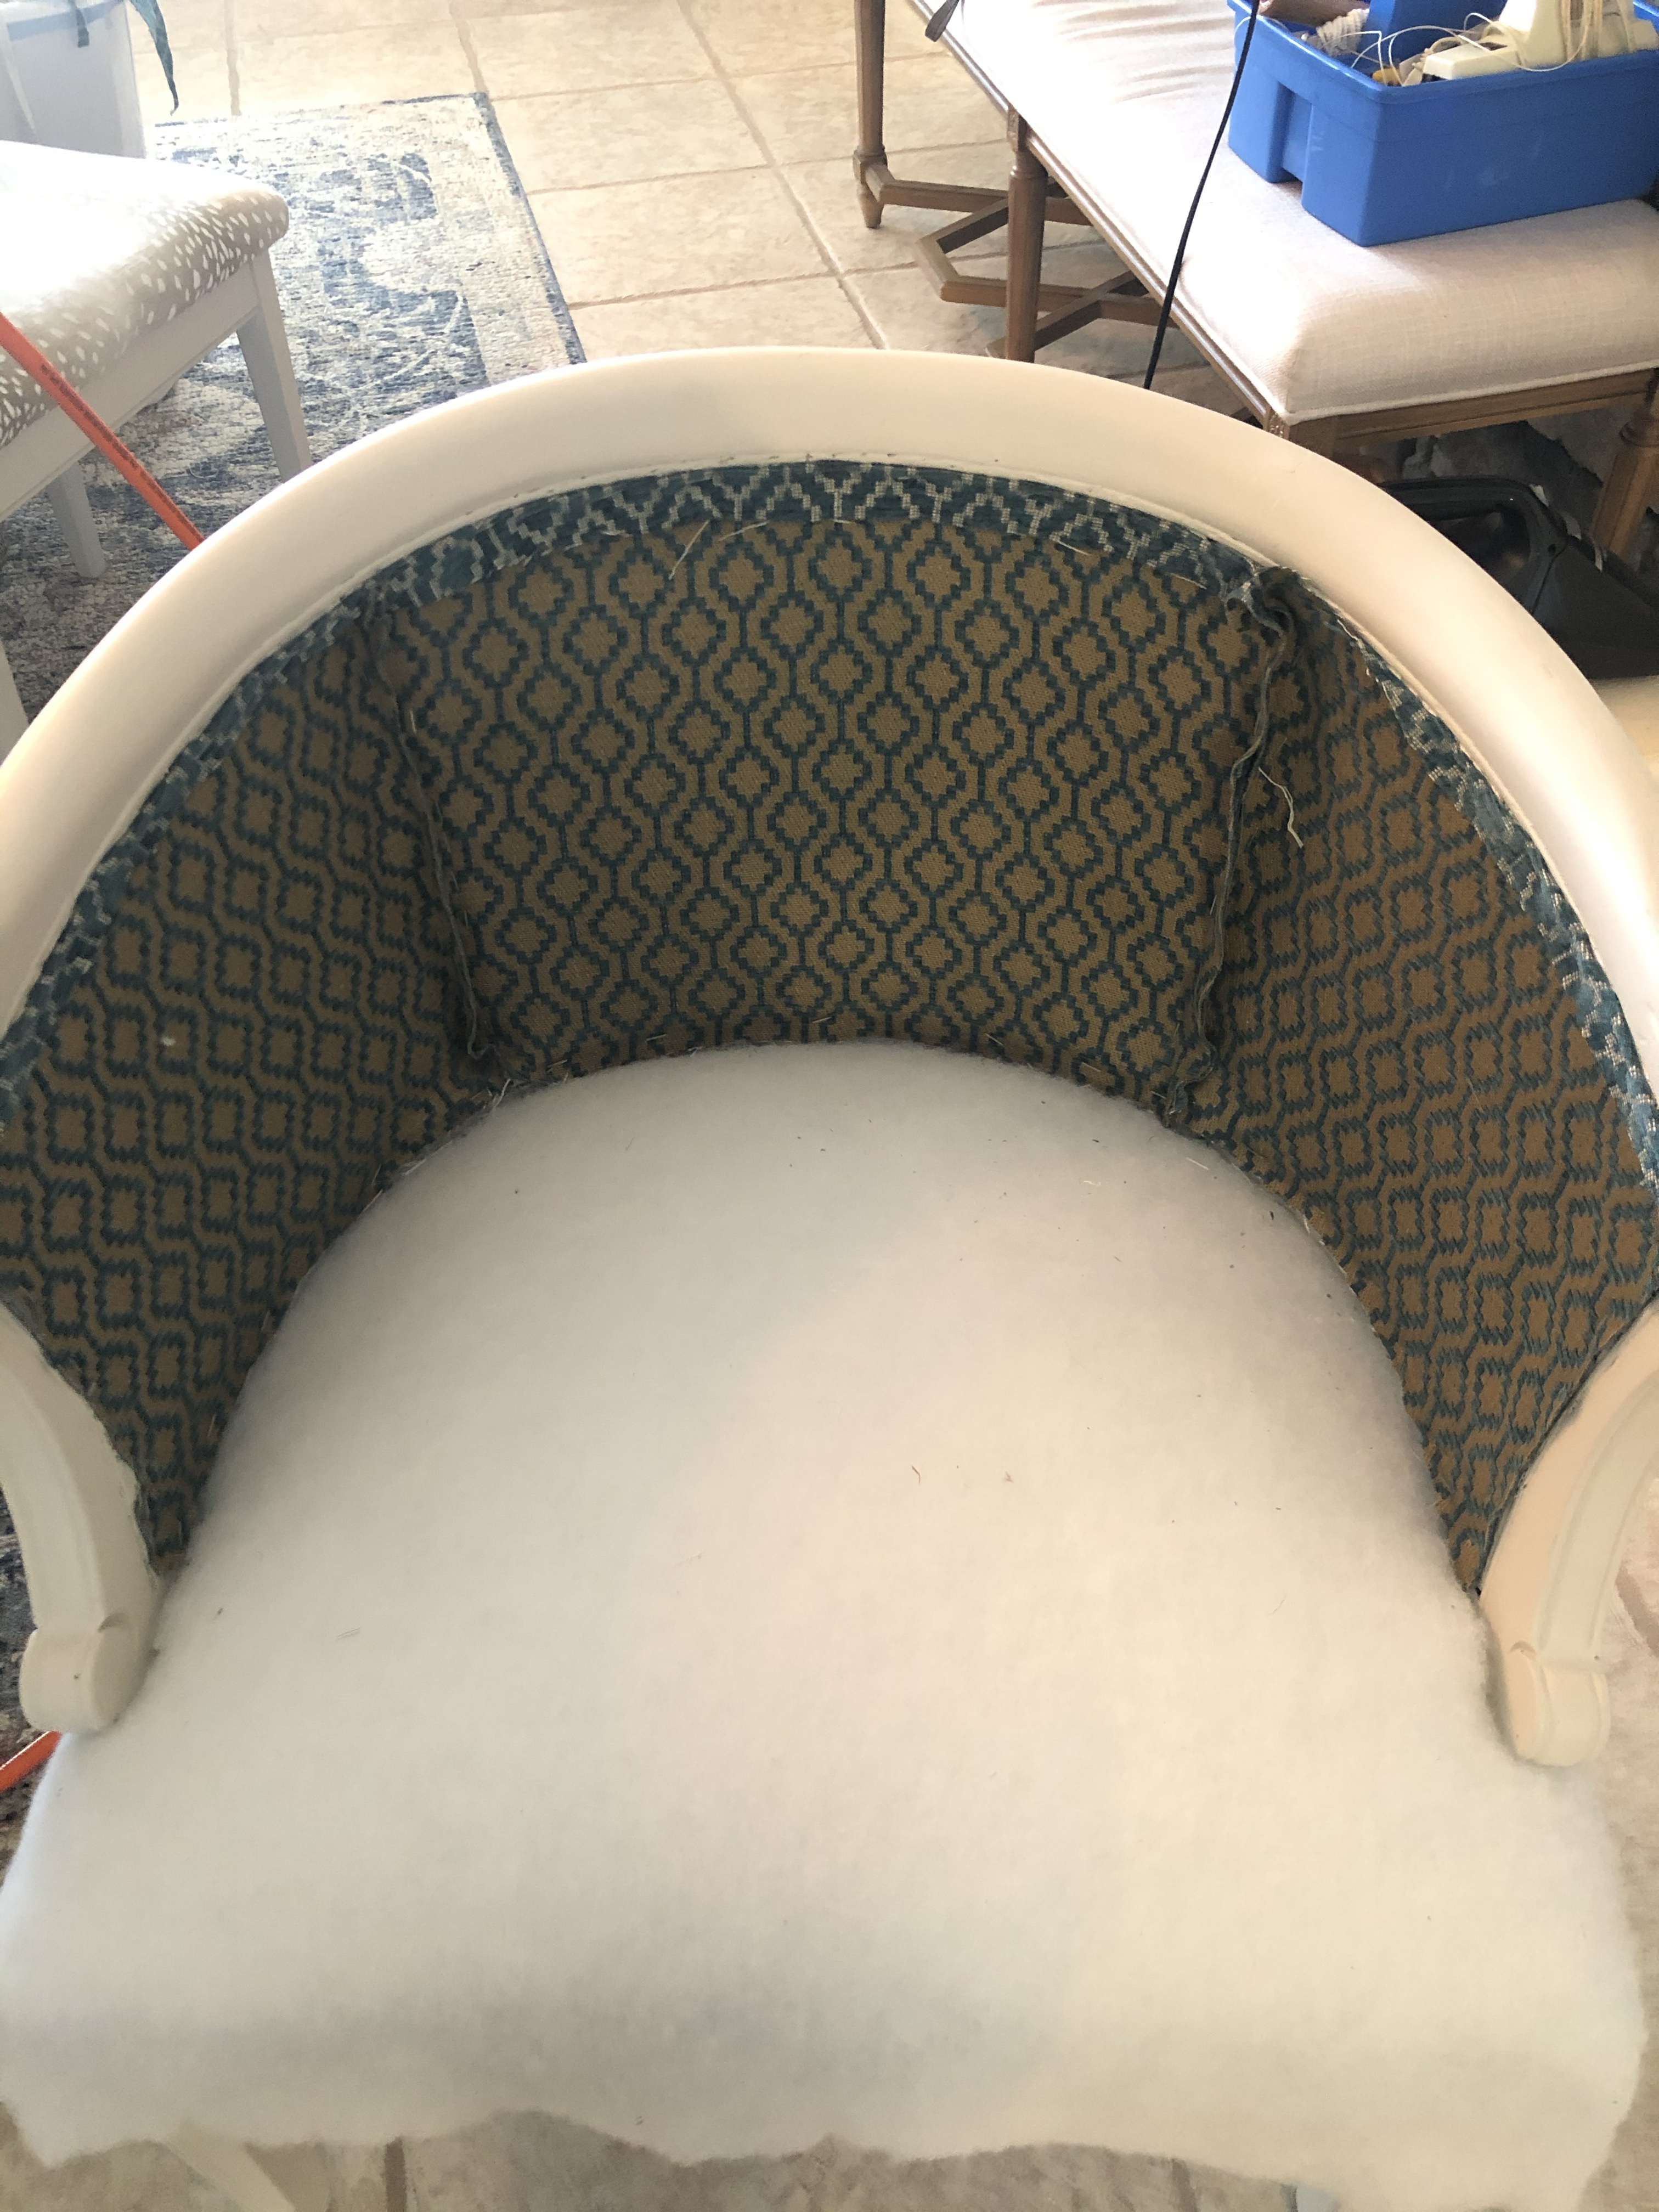
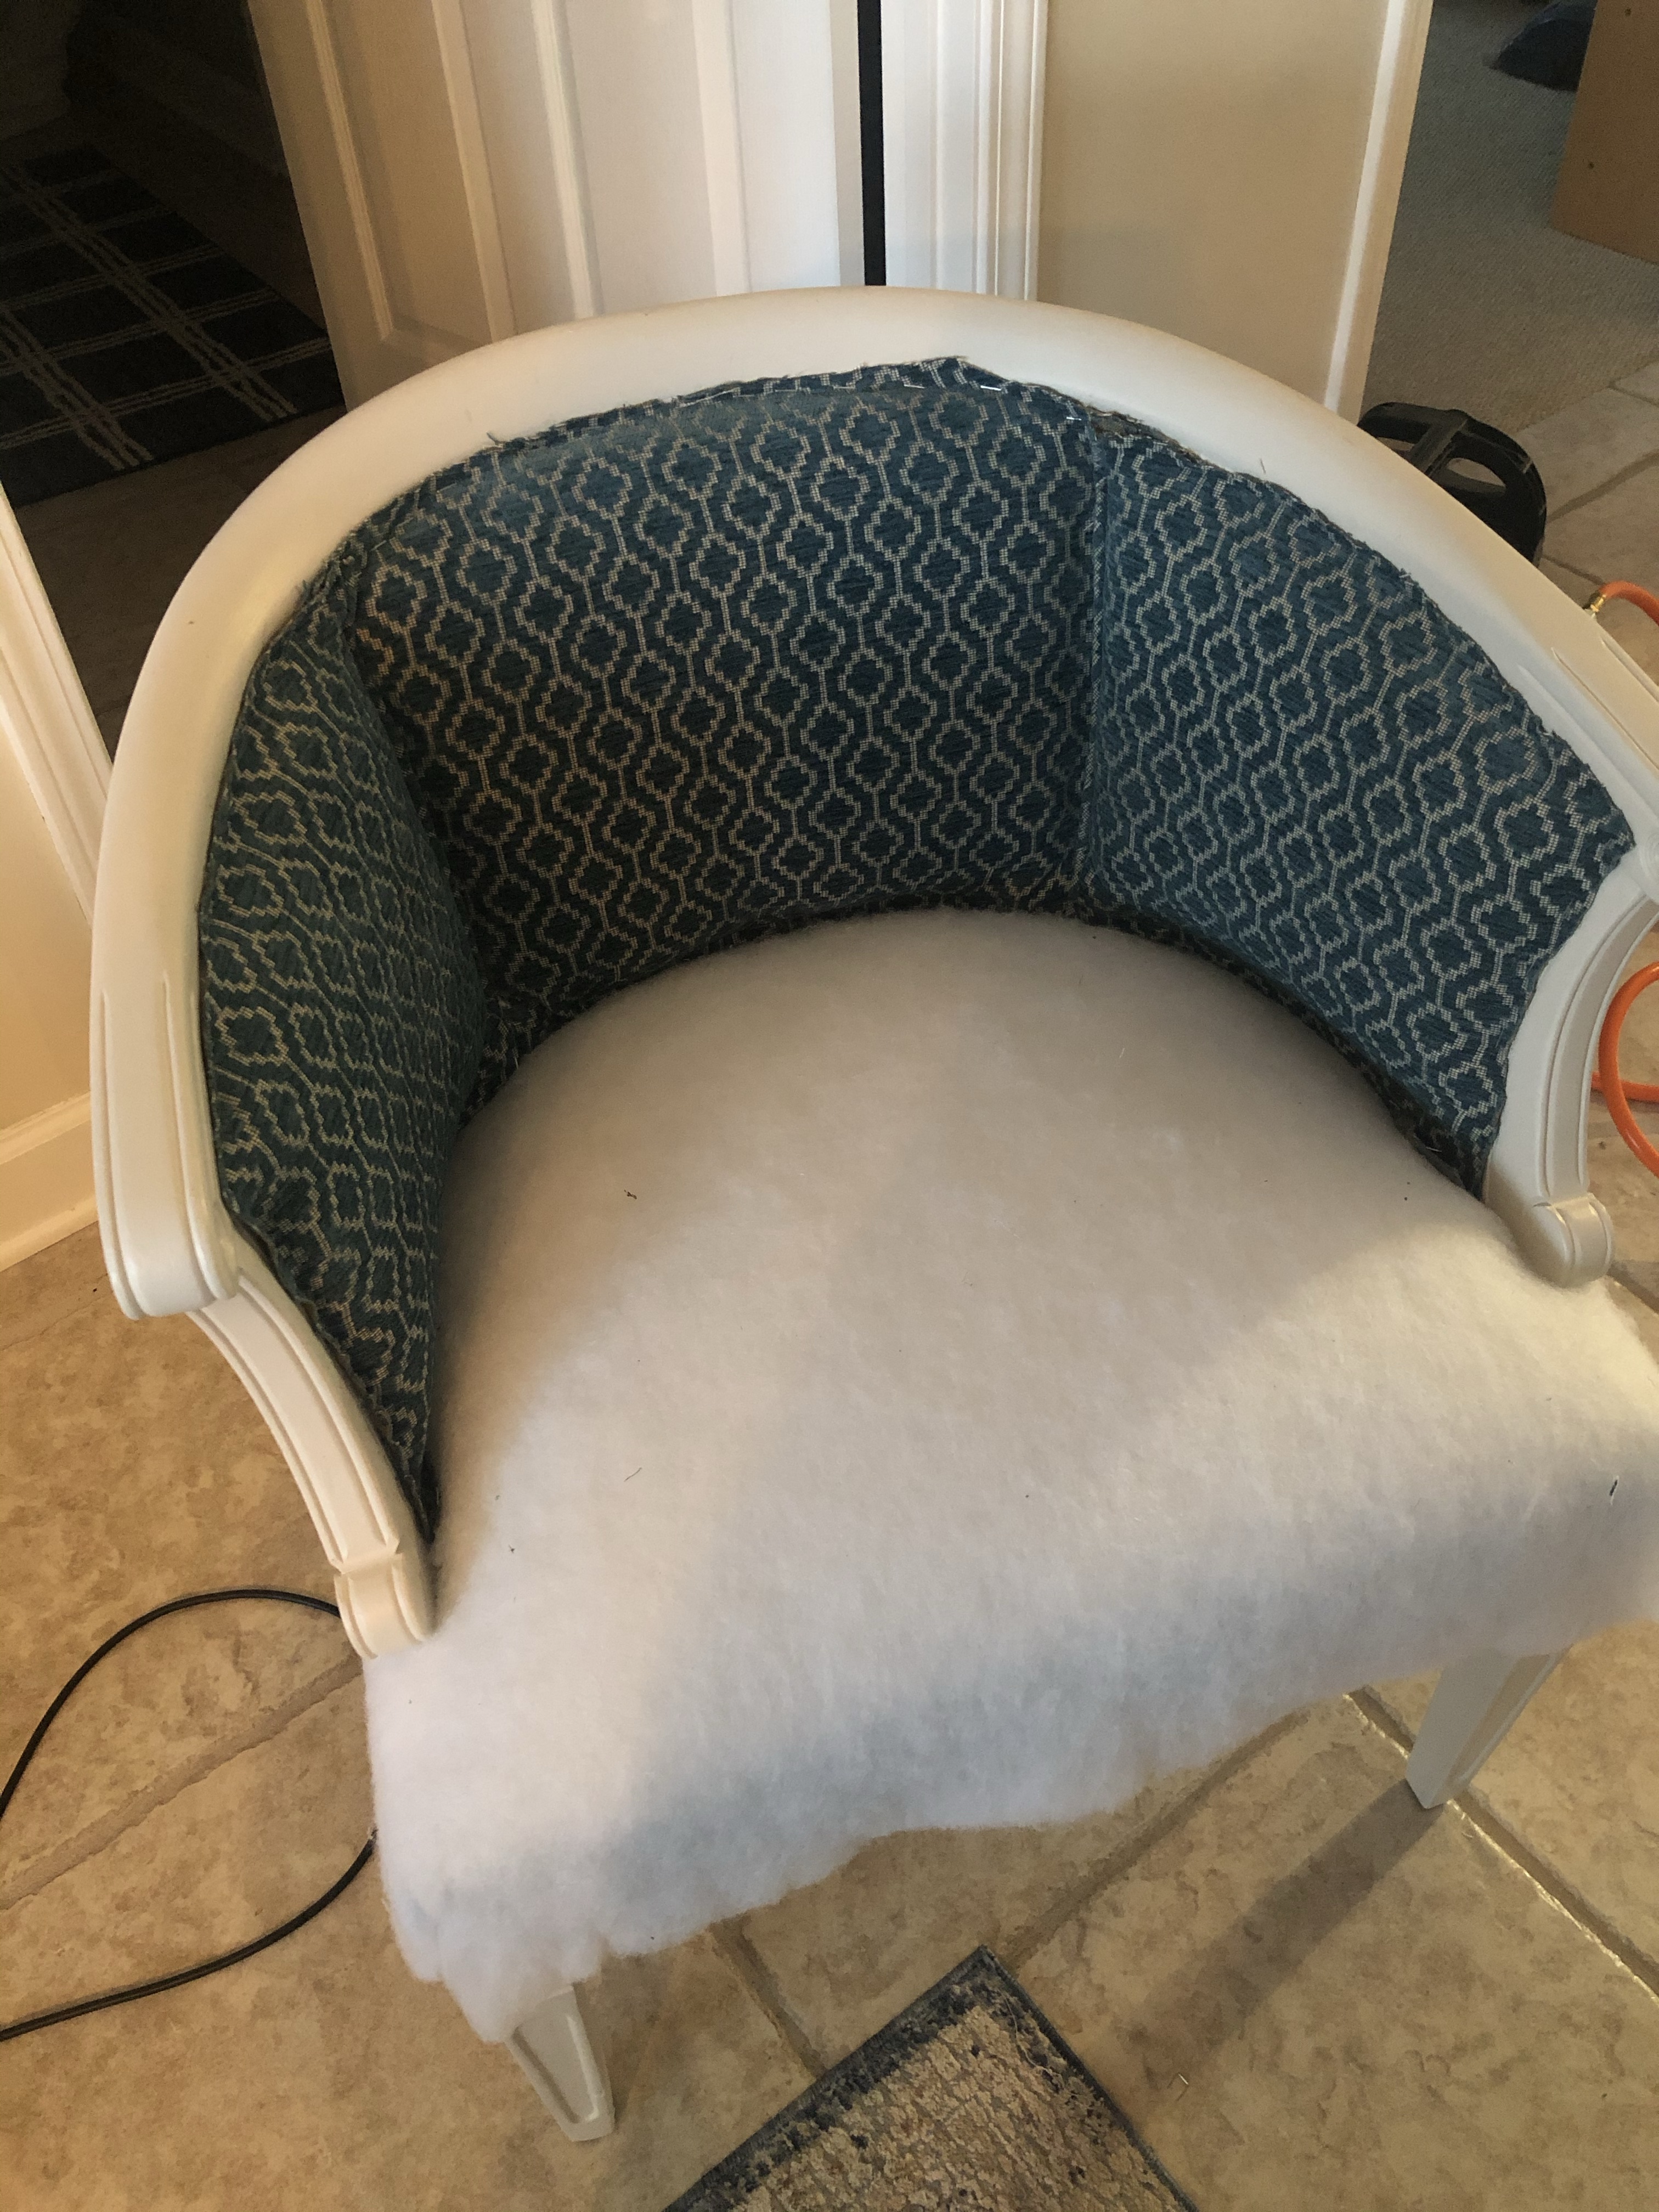
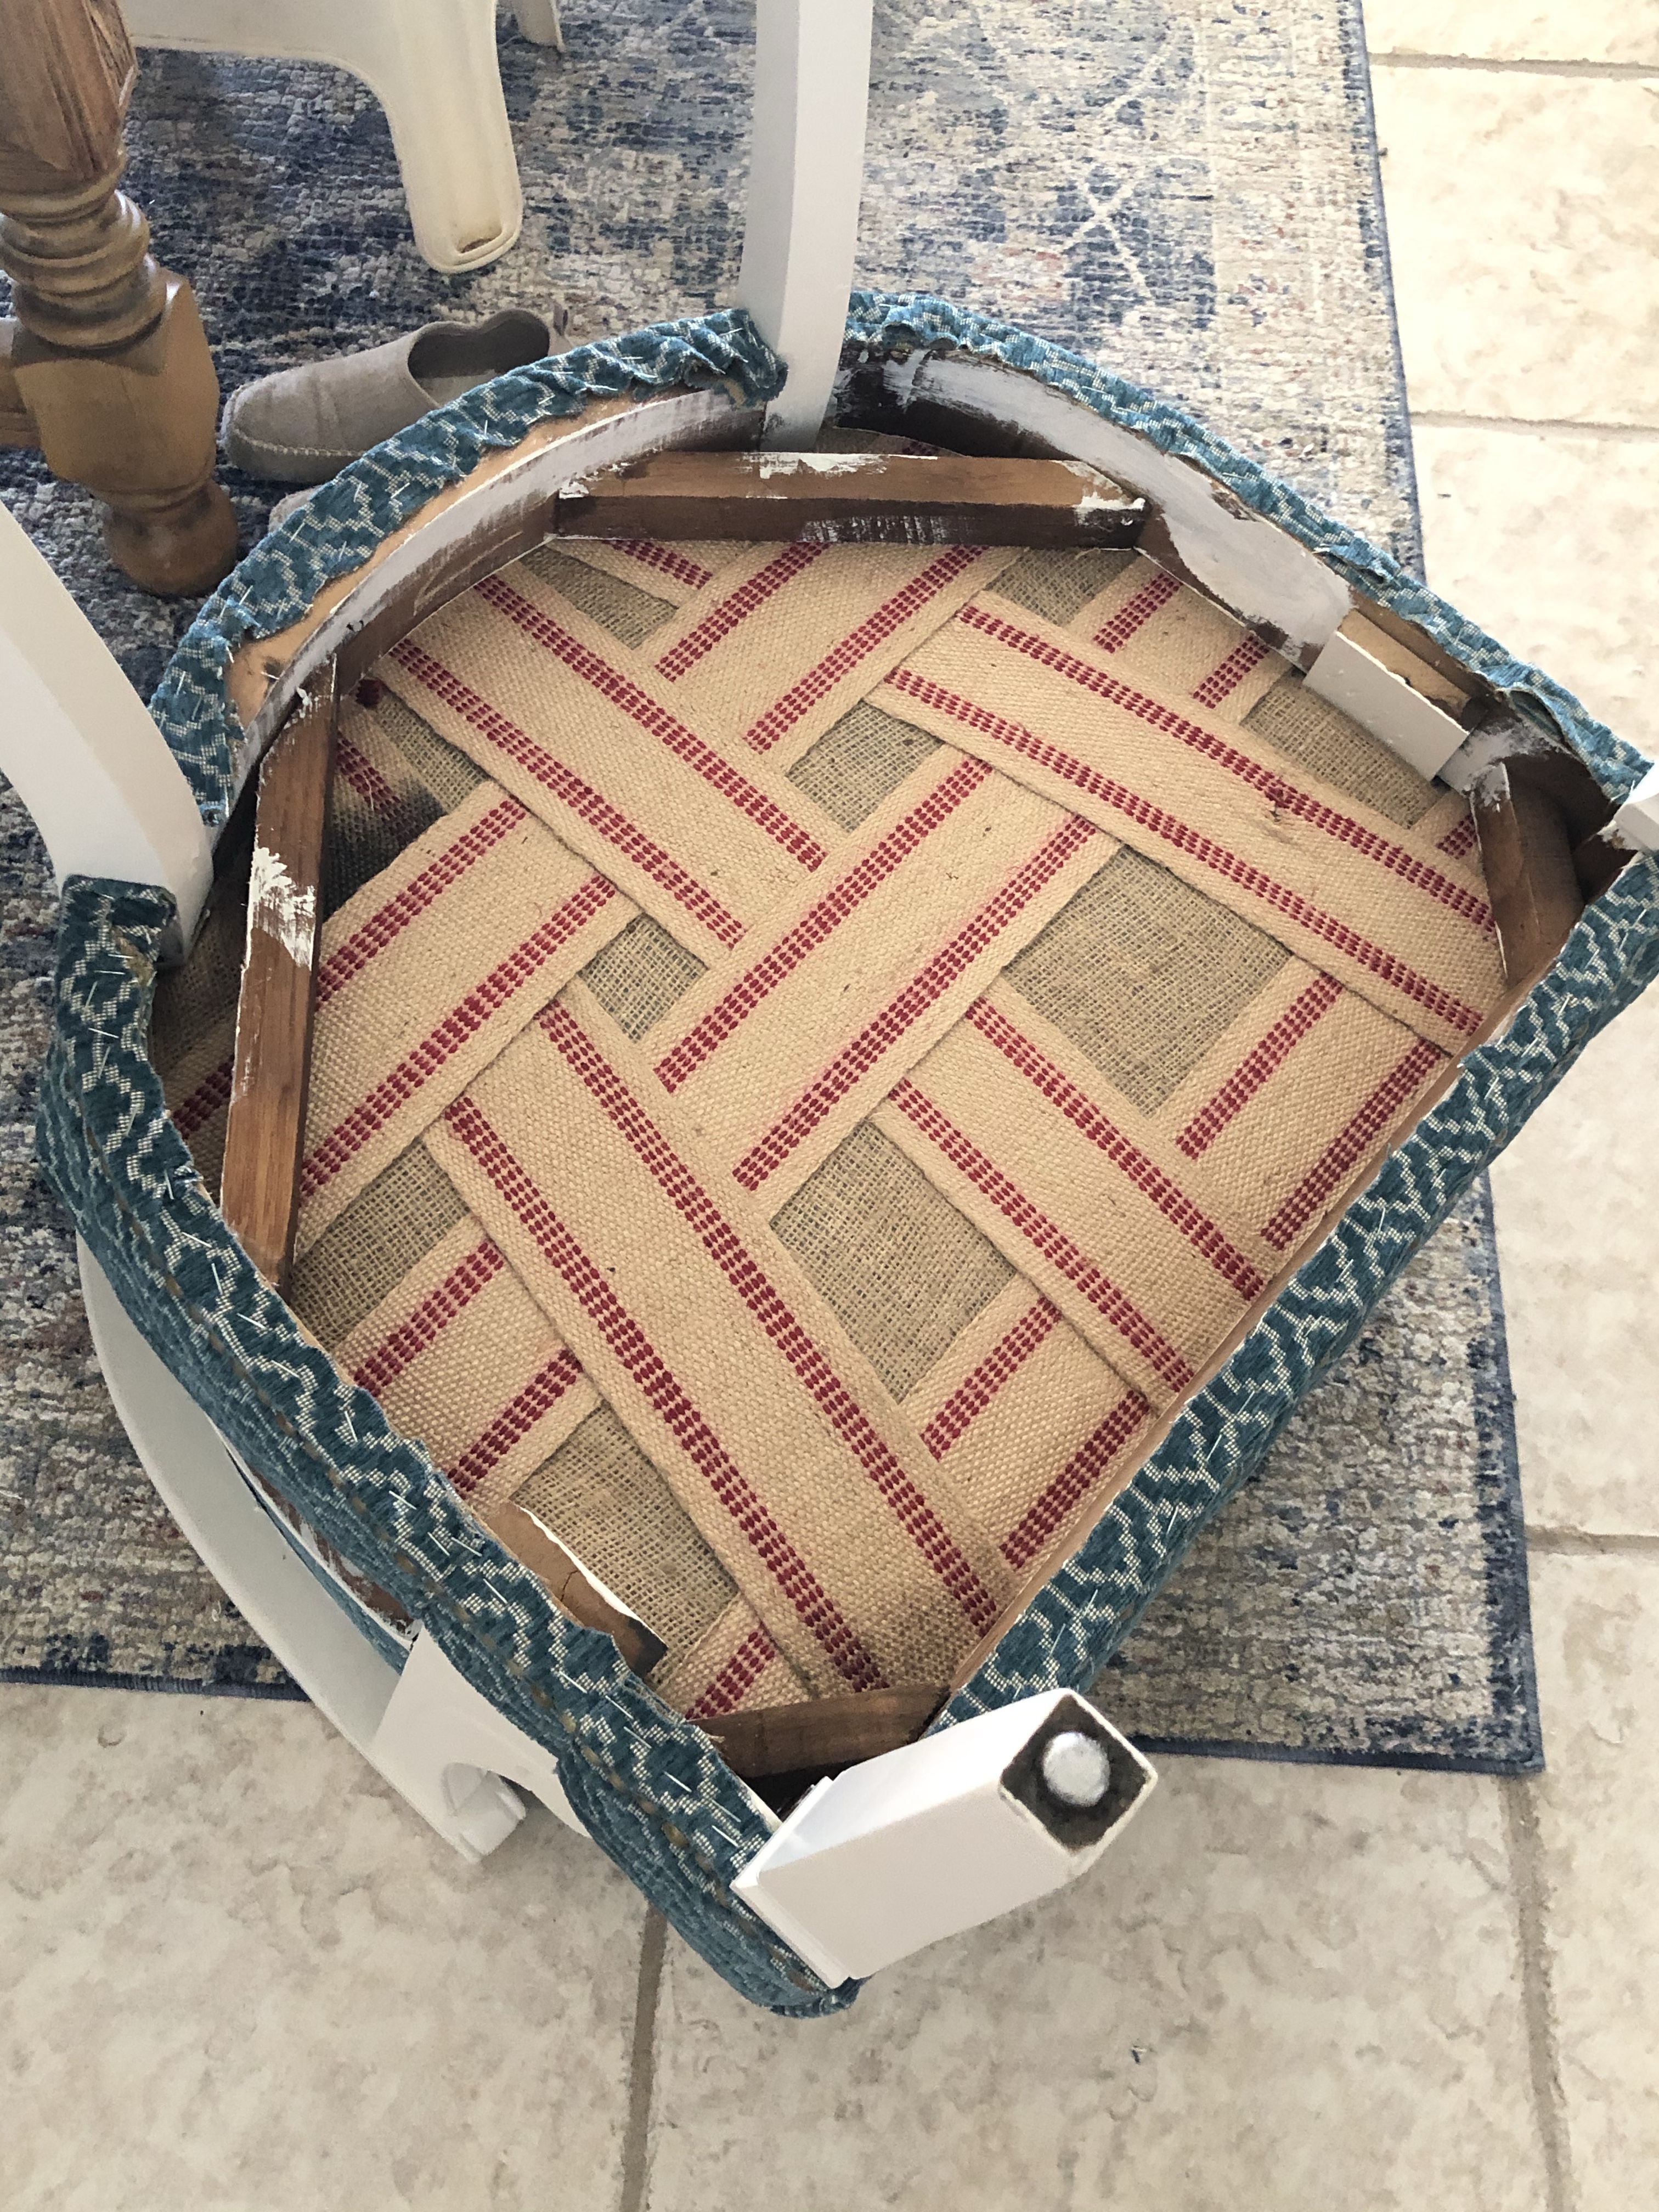
Let’s start with the tear down. Clearly there are times when people do not tear down, which is evident when you actually tear down a piece and discover one or two layers of fabric on the chair. That’s a lot of staples, batting, foam, glue, dirt, and whatever else is attached to the piece. I found it helpful to wear a mask to avoid inhaling dust and particles from ripping of the layers. You also need to be aware of old nails and staples as you pry them out one by one. Make sure your tetanus shot is up to date.
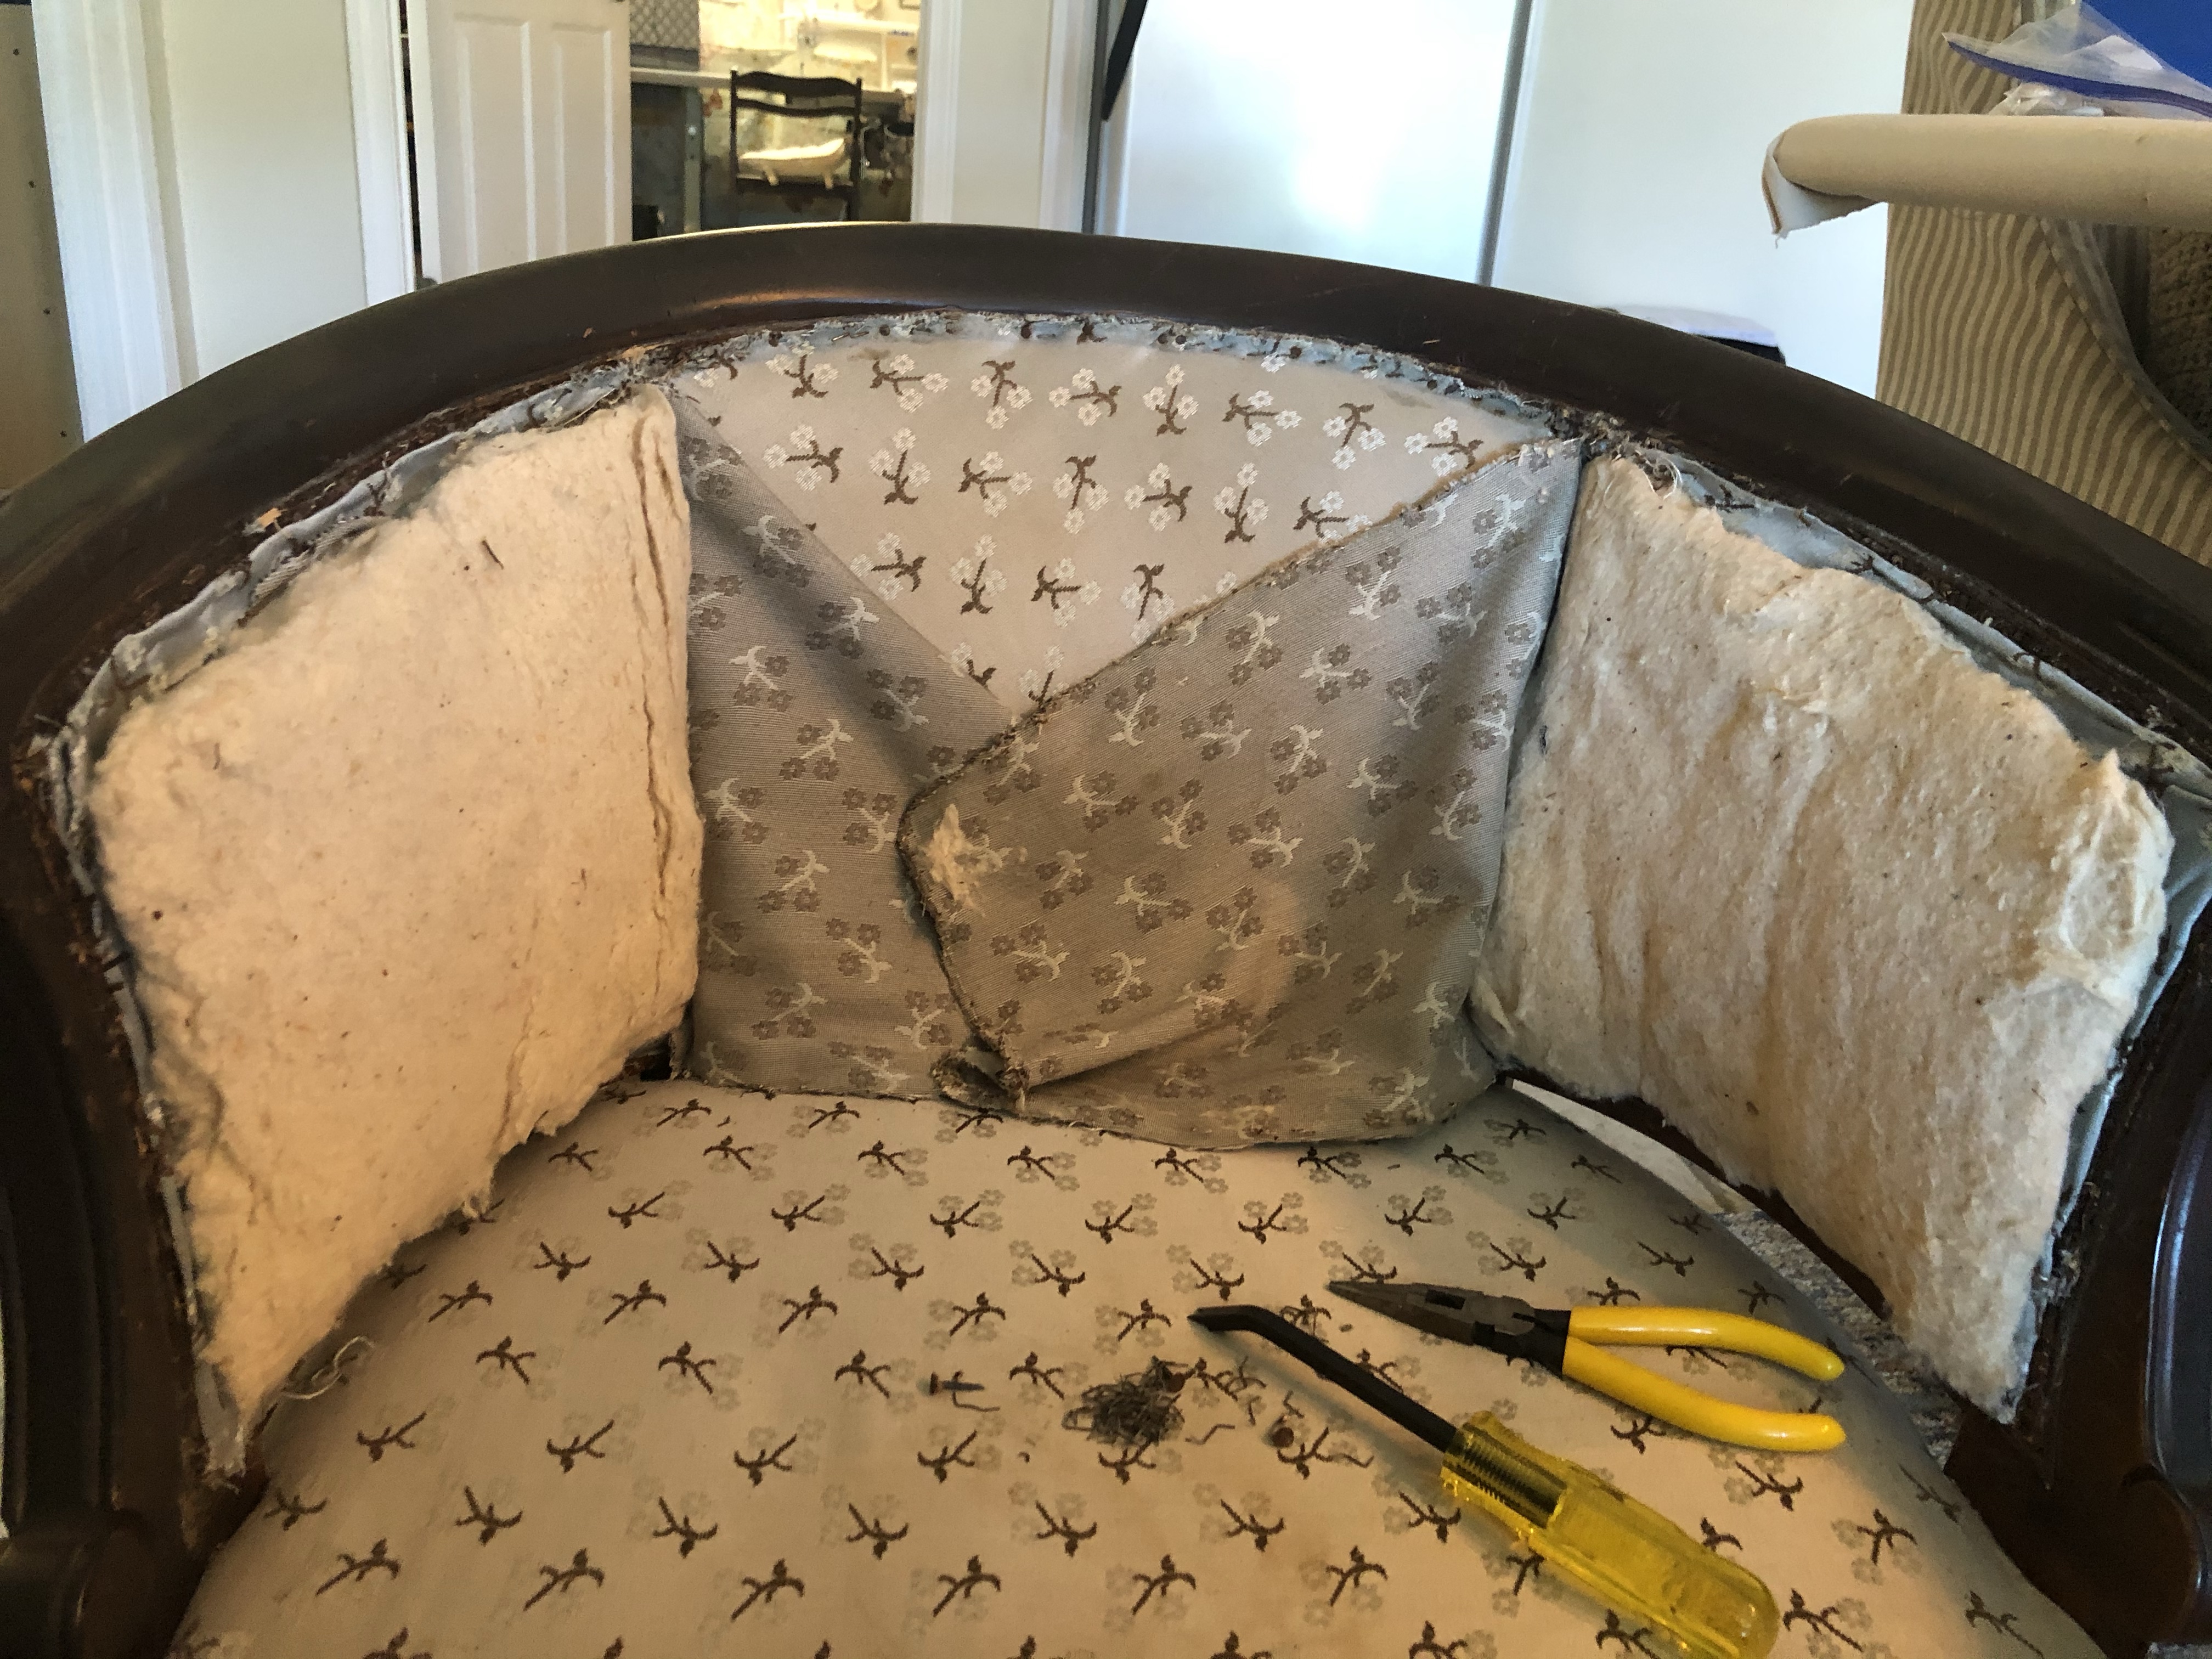
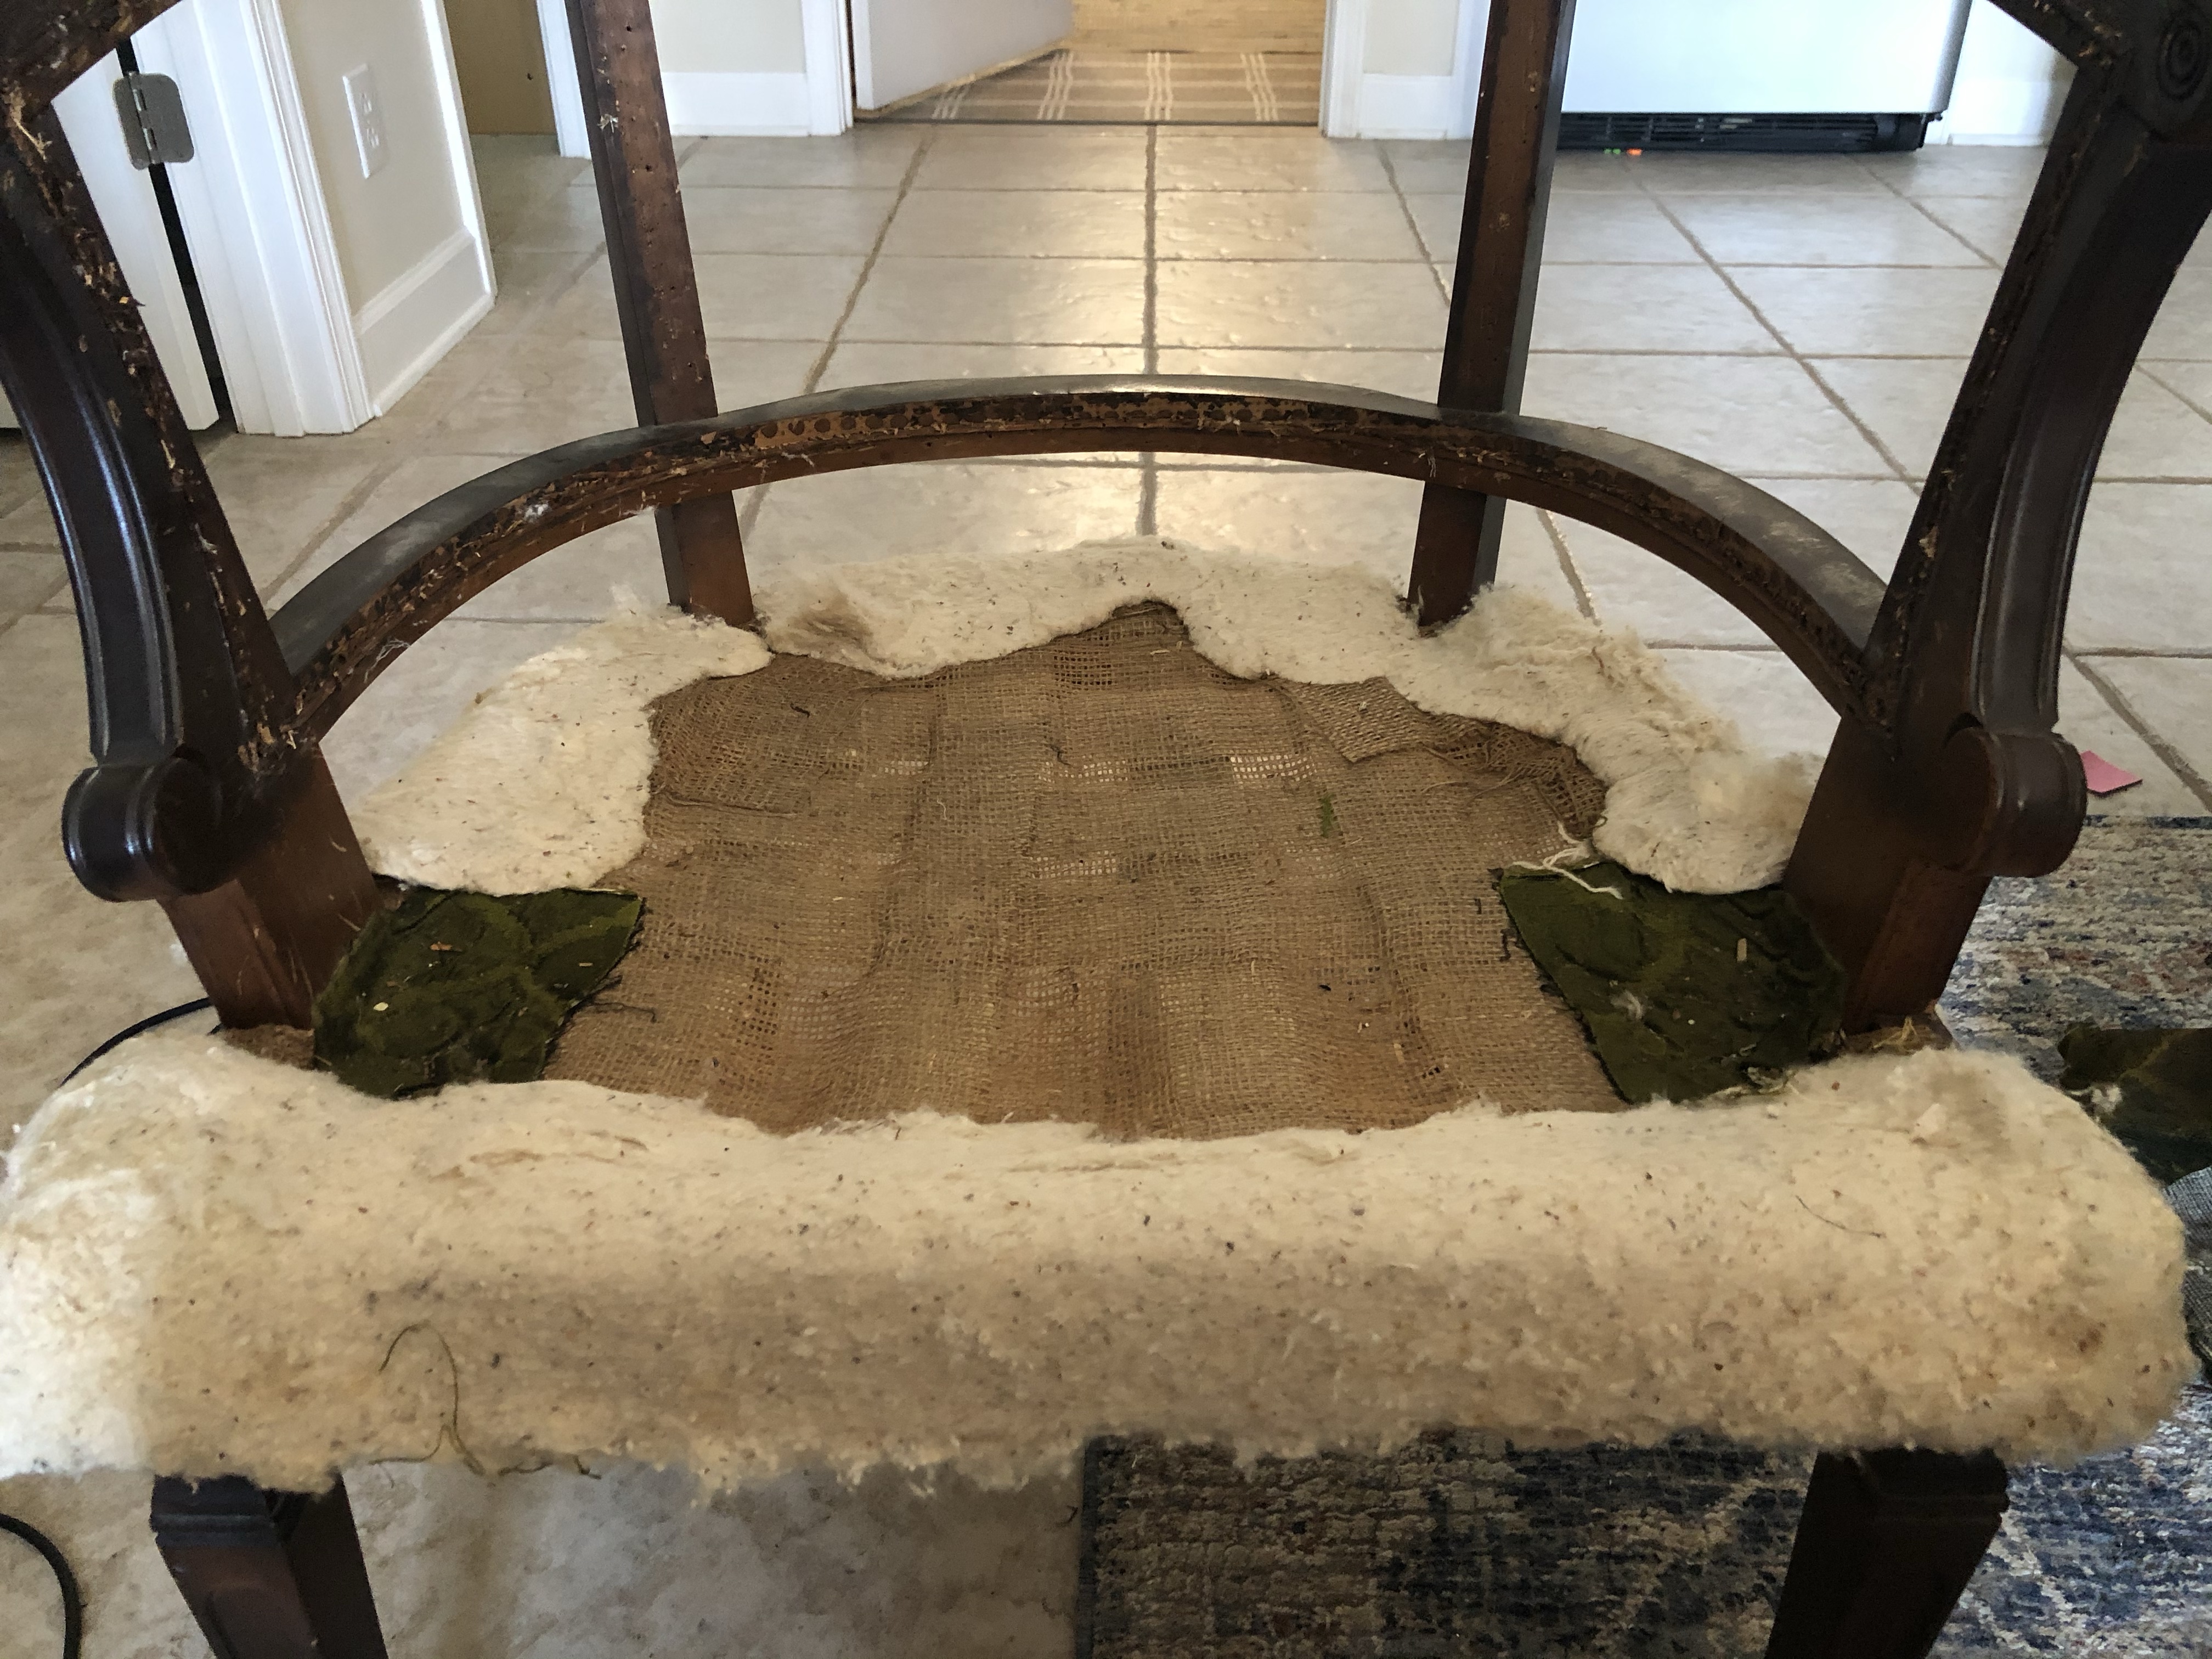
I should mention, that unless you are quite experienced, you will want to take lots of pictures as you deconstruct your chair as it is very helpful to have the pictures for a reference for some of the little details you might forget. And then finally you have a wood framed chair, void of fabric, foam, batting, nails and staples. The bare bones wood chair looks beautiful. Take a moment to admire it (or a month or two).
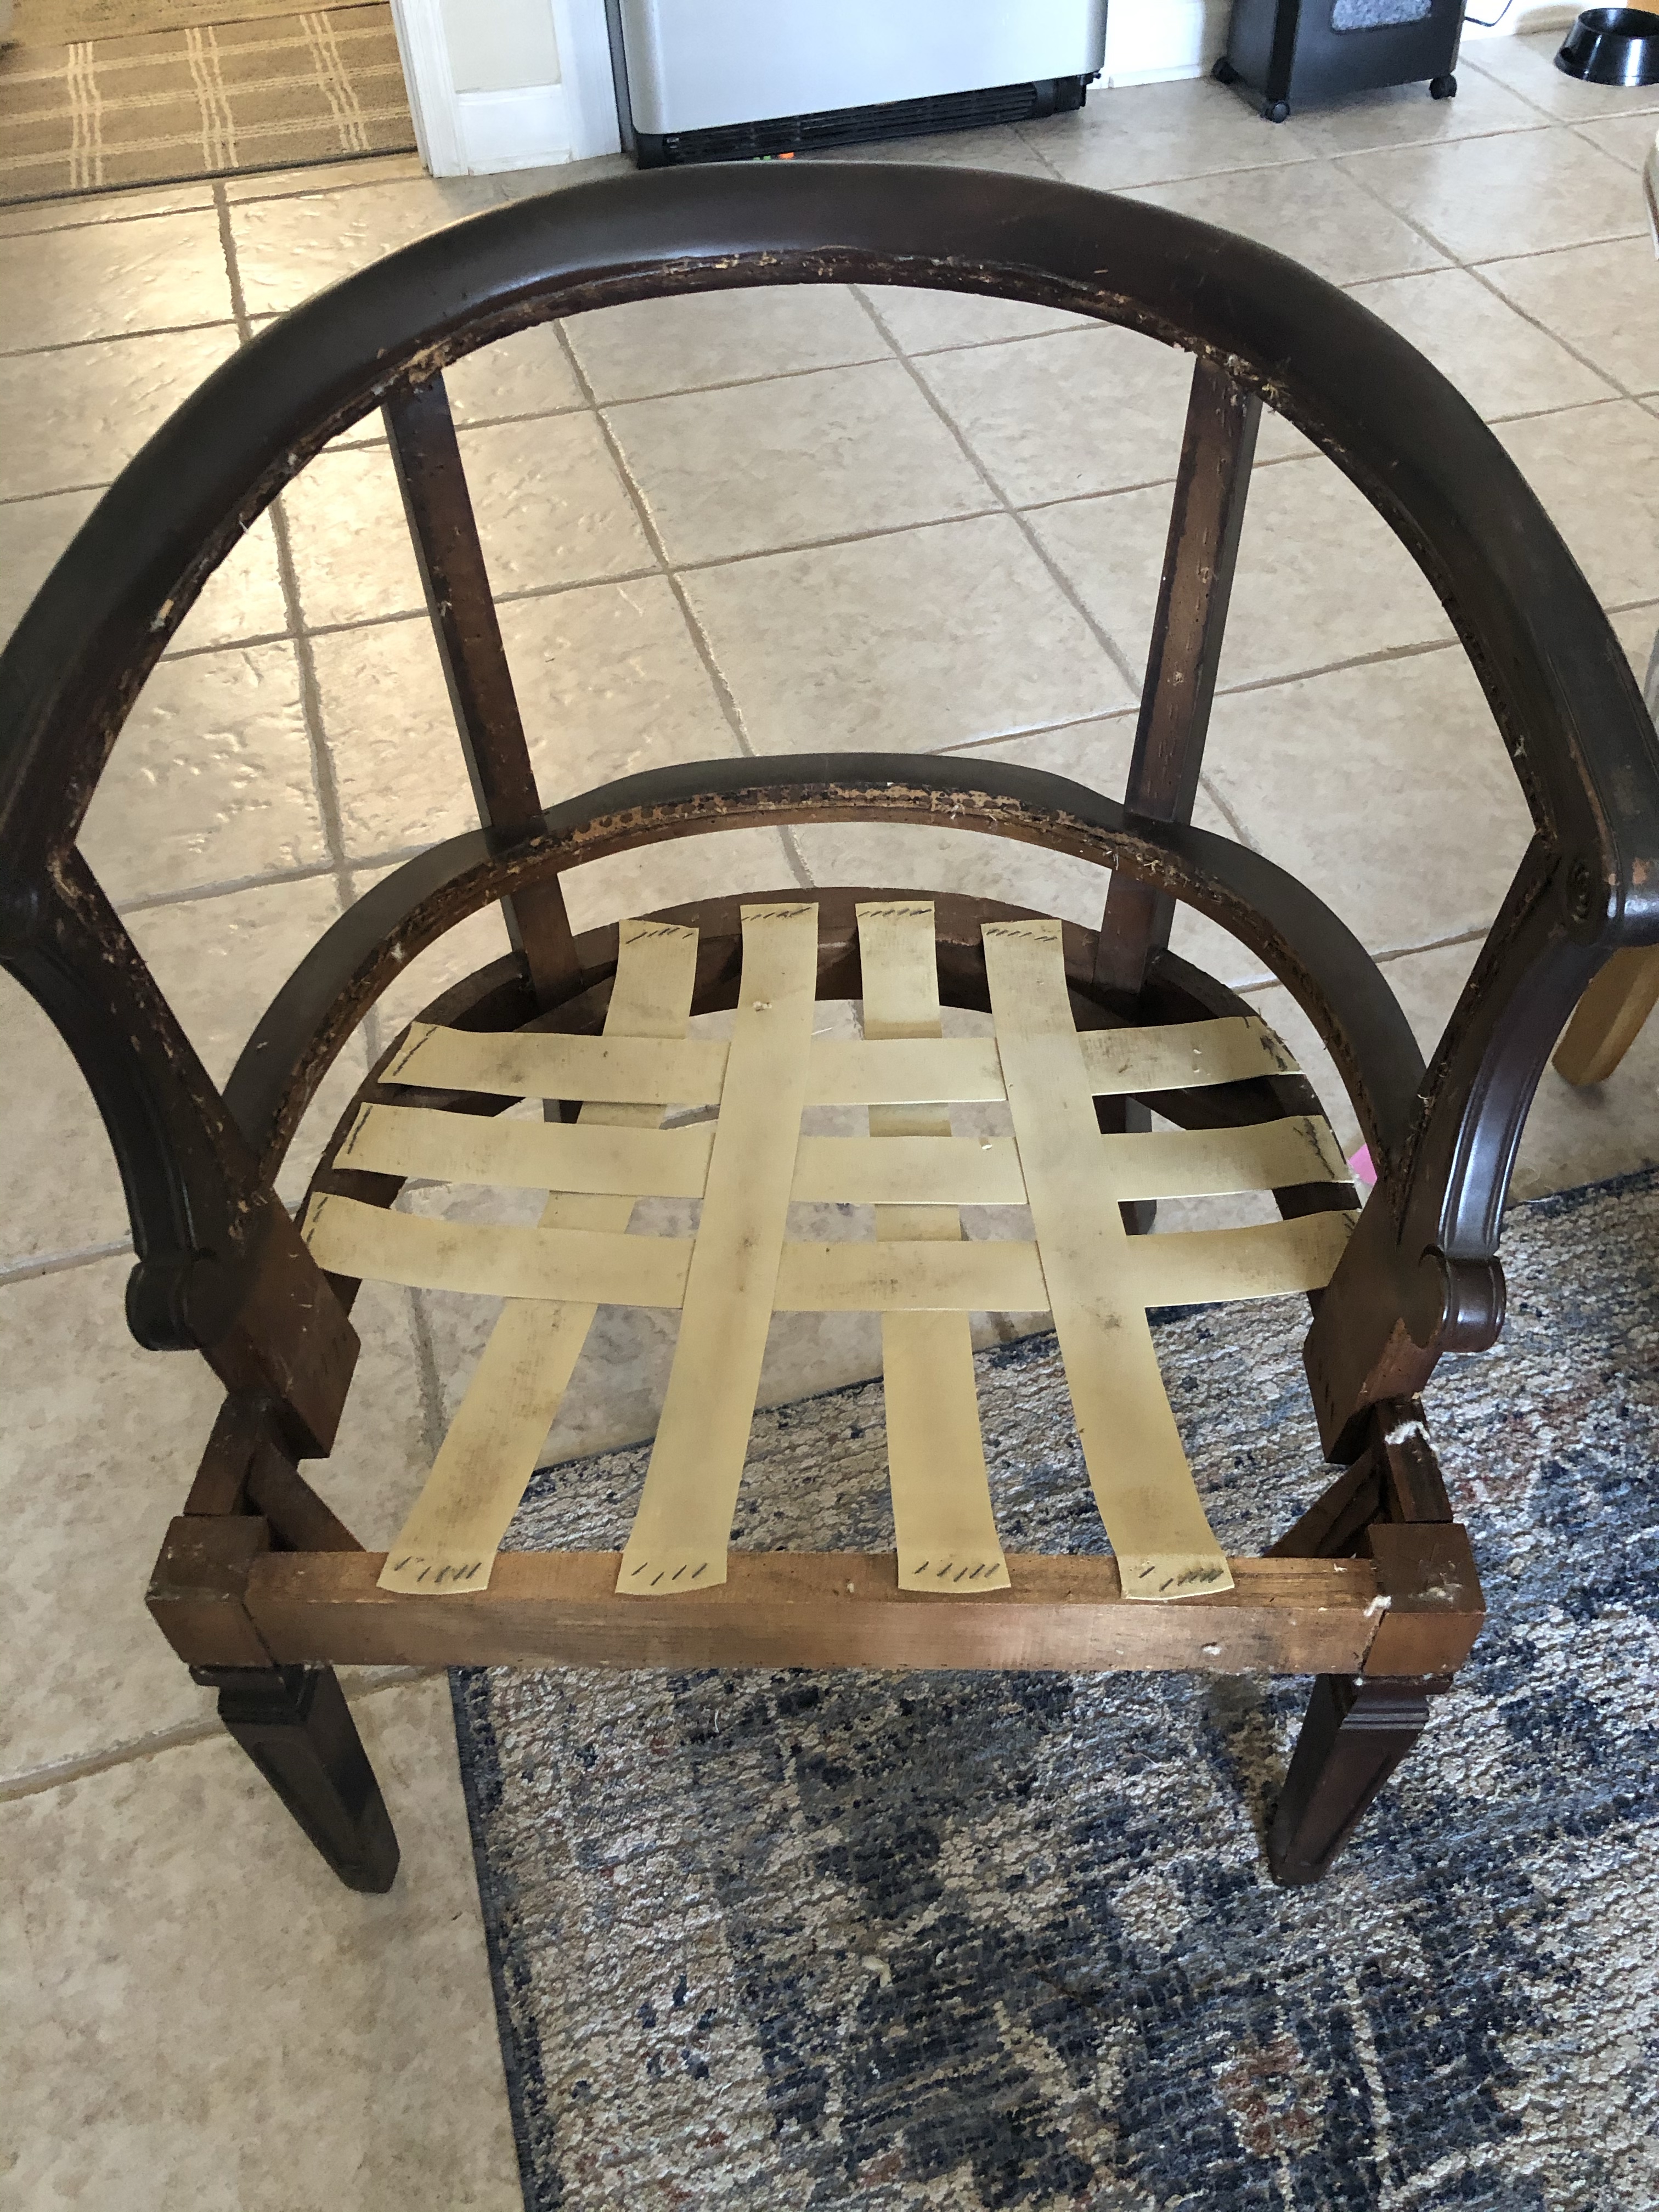
Now its time to put it back together. Will you put it back together the same way or make changes? Will you paint it to give it a whole new look or will you refinish it to it’s original self? Does the frame need fixing? Do the springs need to be restrung (if there are springs)? The last thing you want to do is recover a chair without fixing the problems. It is a lot of work and expense to just cover up the problems.
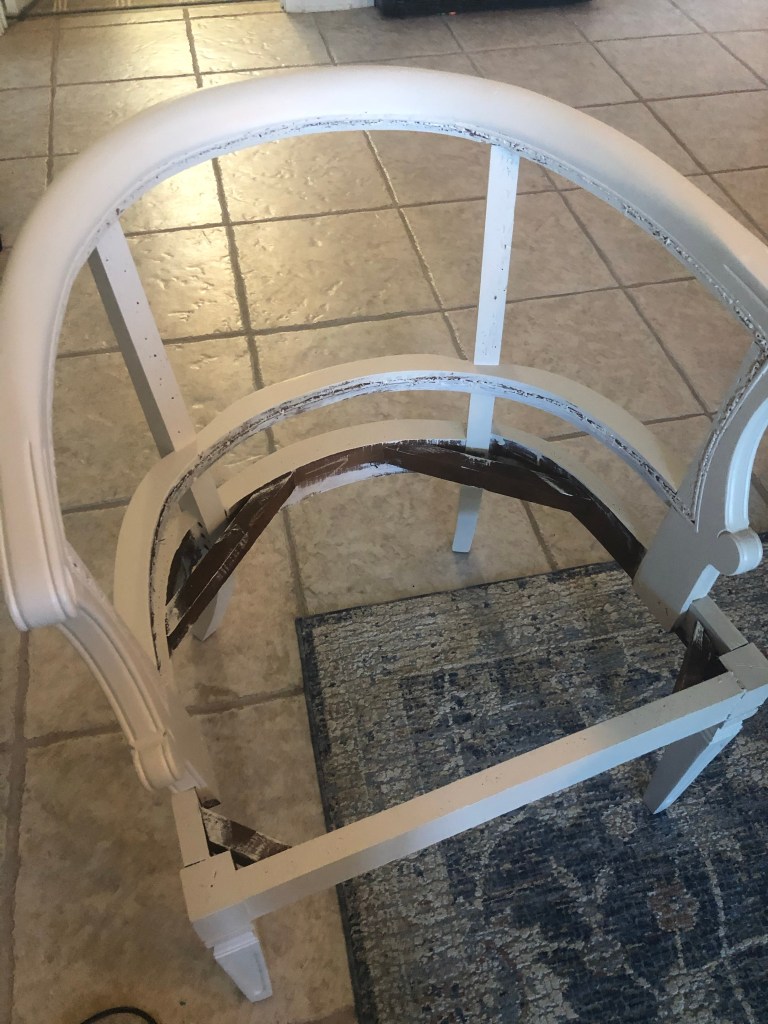
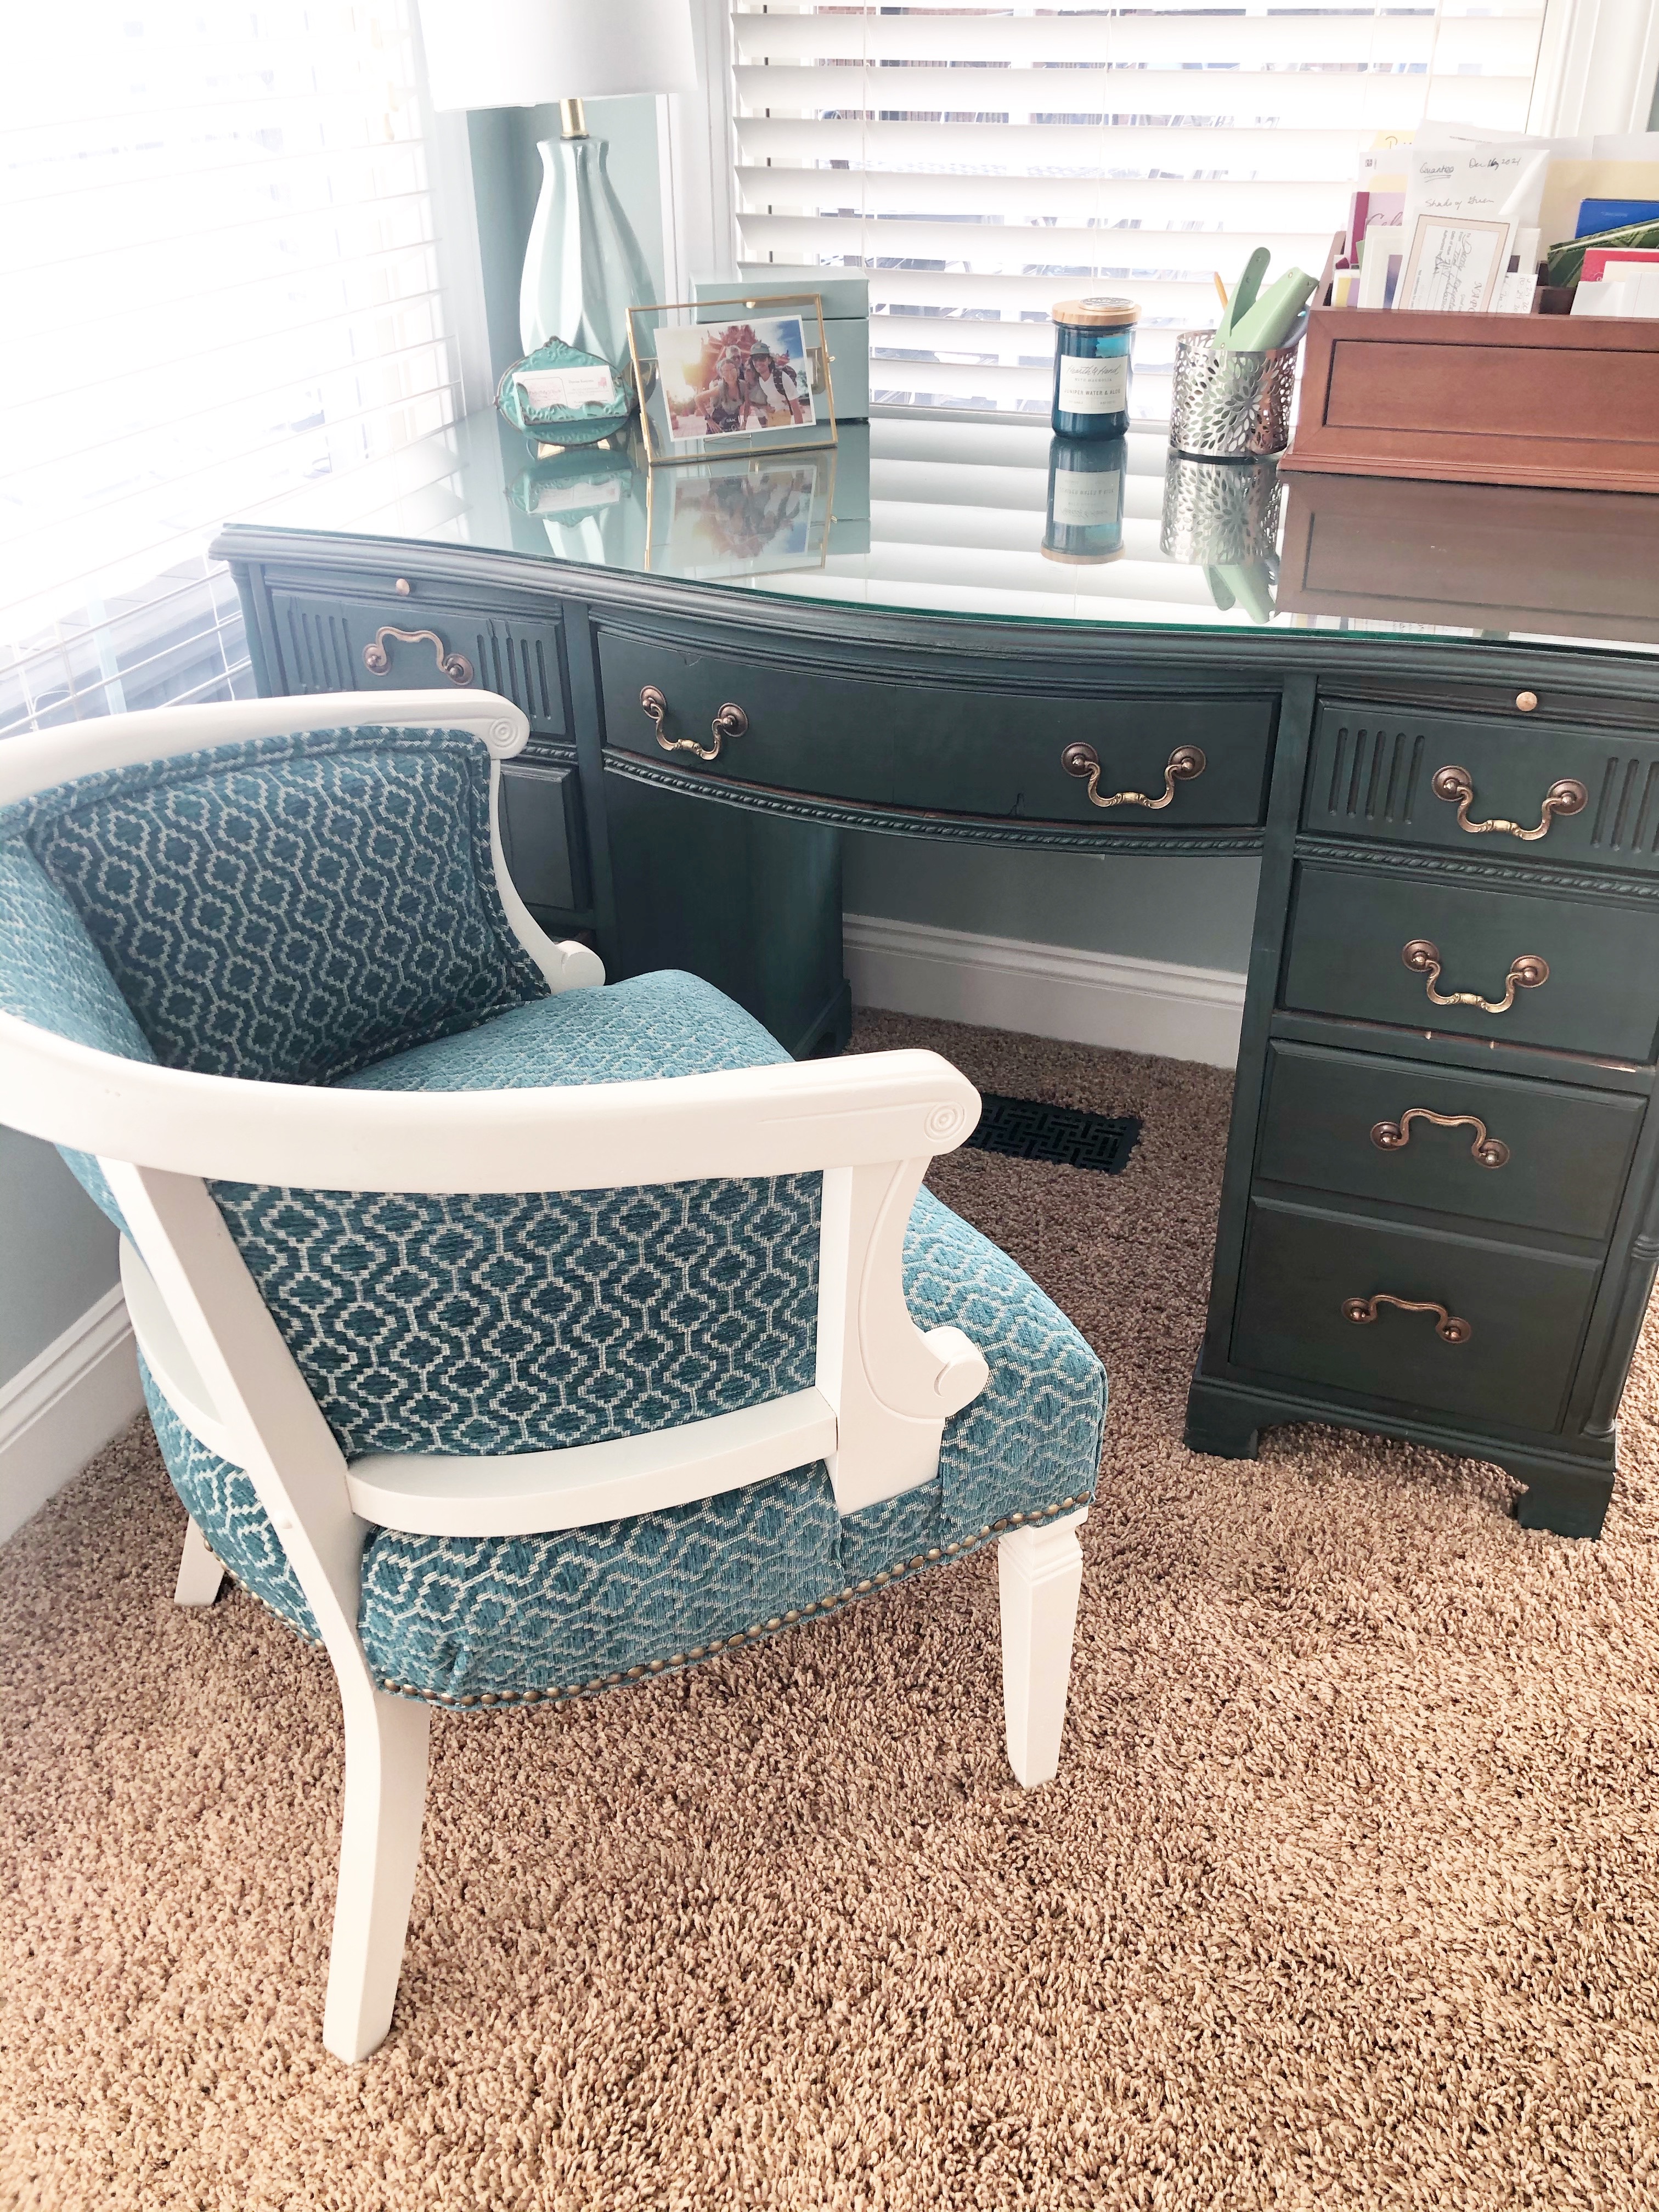
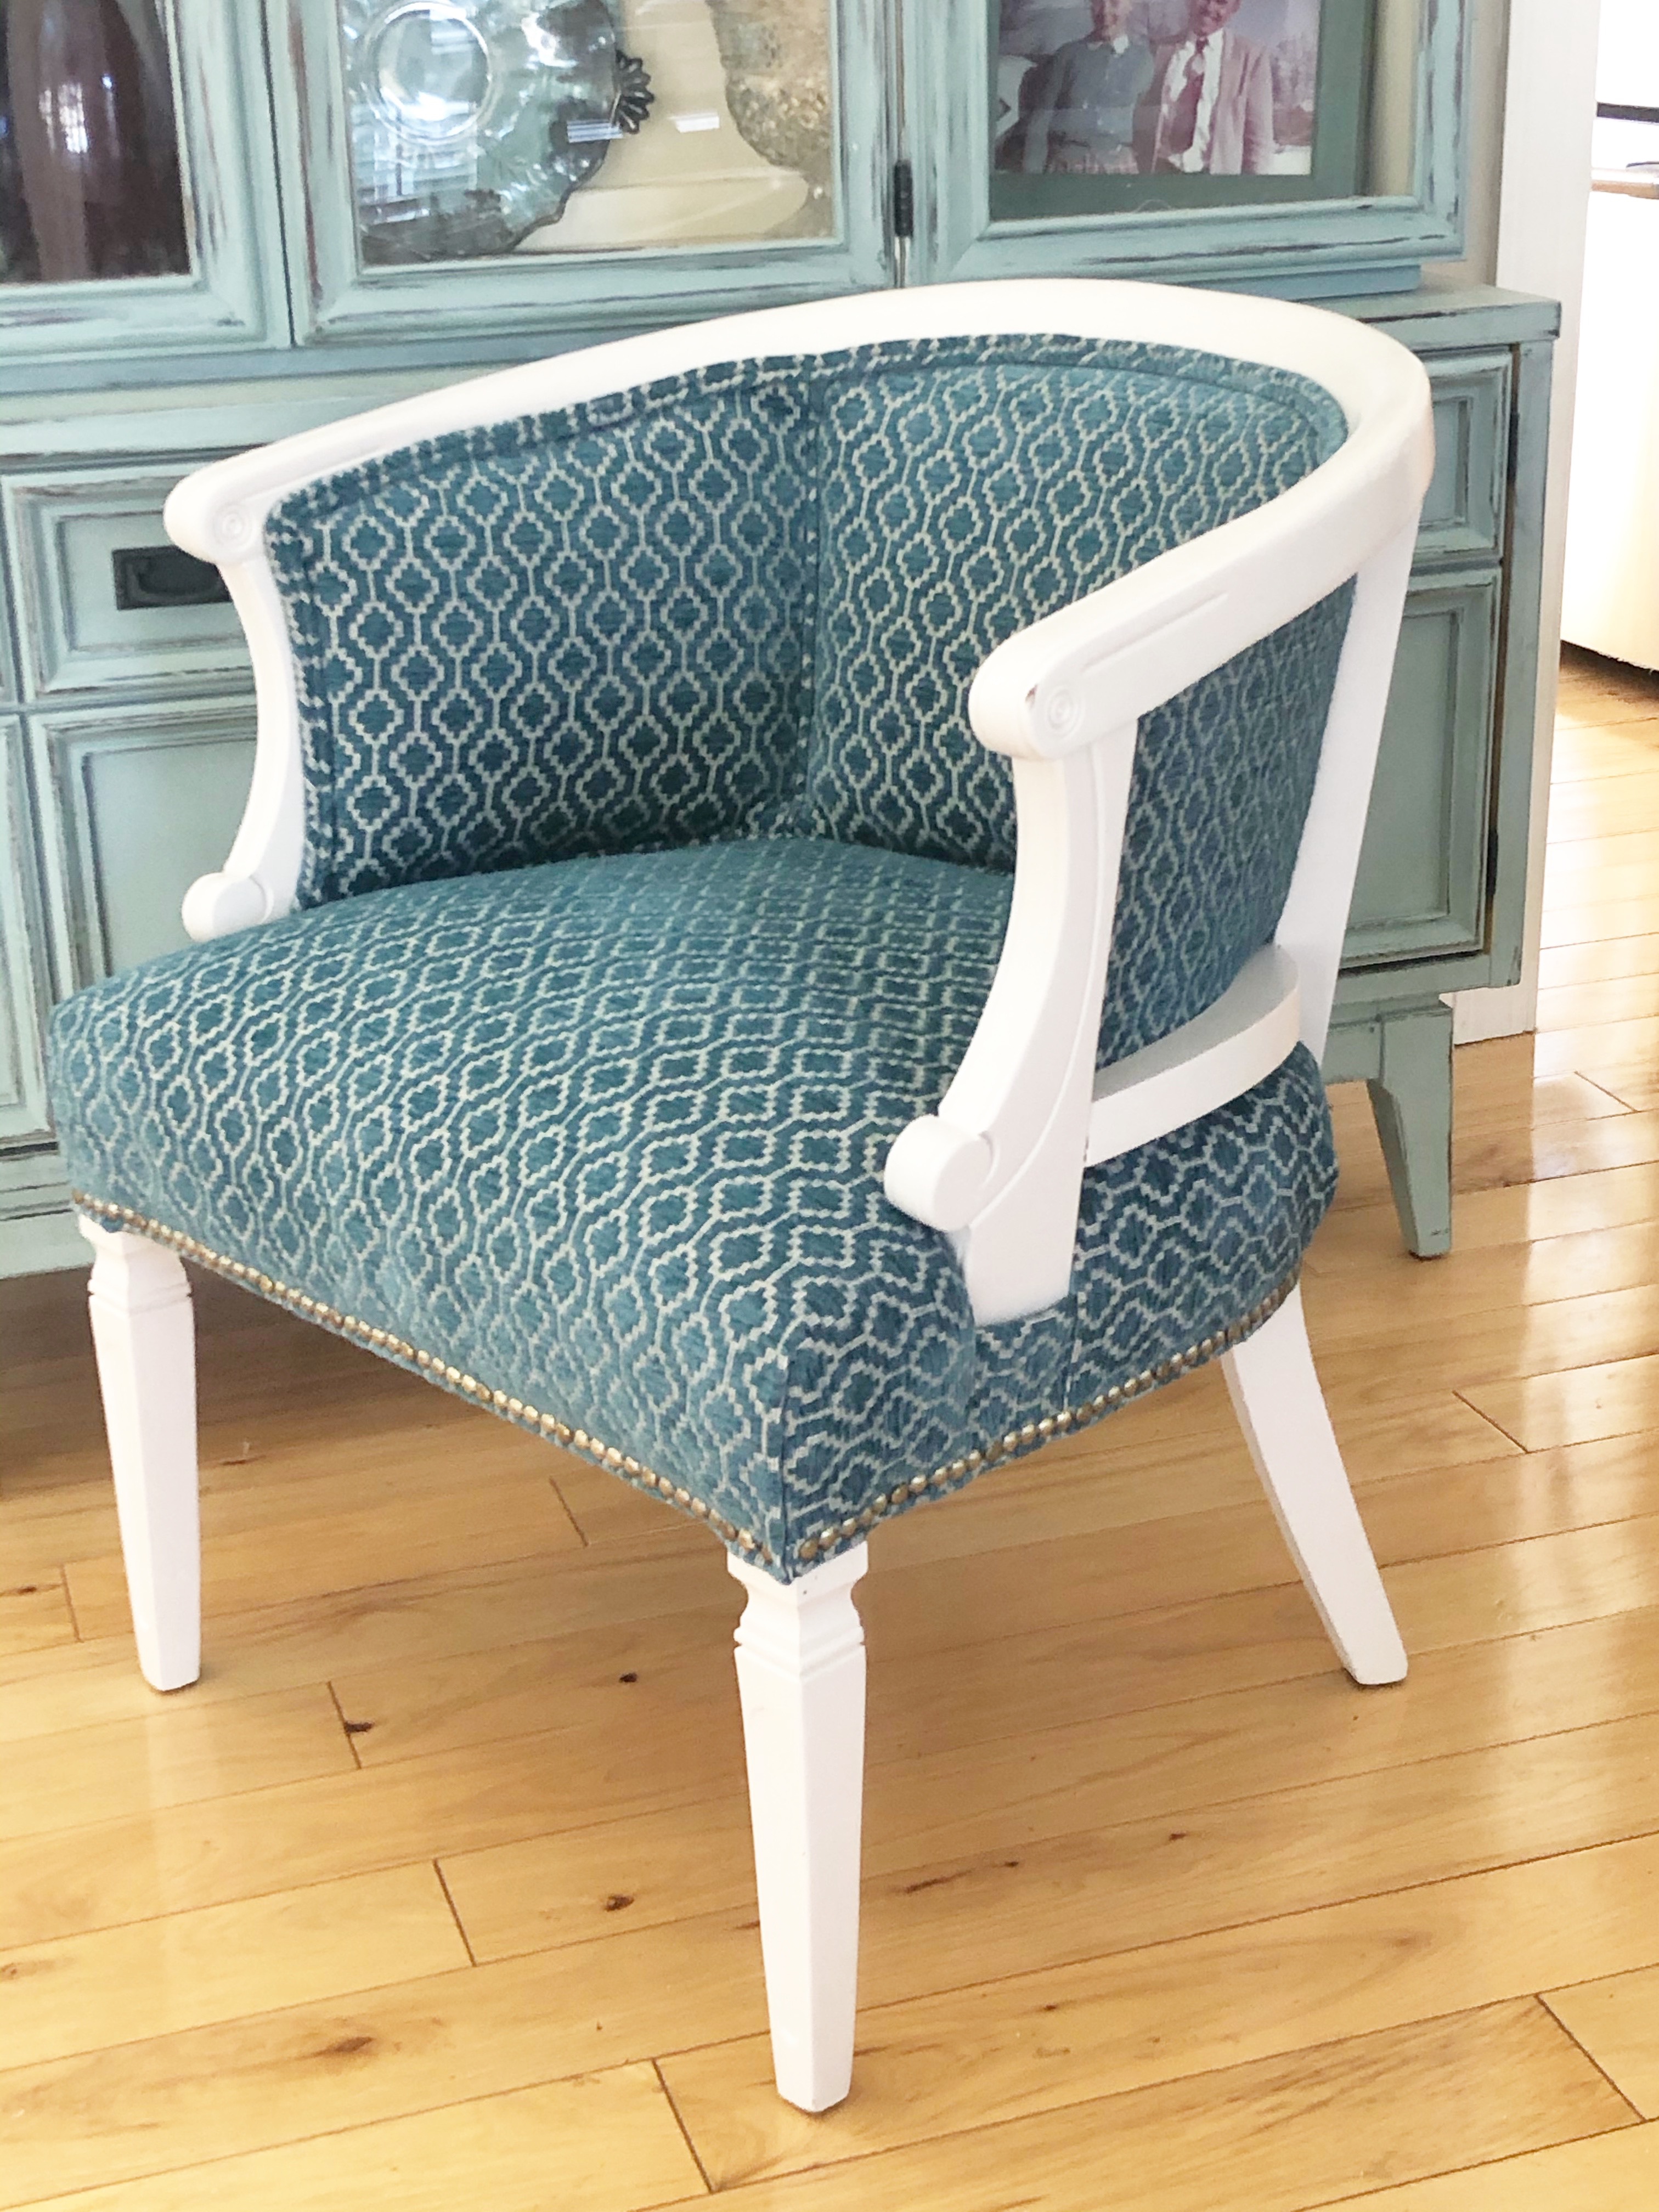
For my desk chair, I decided to paint it a creamy white color to lighten it up and contrast with the fabric I had picked out. I wanted it to coordinate with my desk which I had painted an antiqued teal but also wanted to lighten it up and to blend in with the rest of my bedroom. The frame was in great shape, no wobbling whatsoever.
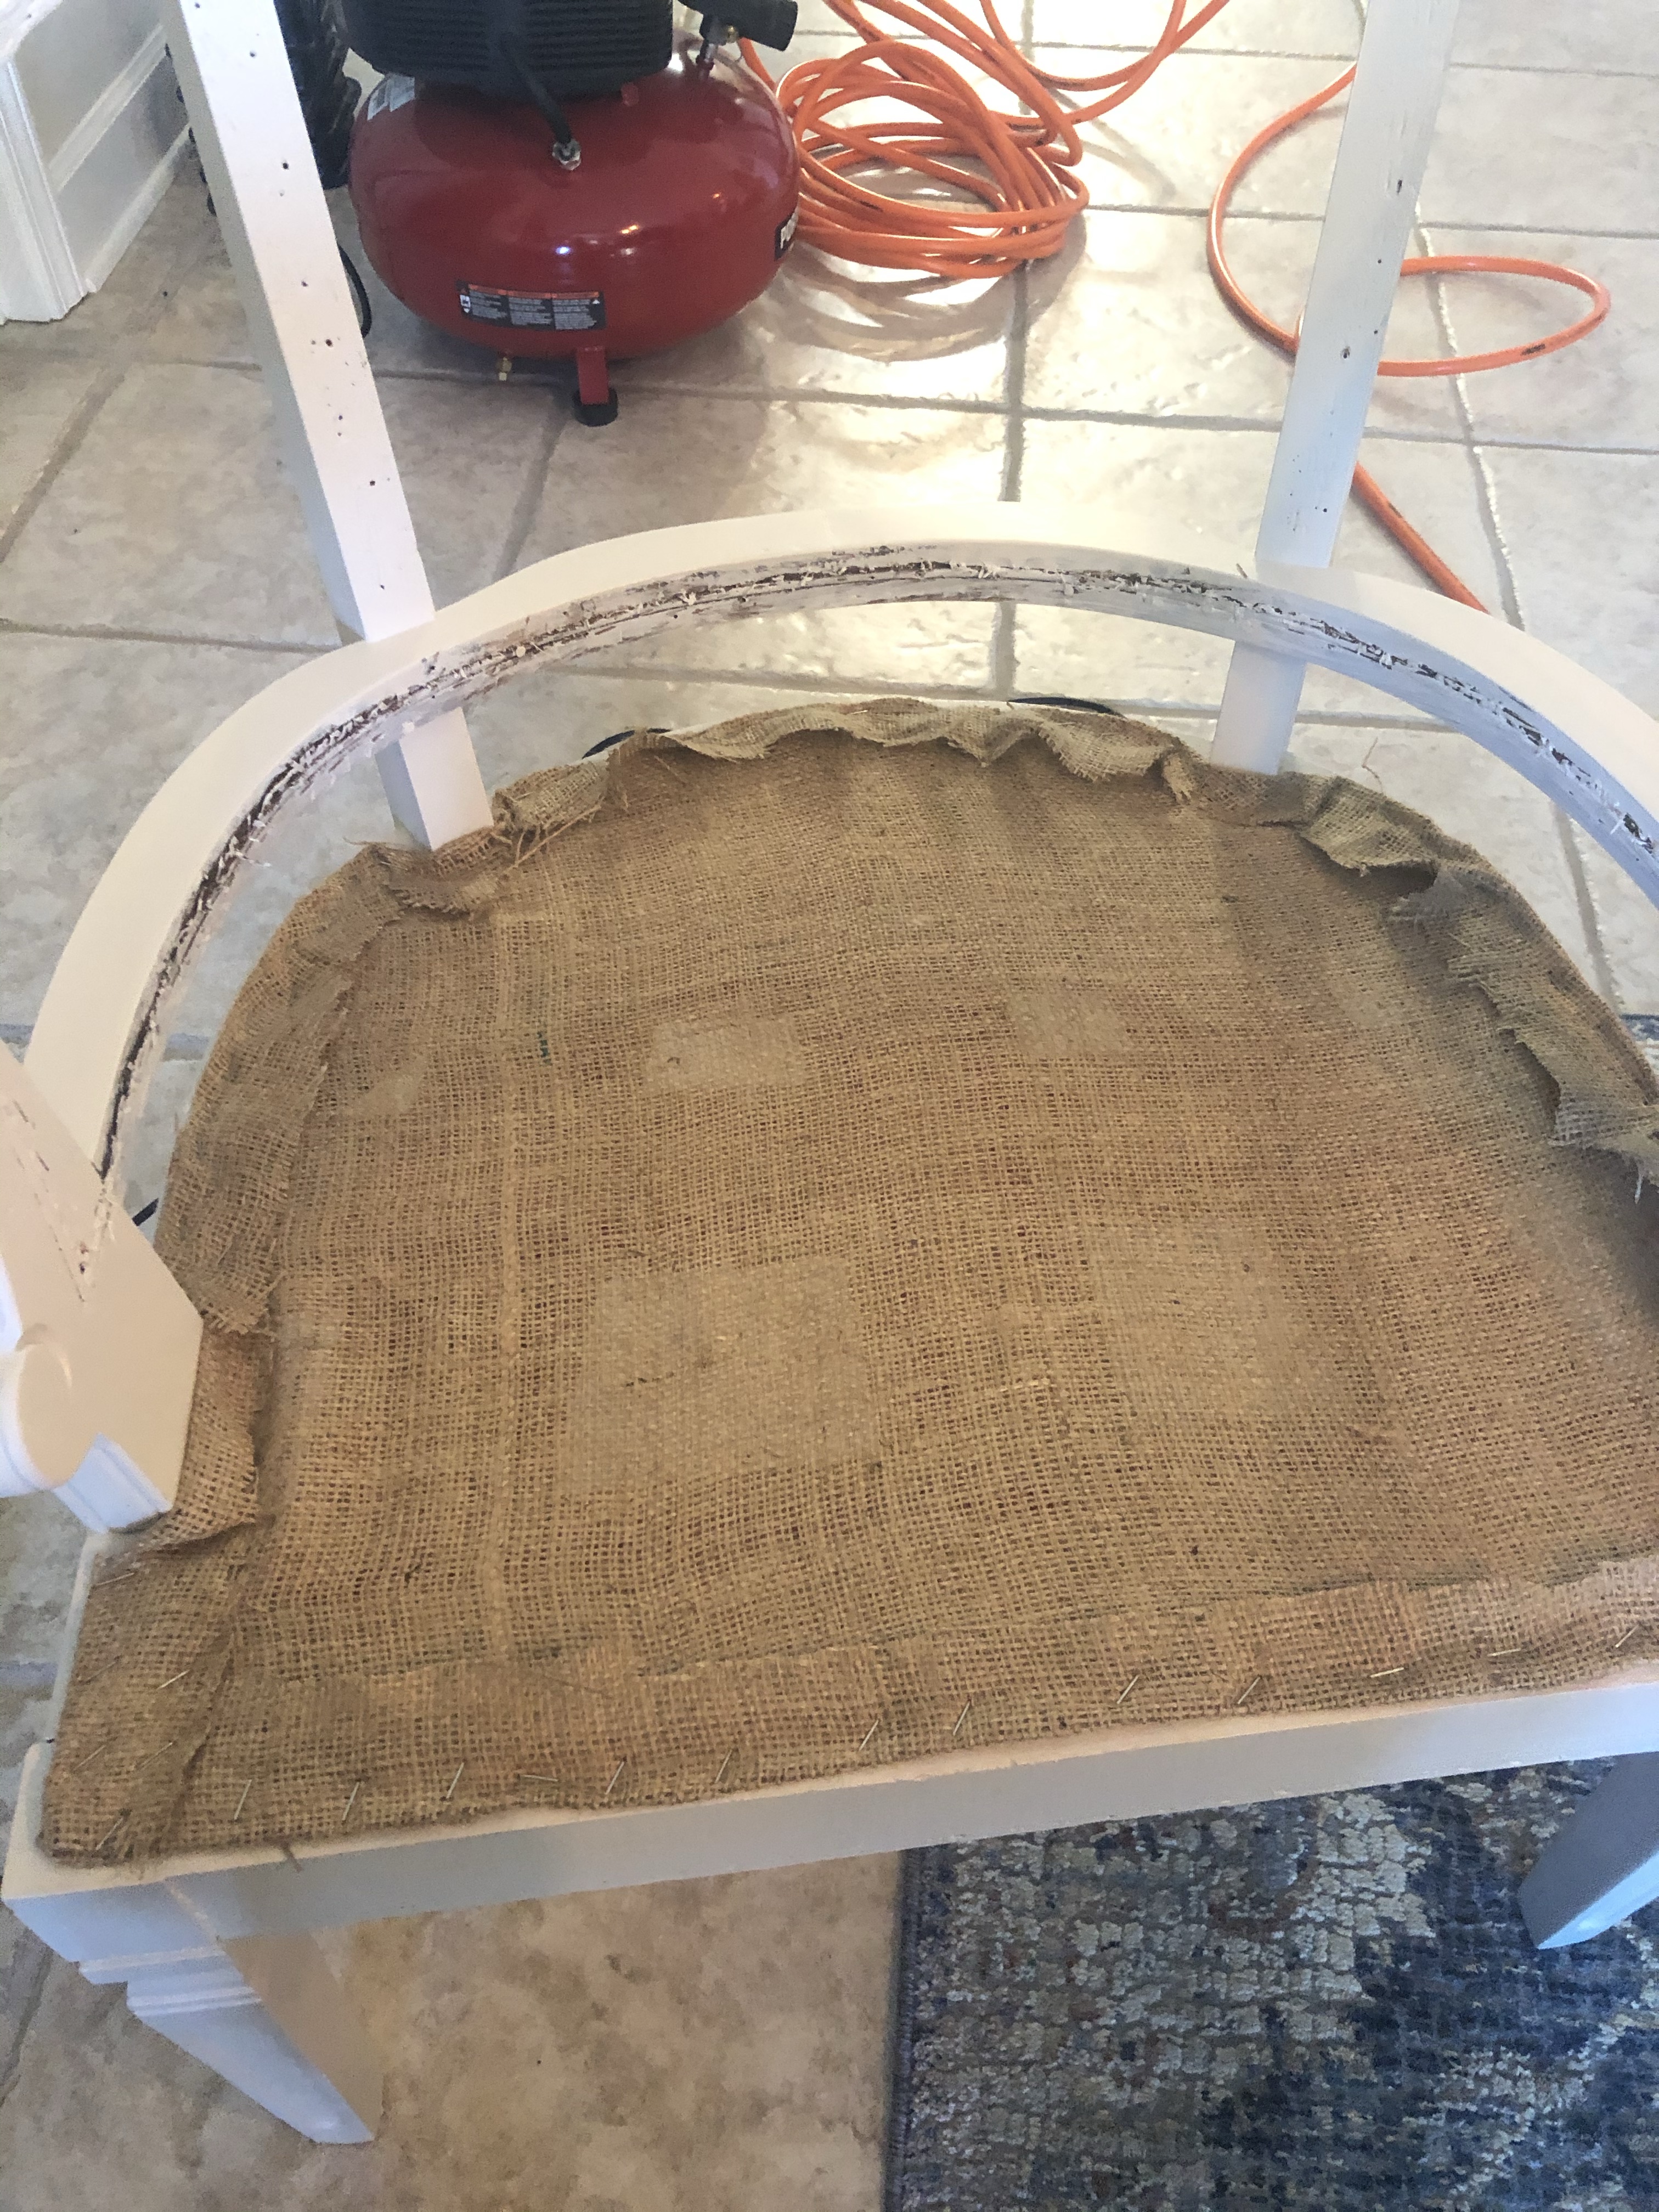
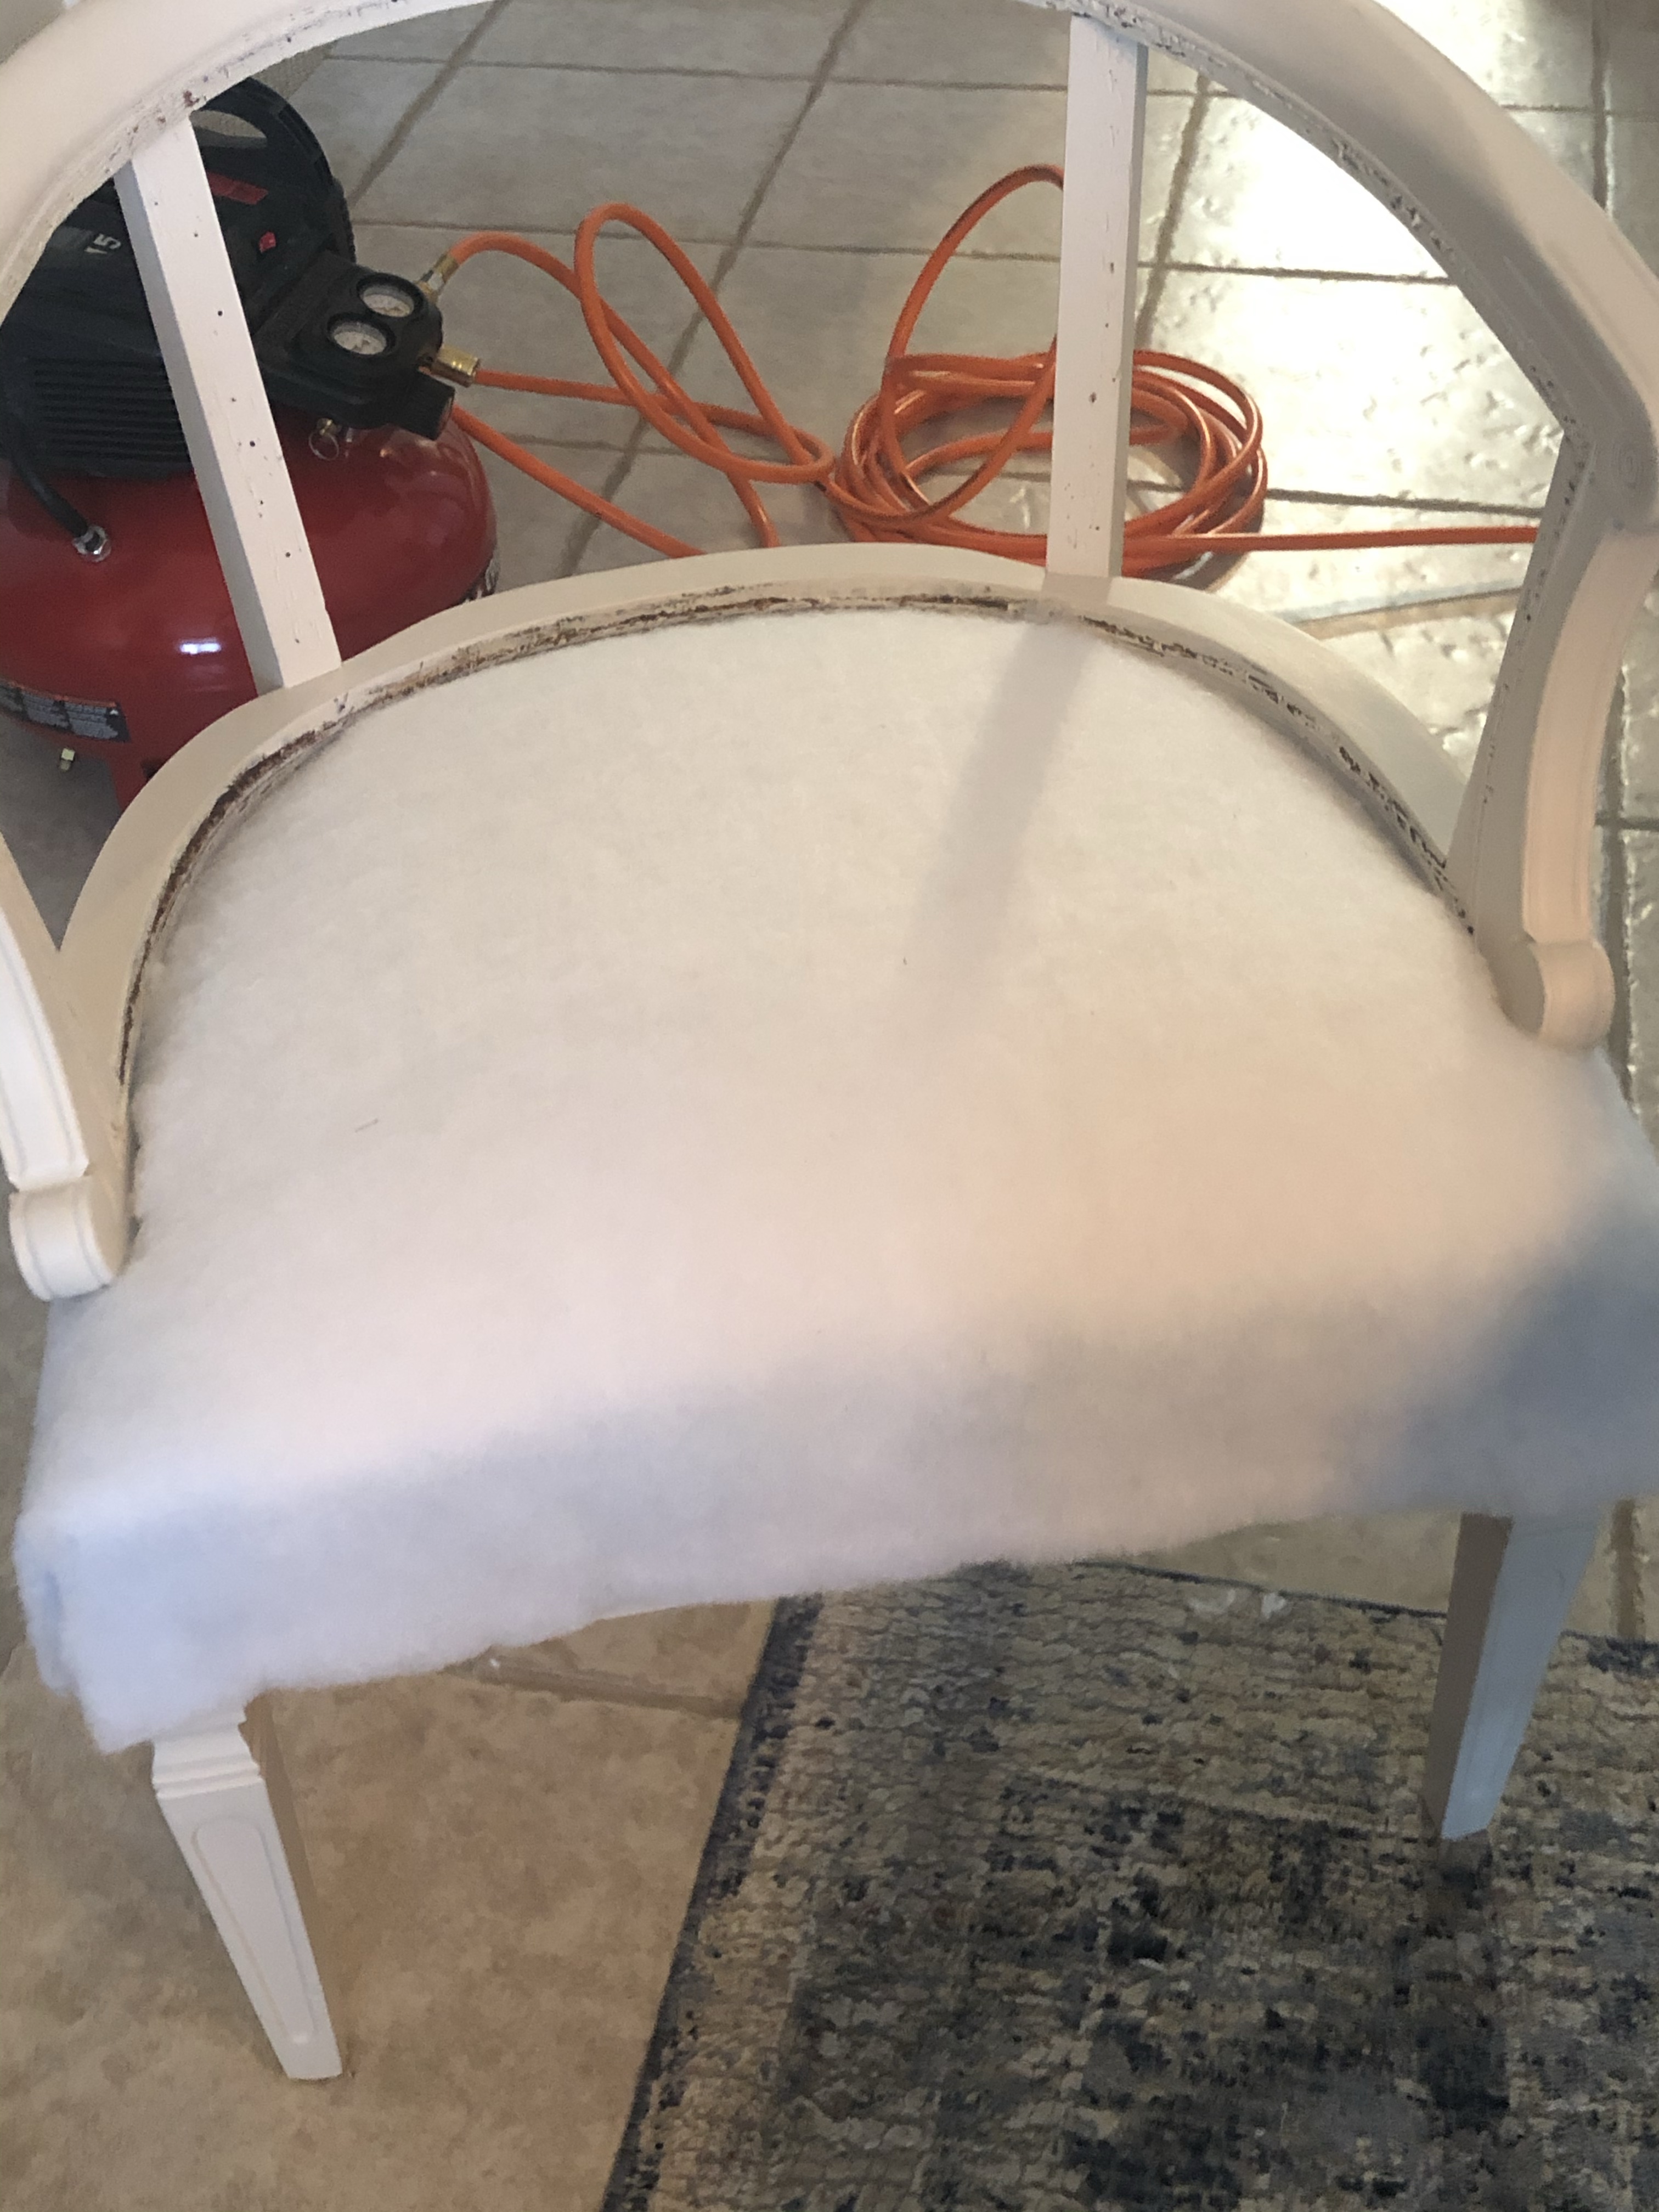
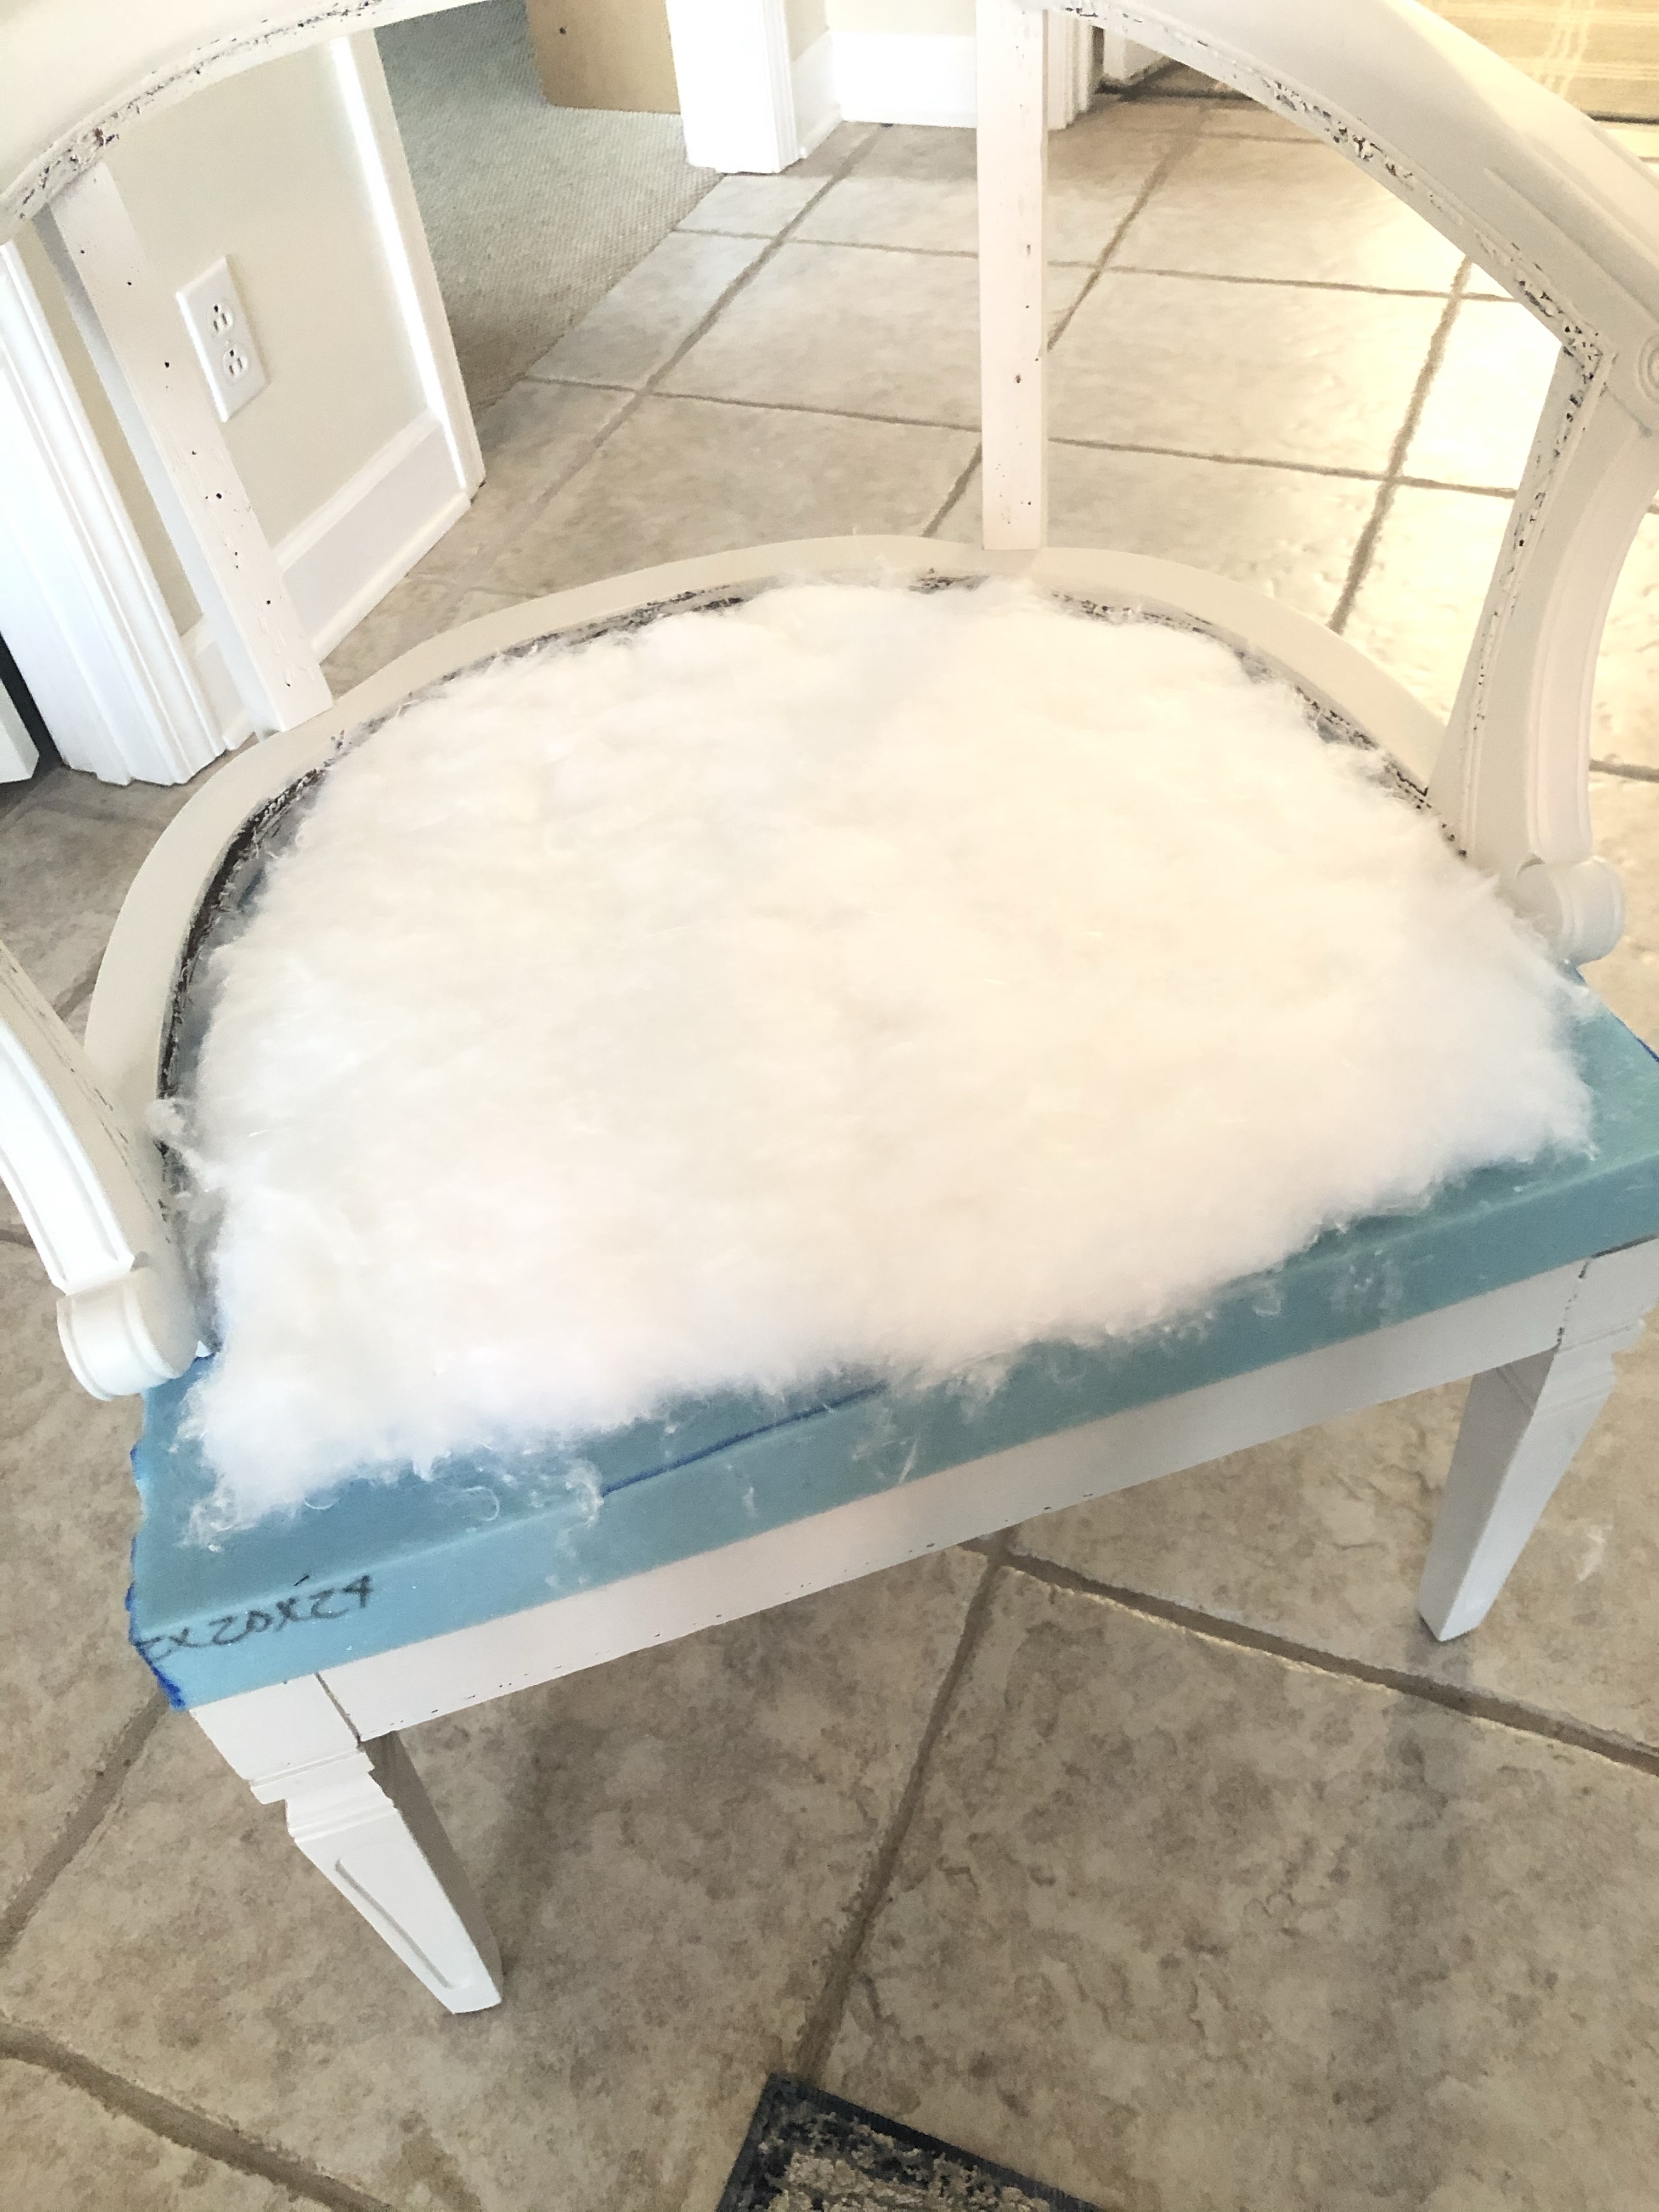
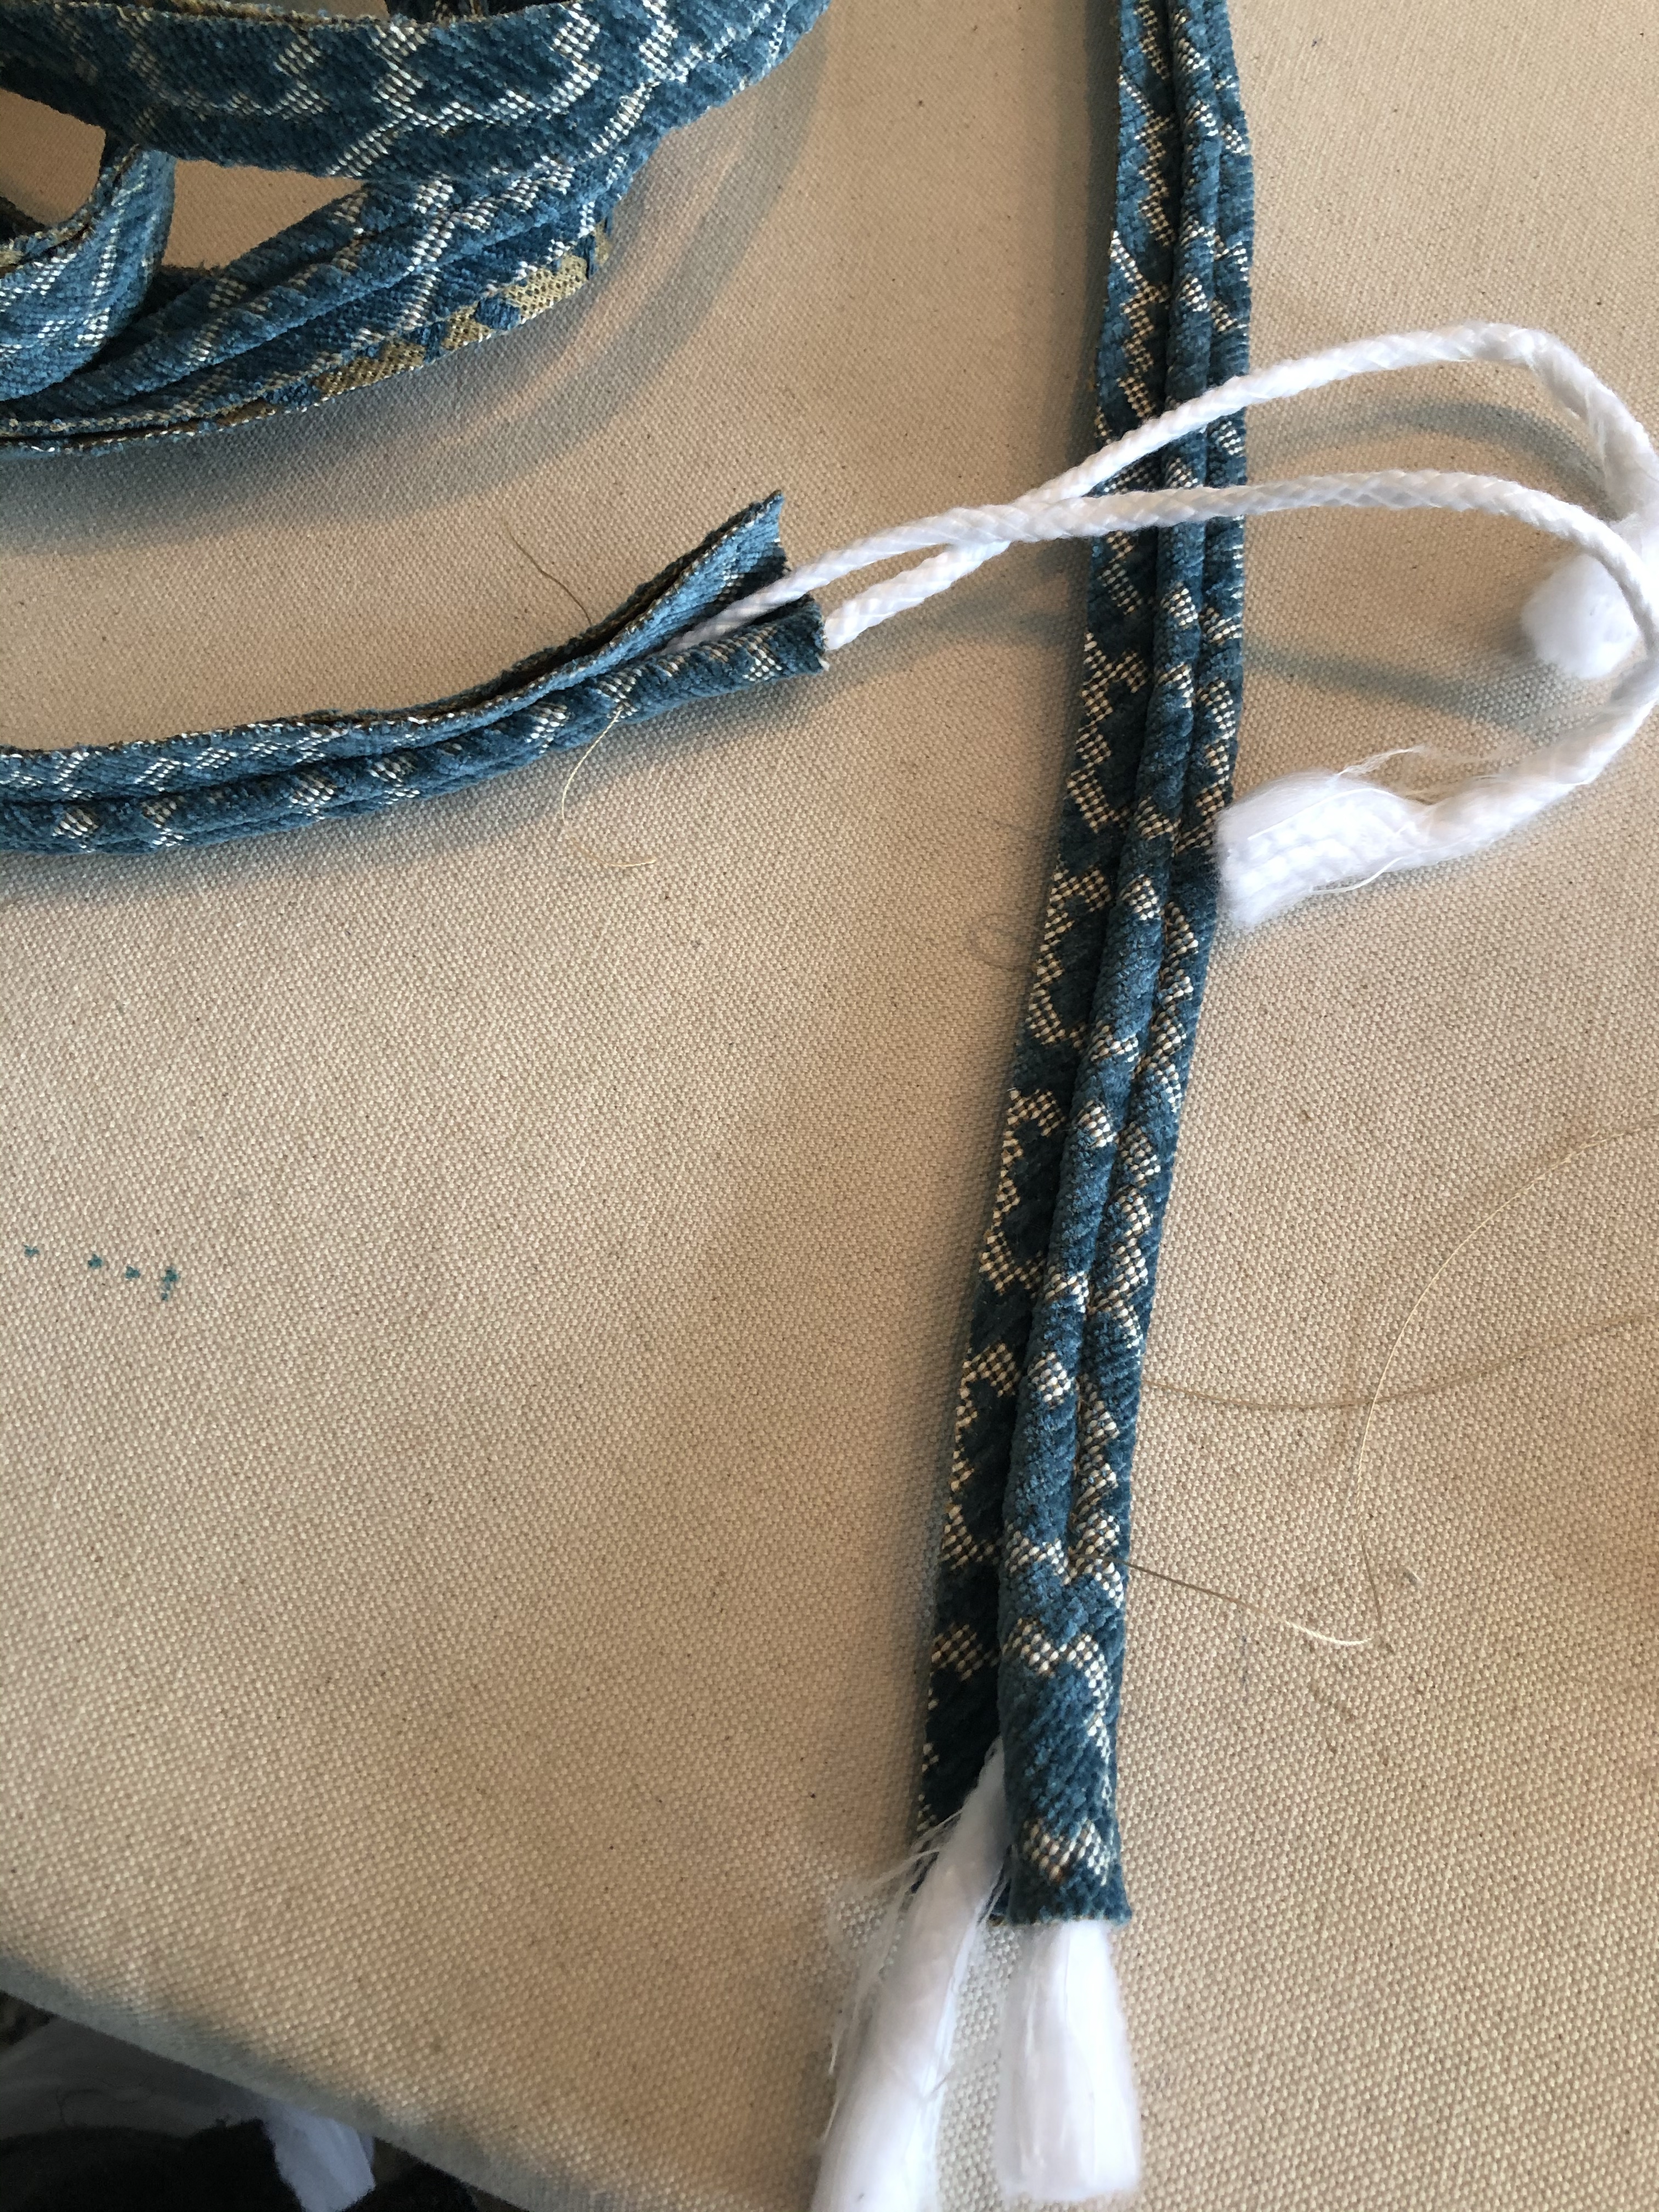
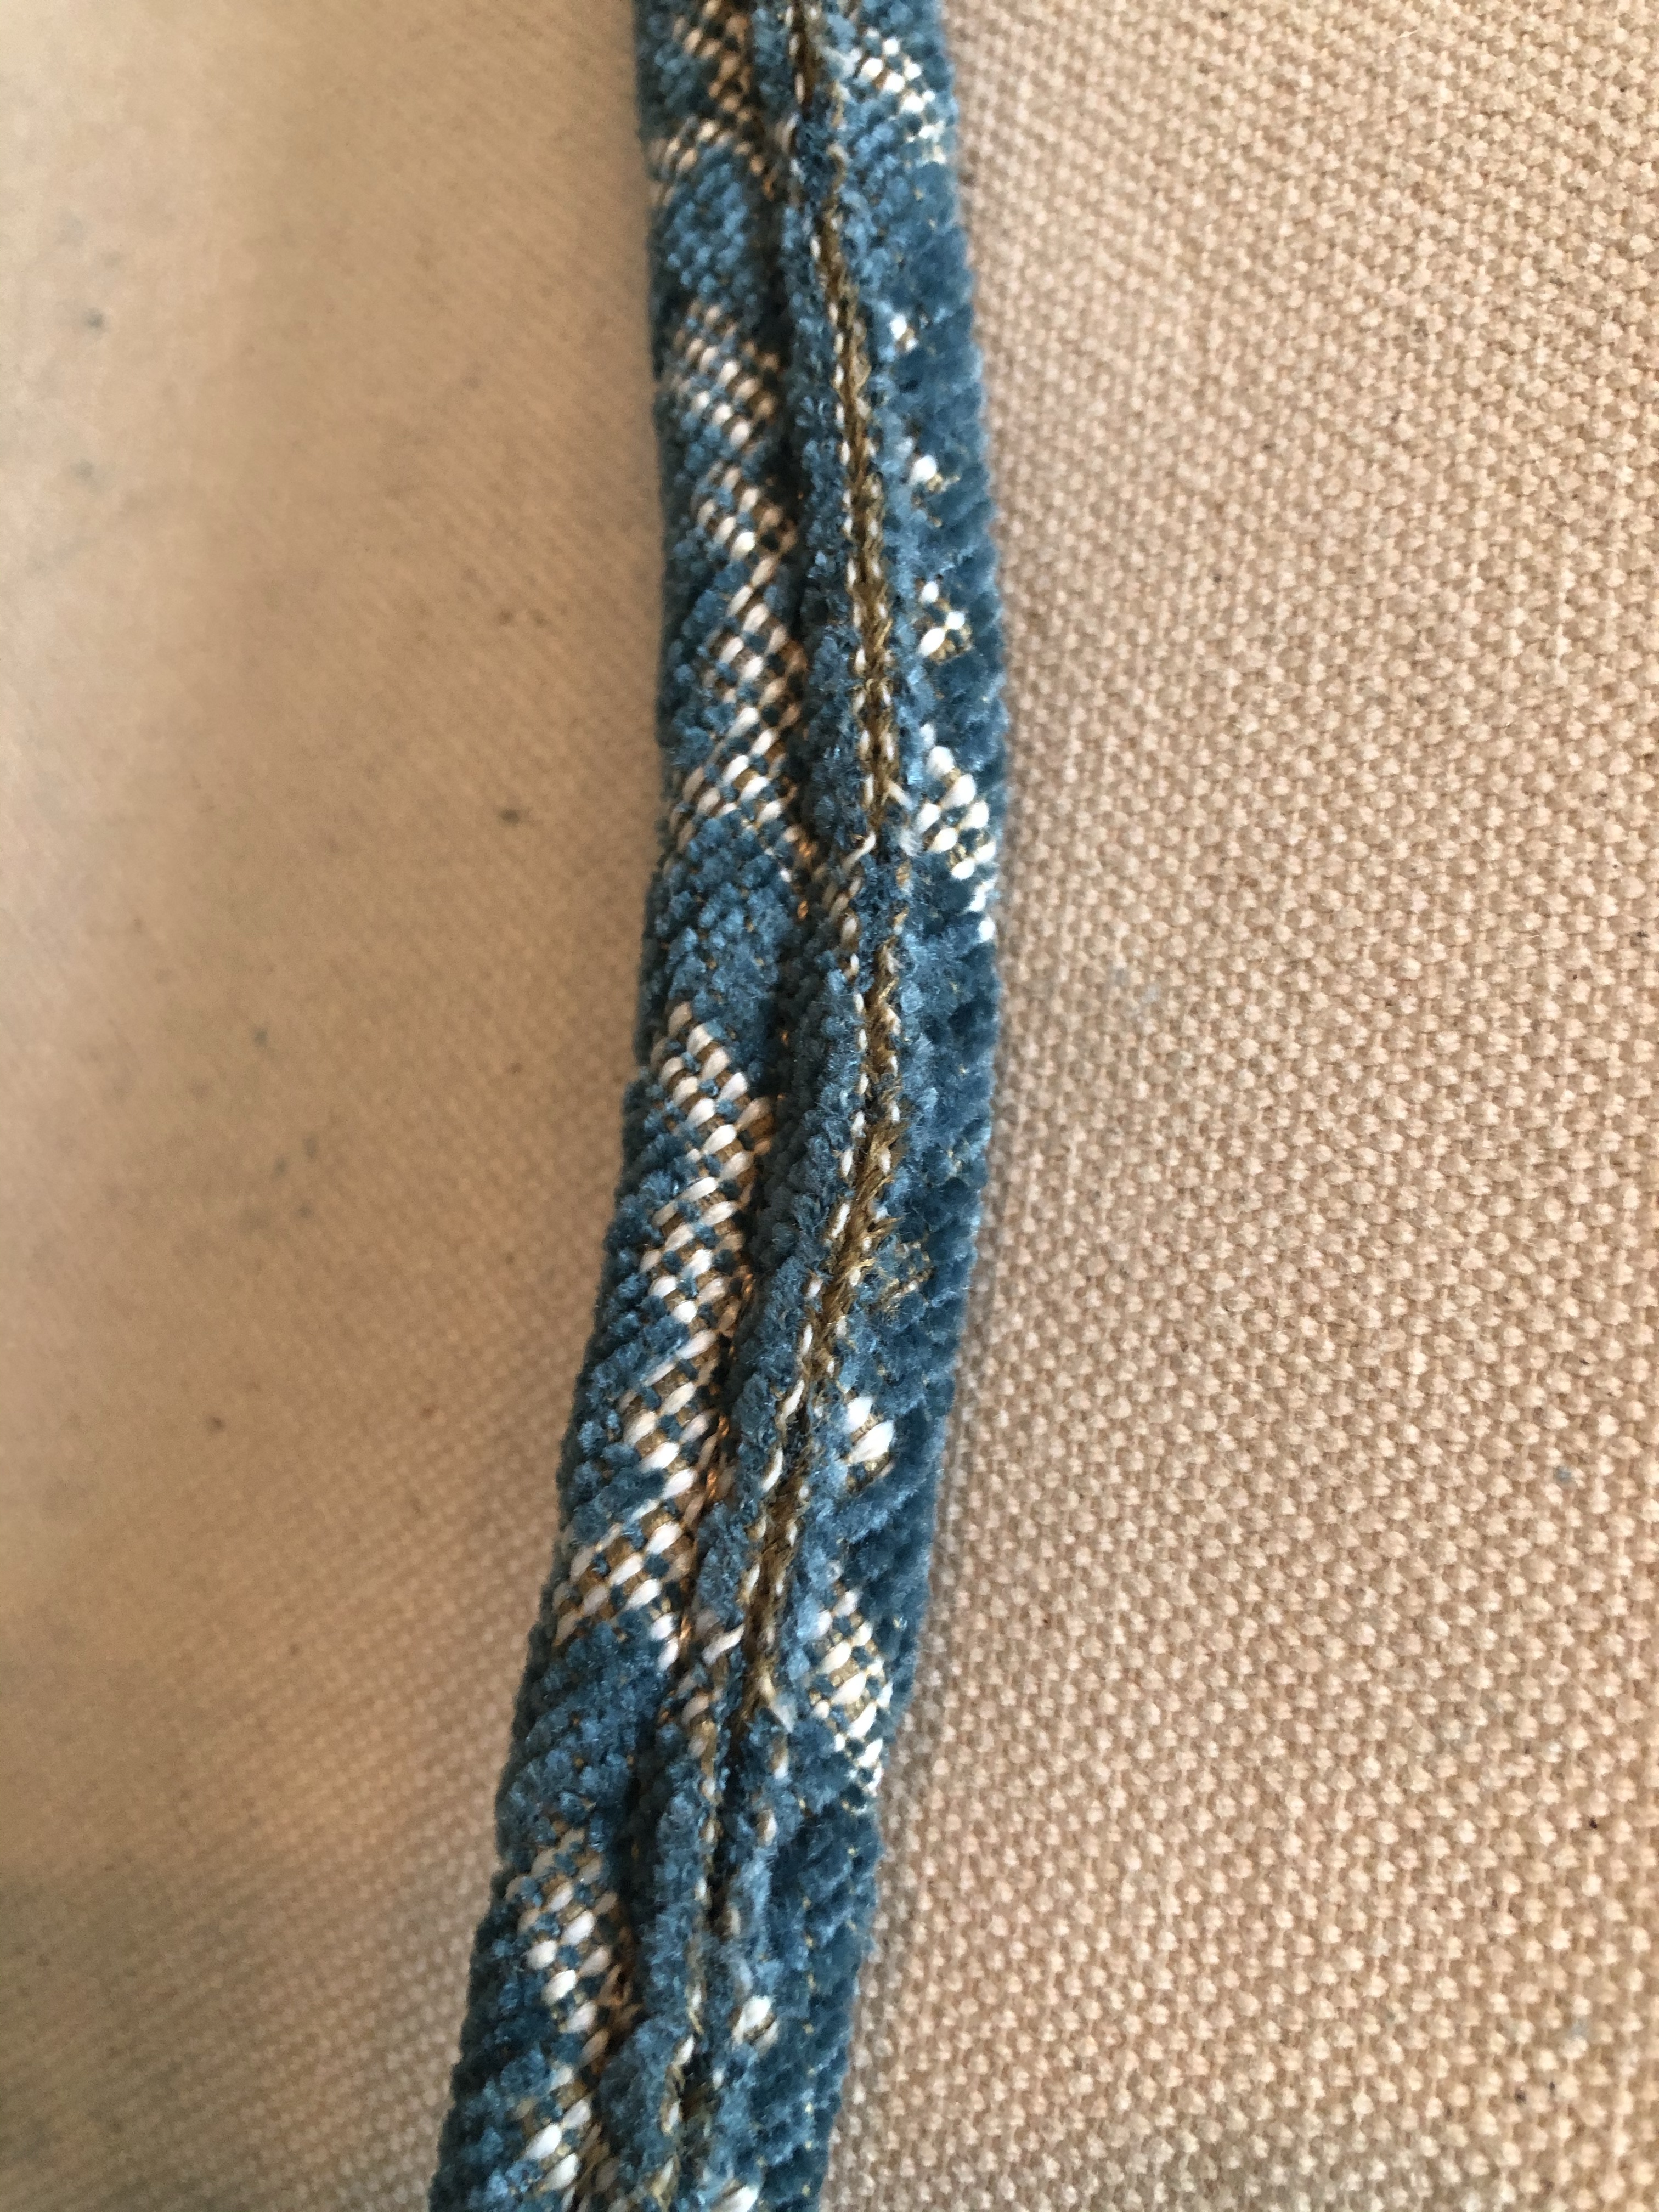
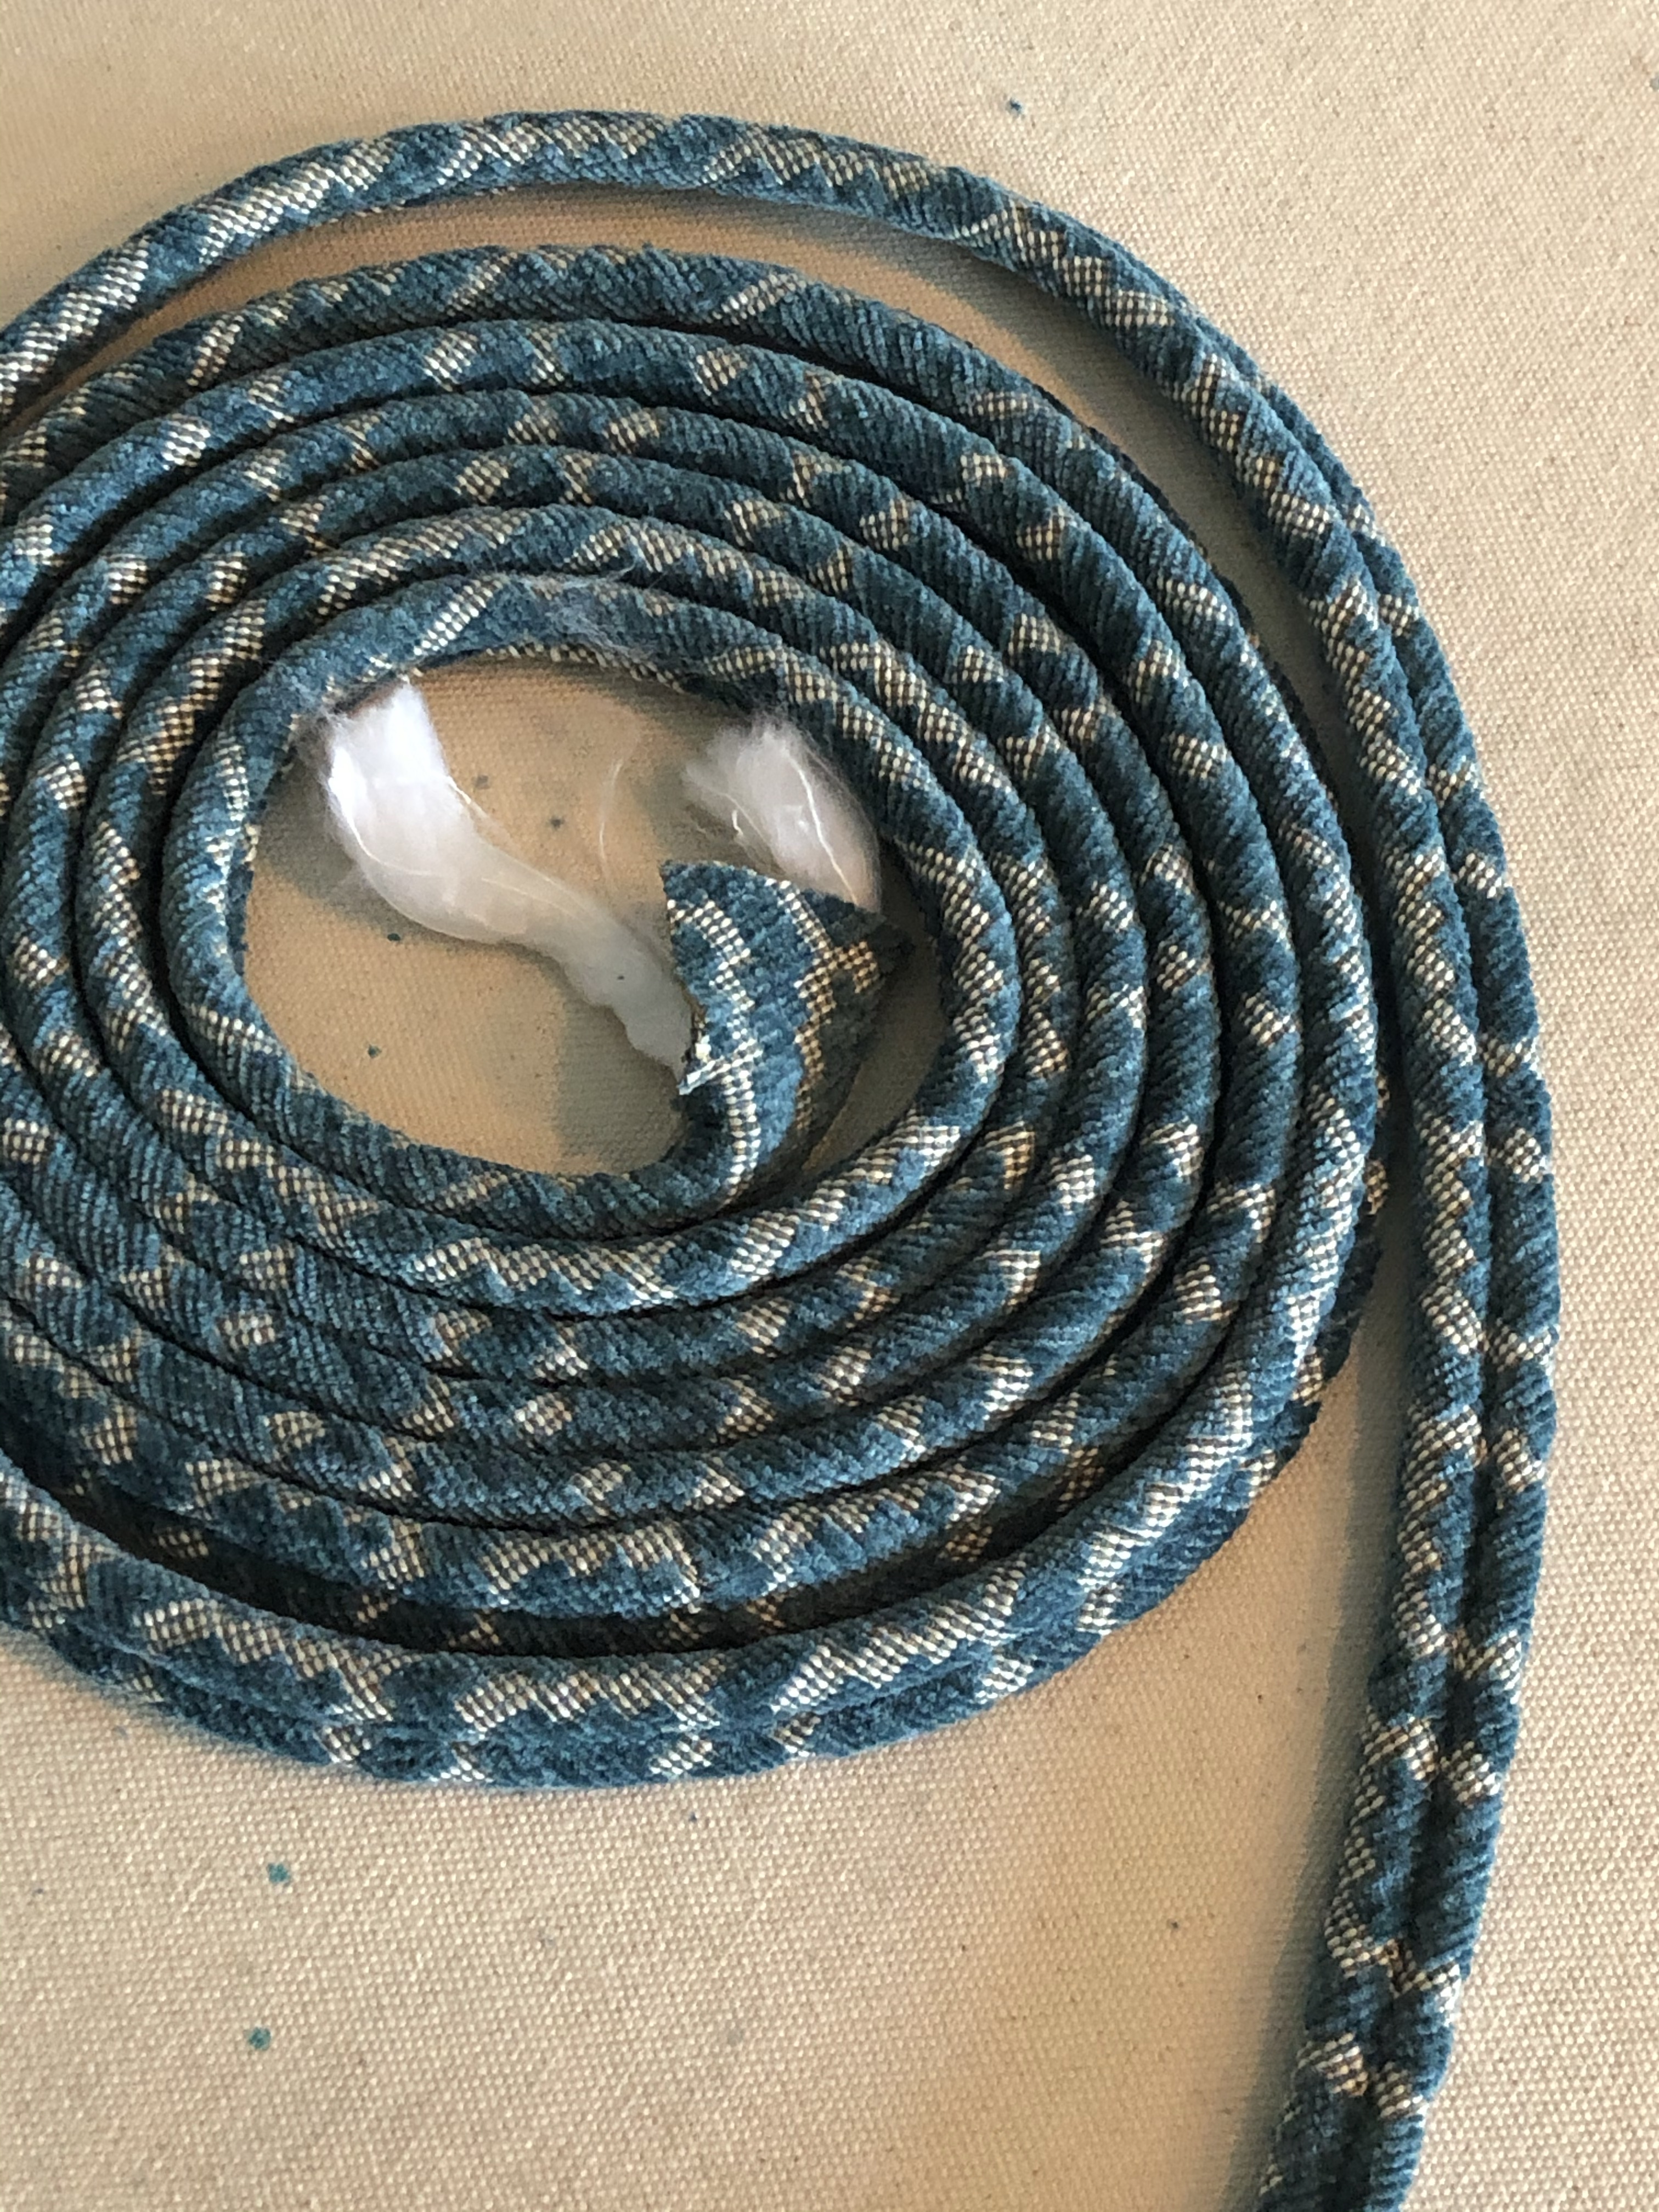
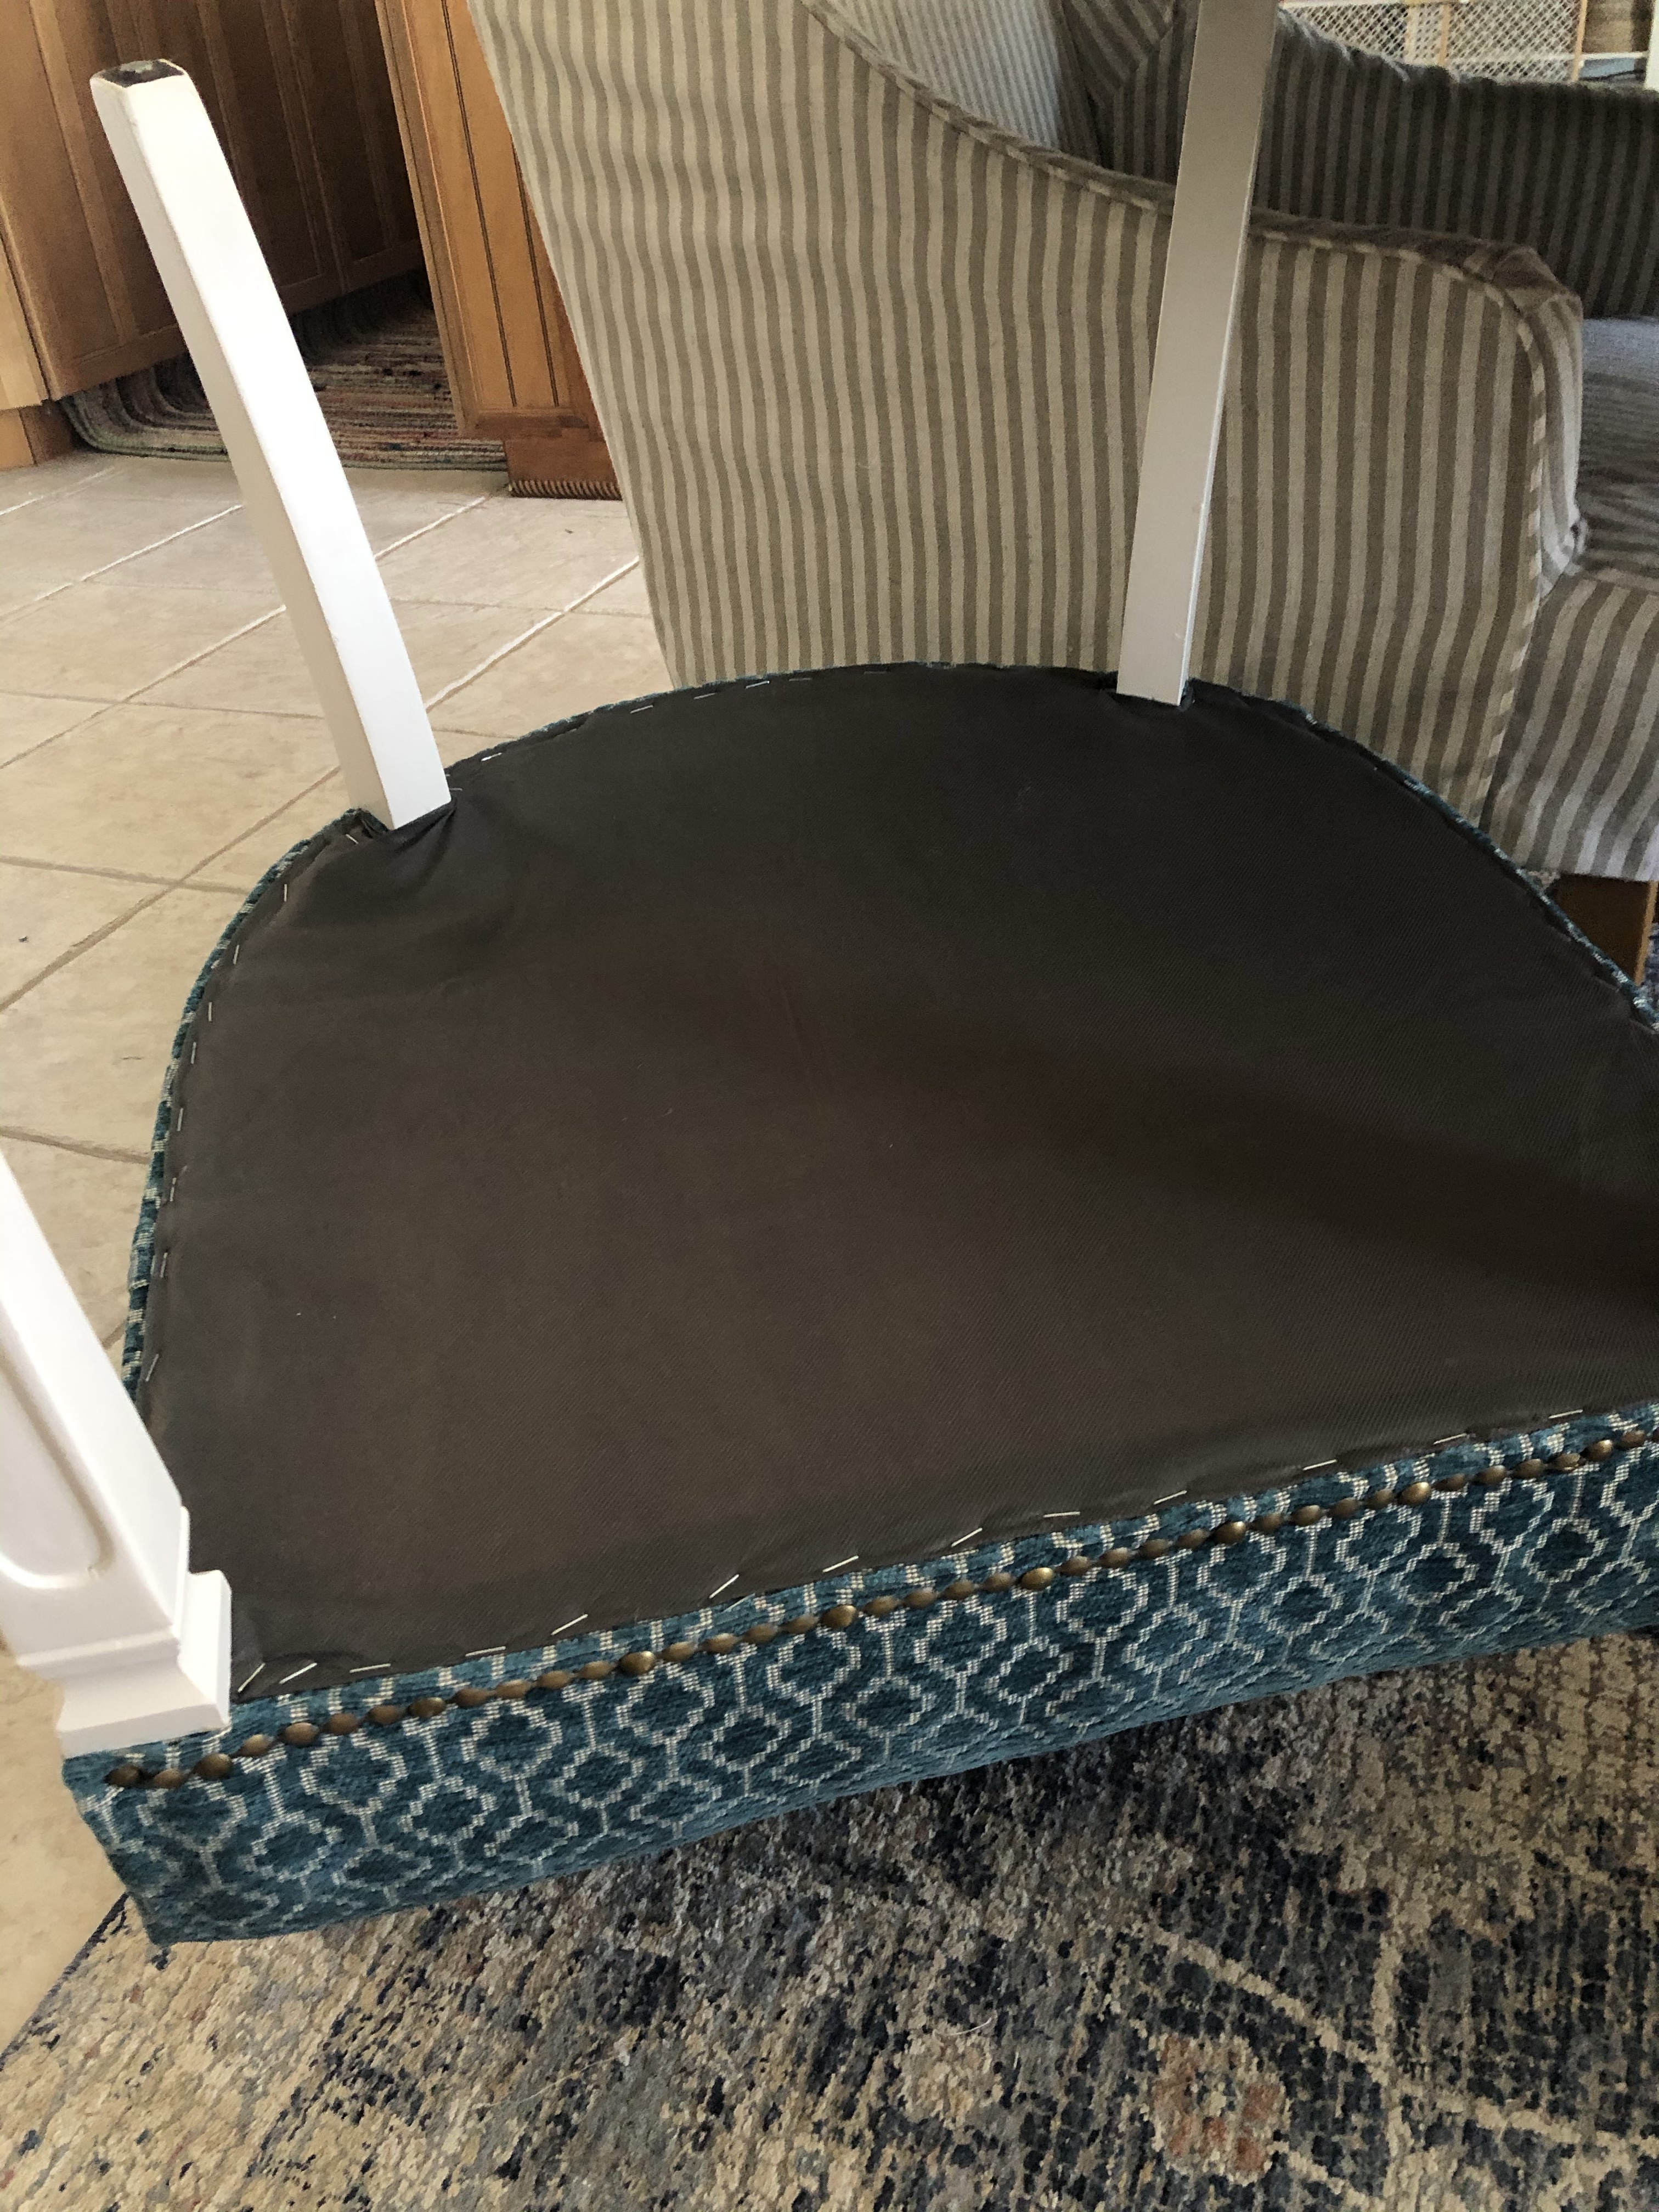
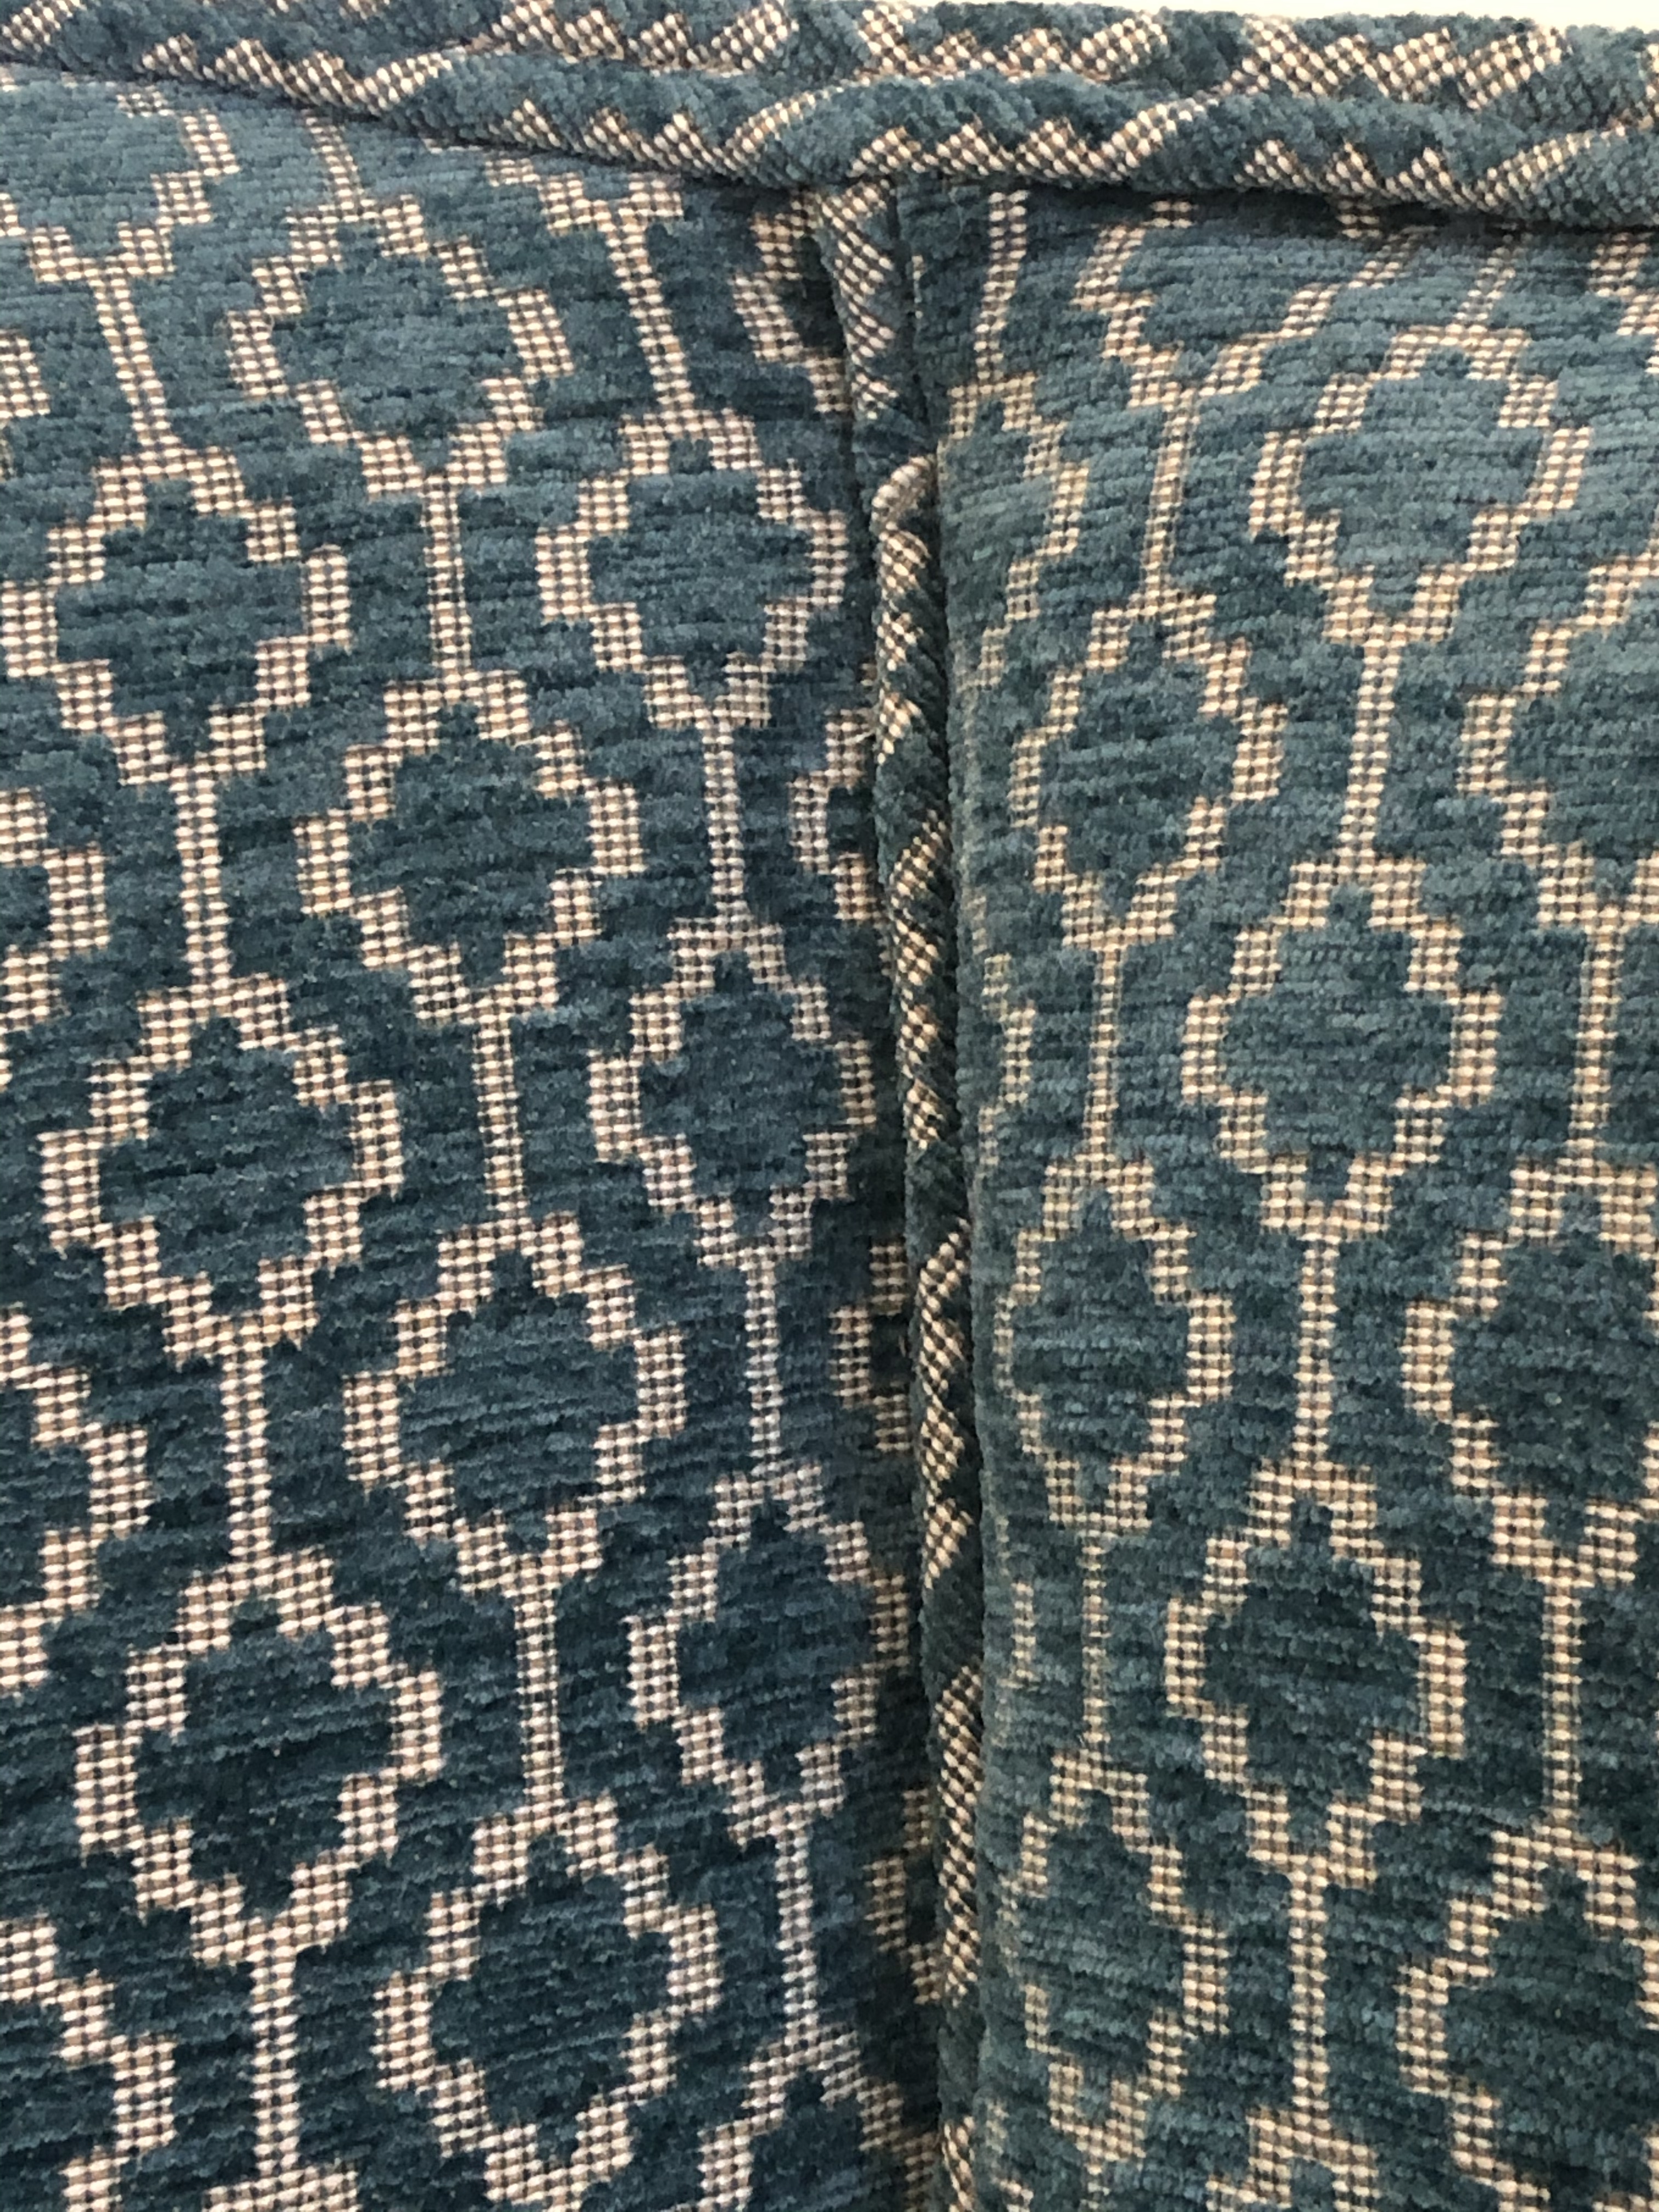
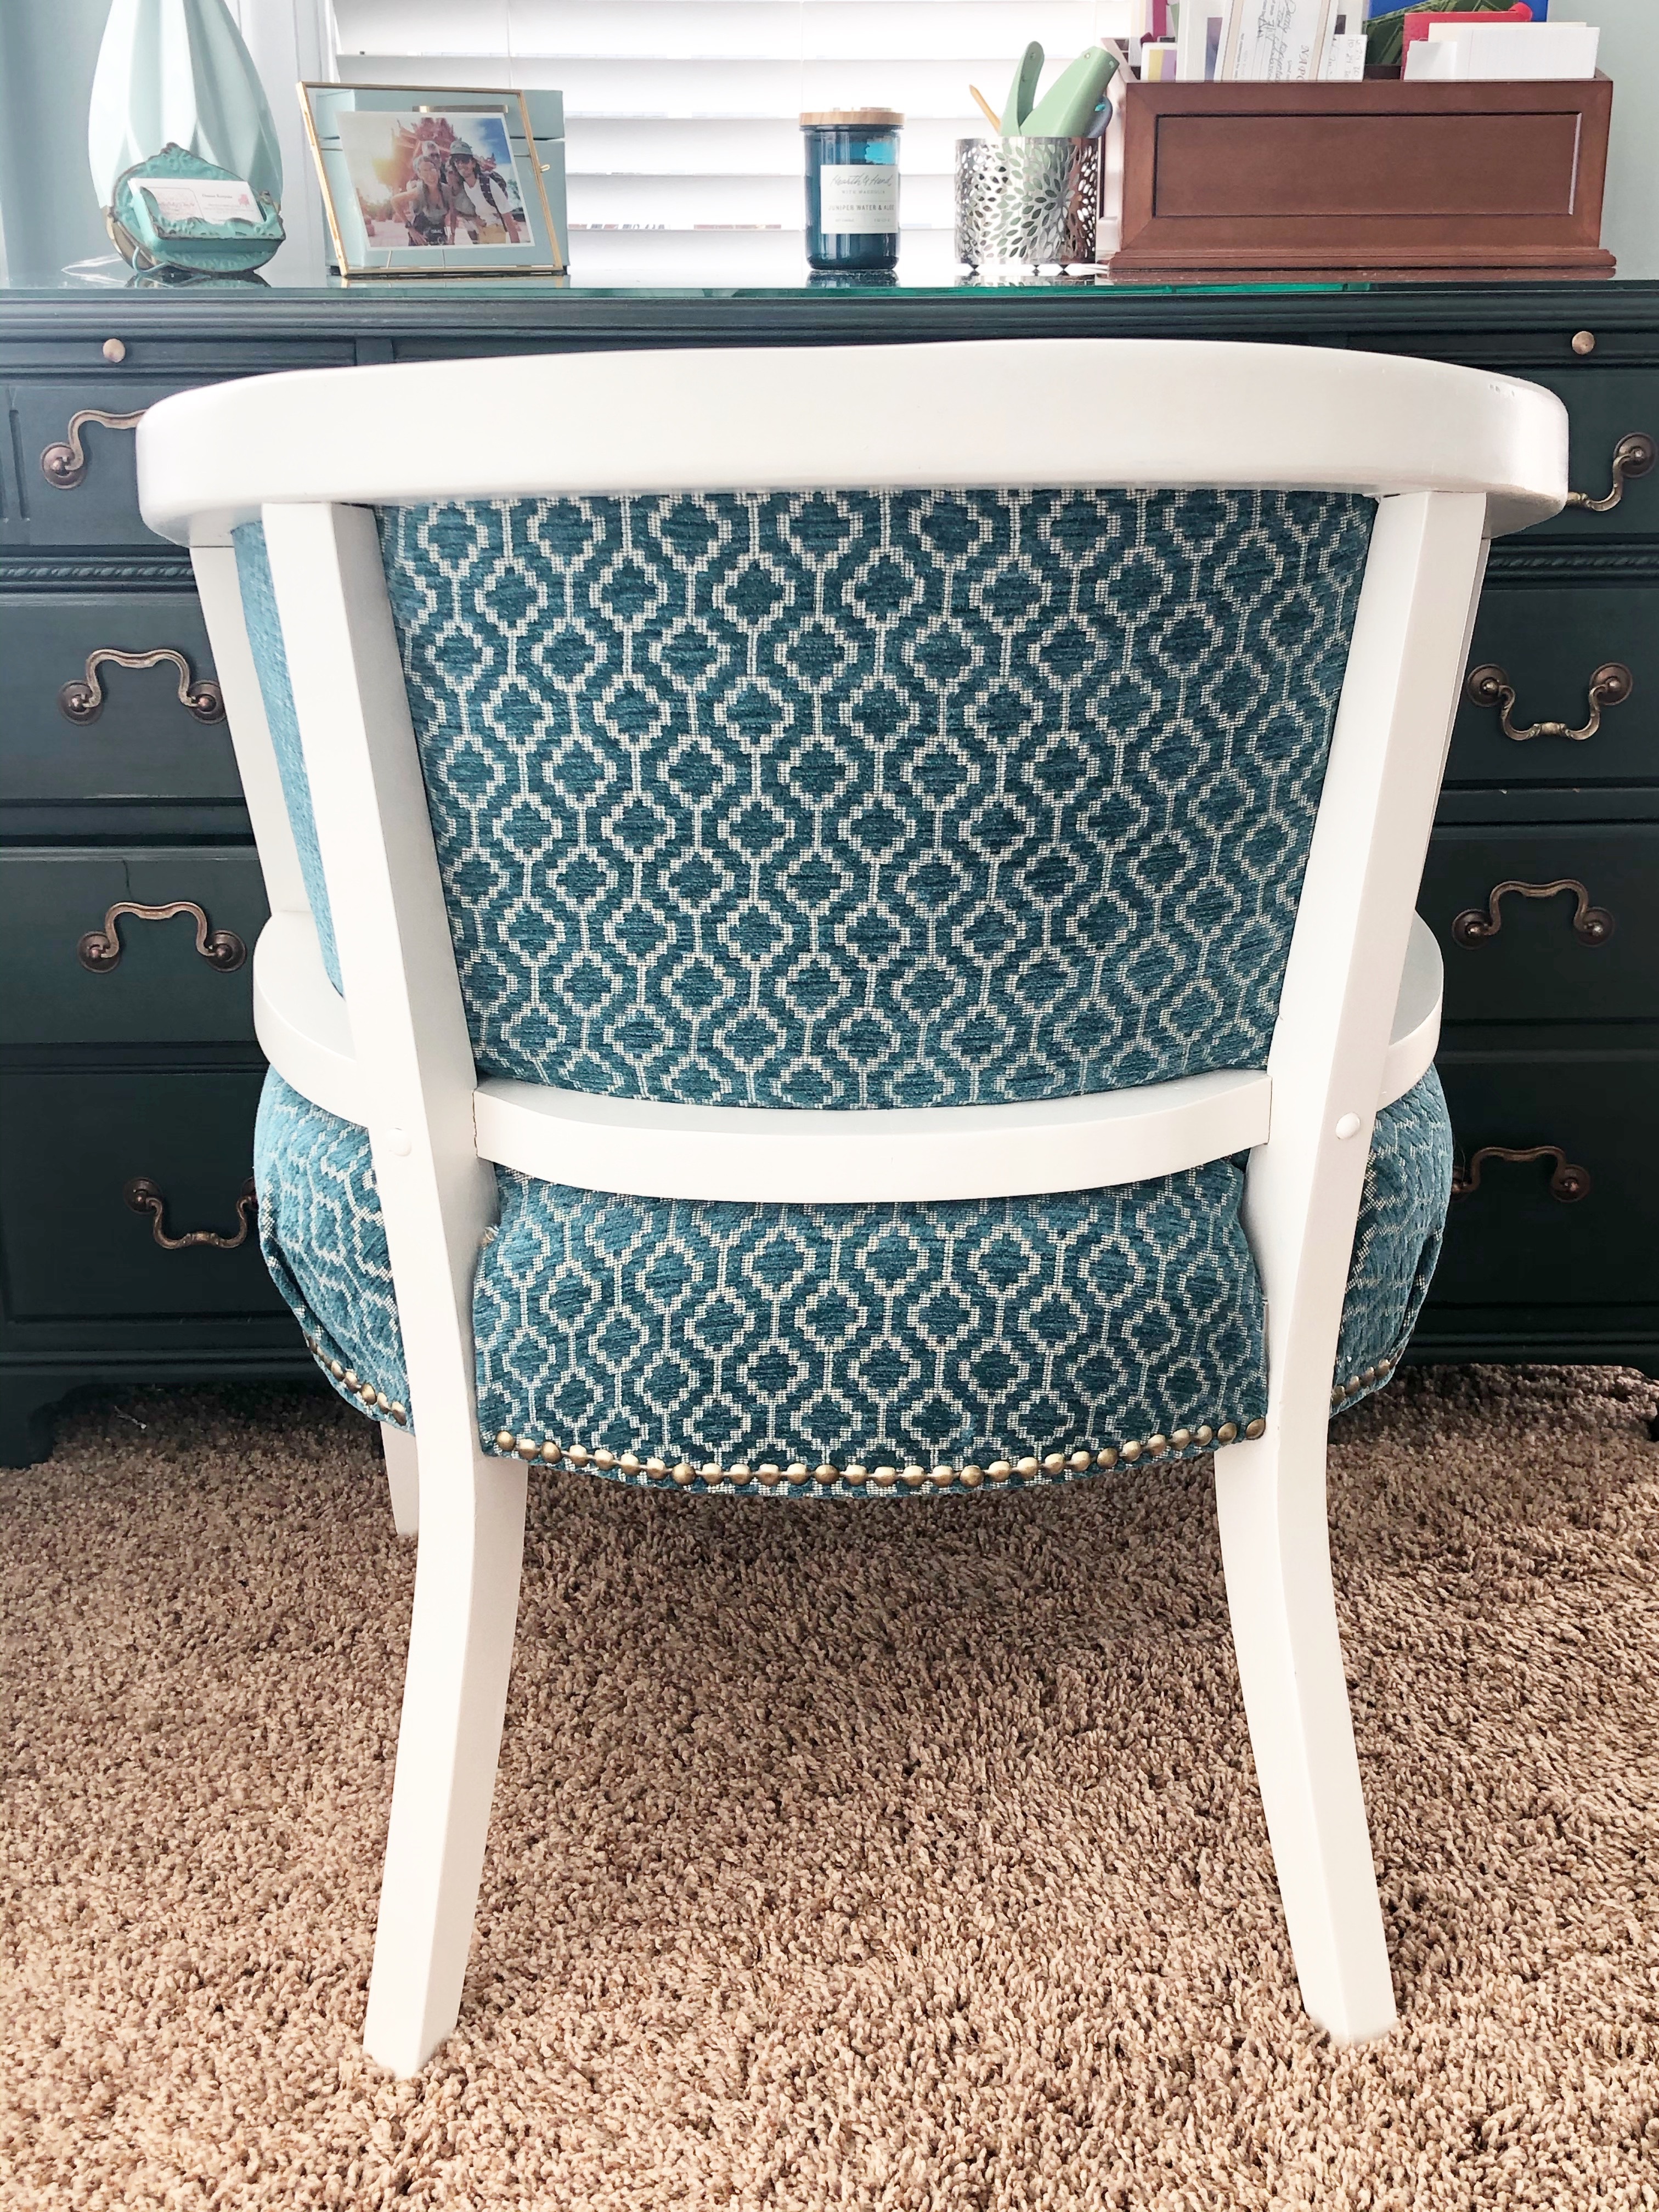
I did, however, have to redo the burlap straps on the chair seat as they were sagging and loose. I knew from removing the layers of seats, that this chair had an attached cushion at one time, which was covered up with more batting and then recovered. After removing all of that, I then decided that I just wanted a solid seat. I would need to cut new foam to fit the frame, add some cotton batting to build up the center and finally a layer of Dacron wrap to smooth it all out. It’s good to have a clear idea of how you want to structure the seat as it is necessary for planning out your fabric cuts and construction. I do find myself being the type that figures it out as I go, but this experience has taught me a little more patience and forced me to really think about the process so I didn’t get ahead of myself. When I got stumped I would work on something else, like learning to make double welt cord which I would use as trim on the top part of the chair which also conveniently covers the staples.
Little by little, piece by piece it came together. Sometimes a day or week would go by before I could get back to it but I would have a clearer idea of how I wanted to proceed.
By the time I got to the point where it was ready for the double welt cording trim and the brass nail head trim, I felt like I was on mile 25 of a marathon. It felt good and I could see the finish line. The beginning was exhilarating and full of anticipation, the middle was painful and I was about to hire it out (quit), but then I pushed through and could see the end. Who am I kidding…I have never run a marathon! I can only imagine that is what is like….the closest I will come to one! Ha!
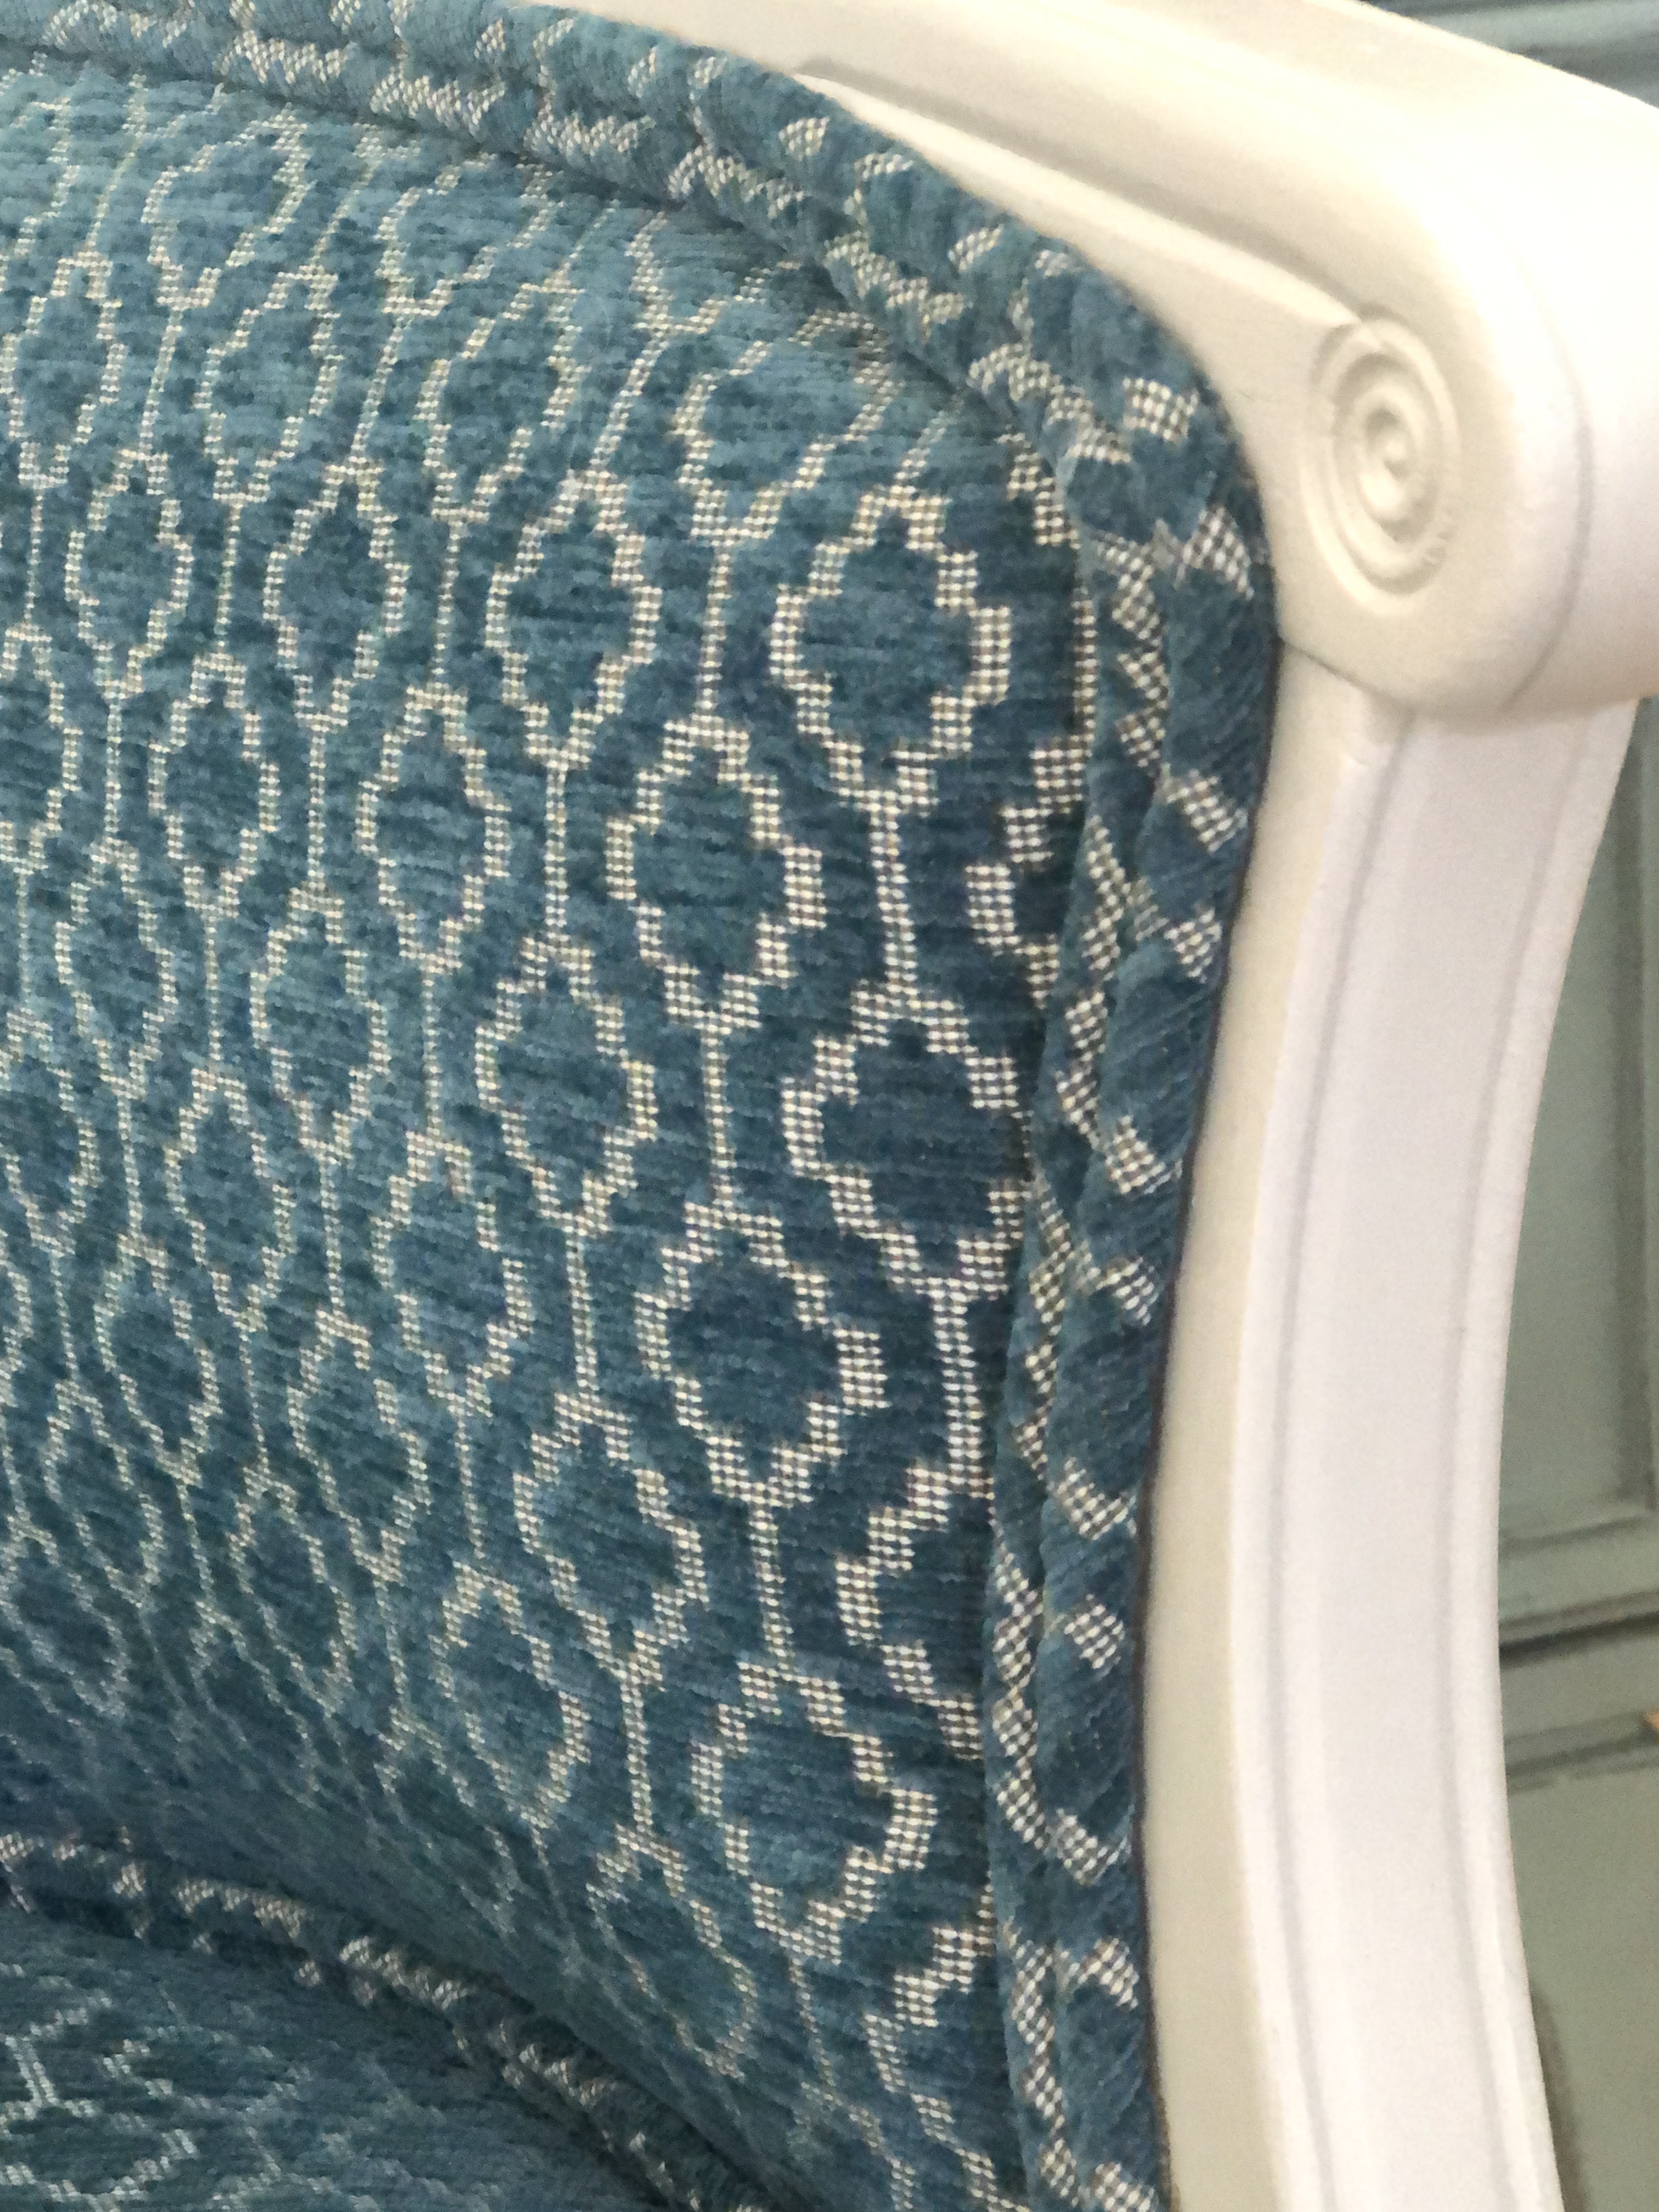
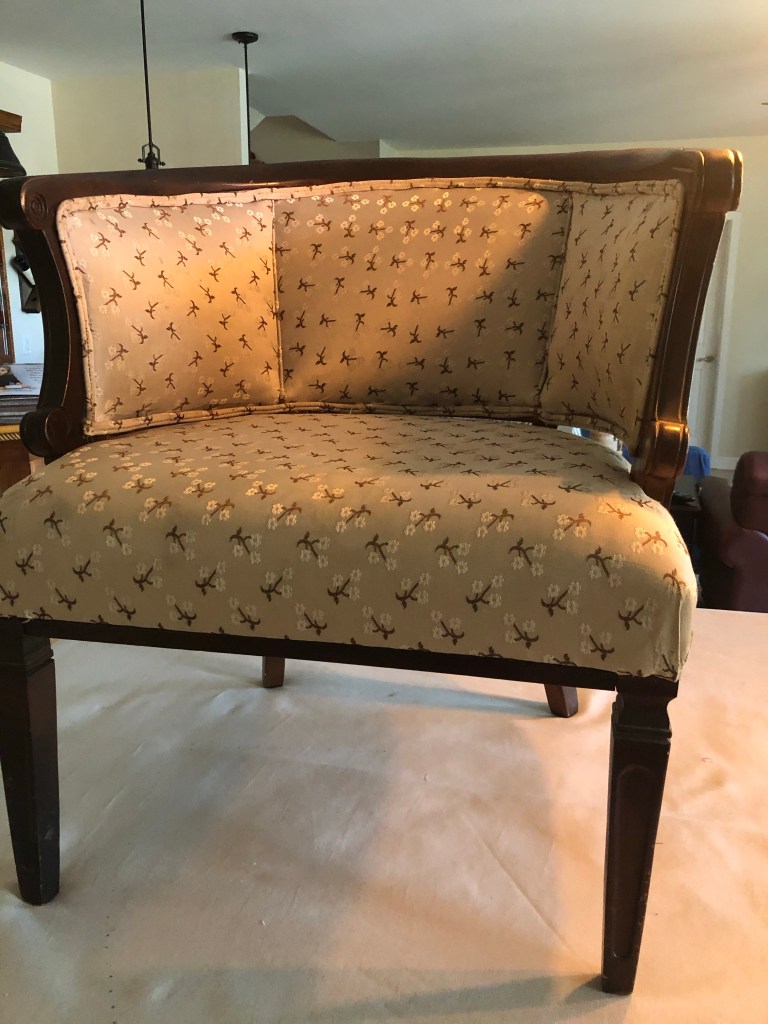
Ta da! Not bad for my first piece. It is a 200% improvement from what I started with. But it all starts with good bones. I’ve always loved this little chair and I love it even more now.

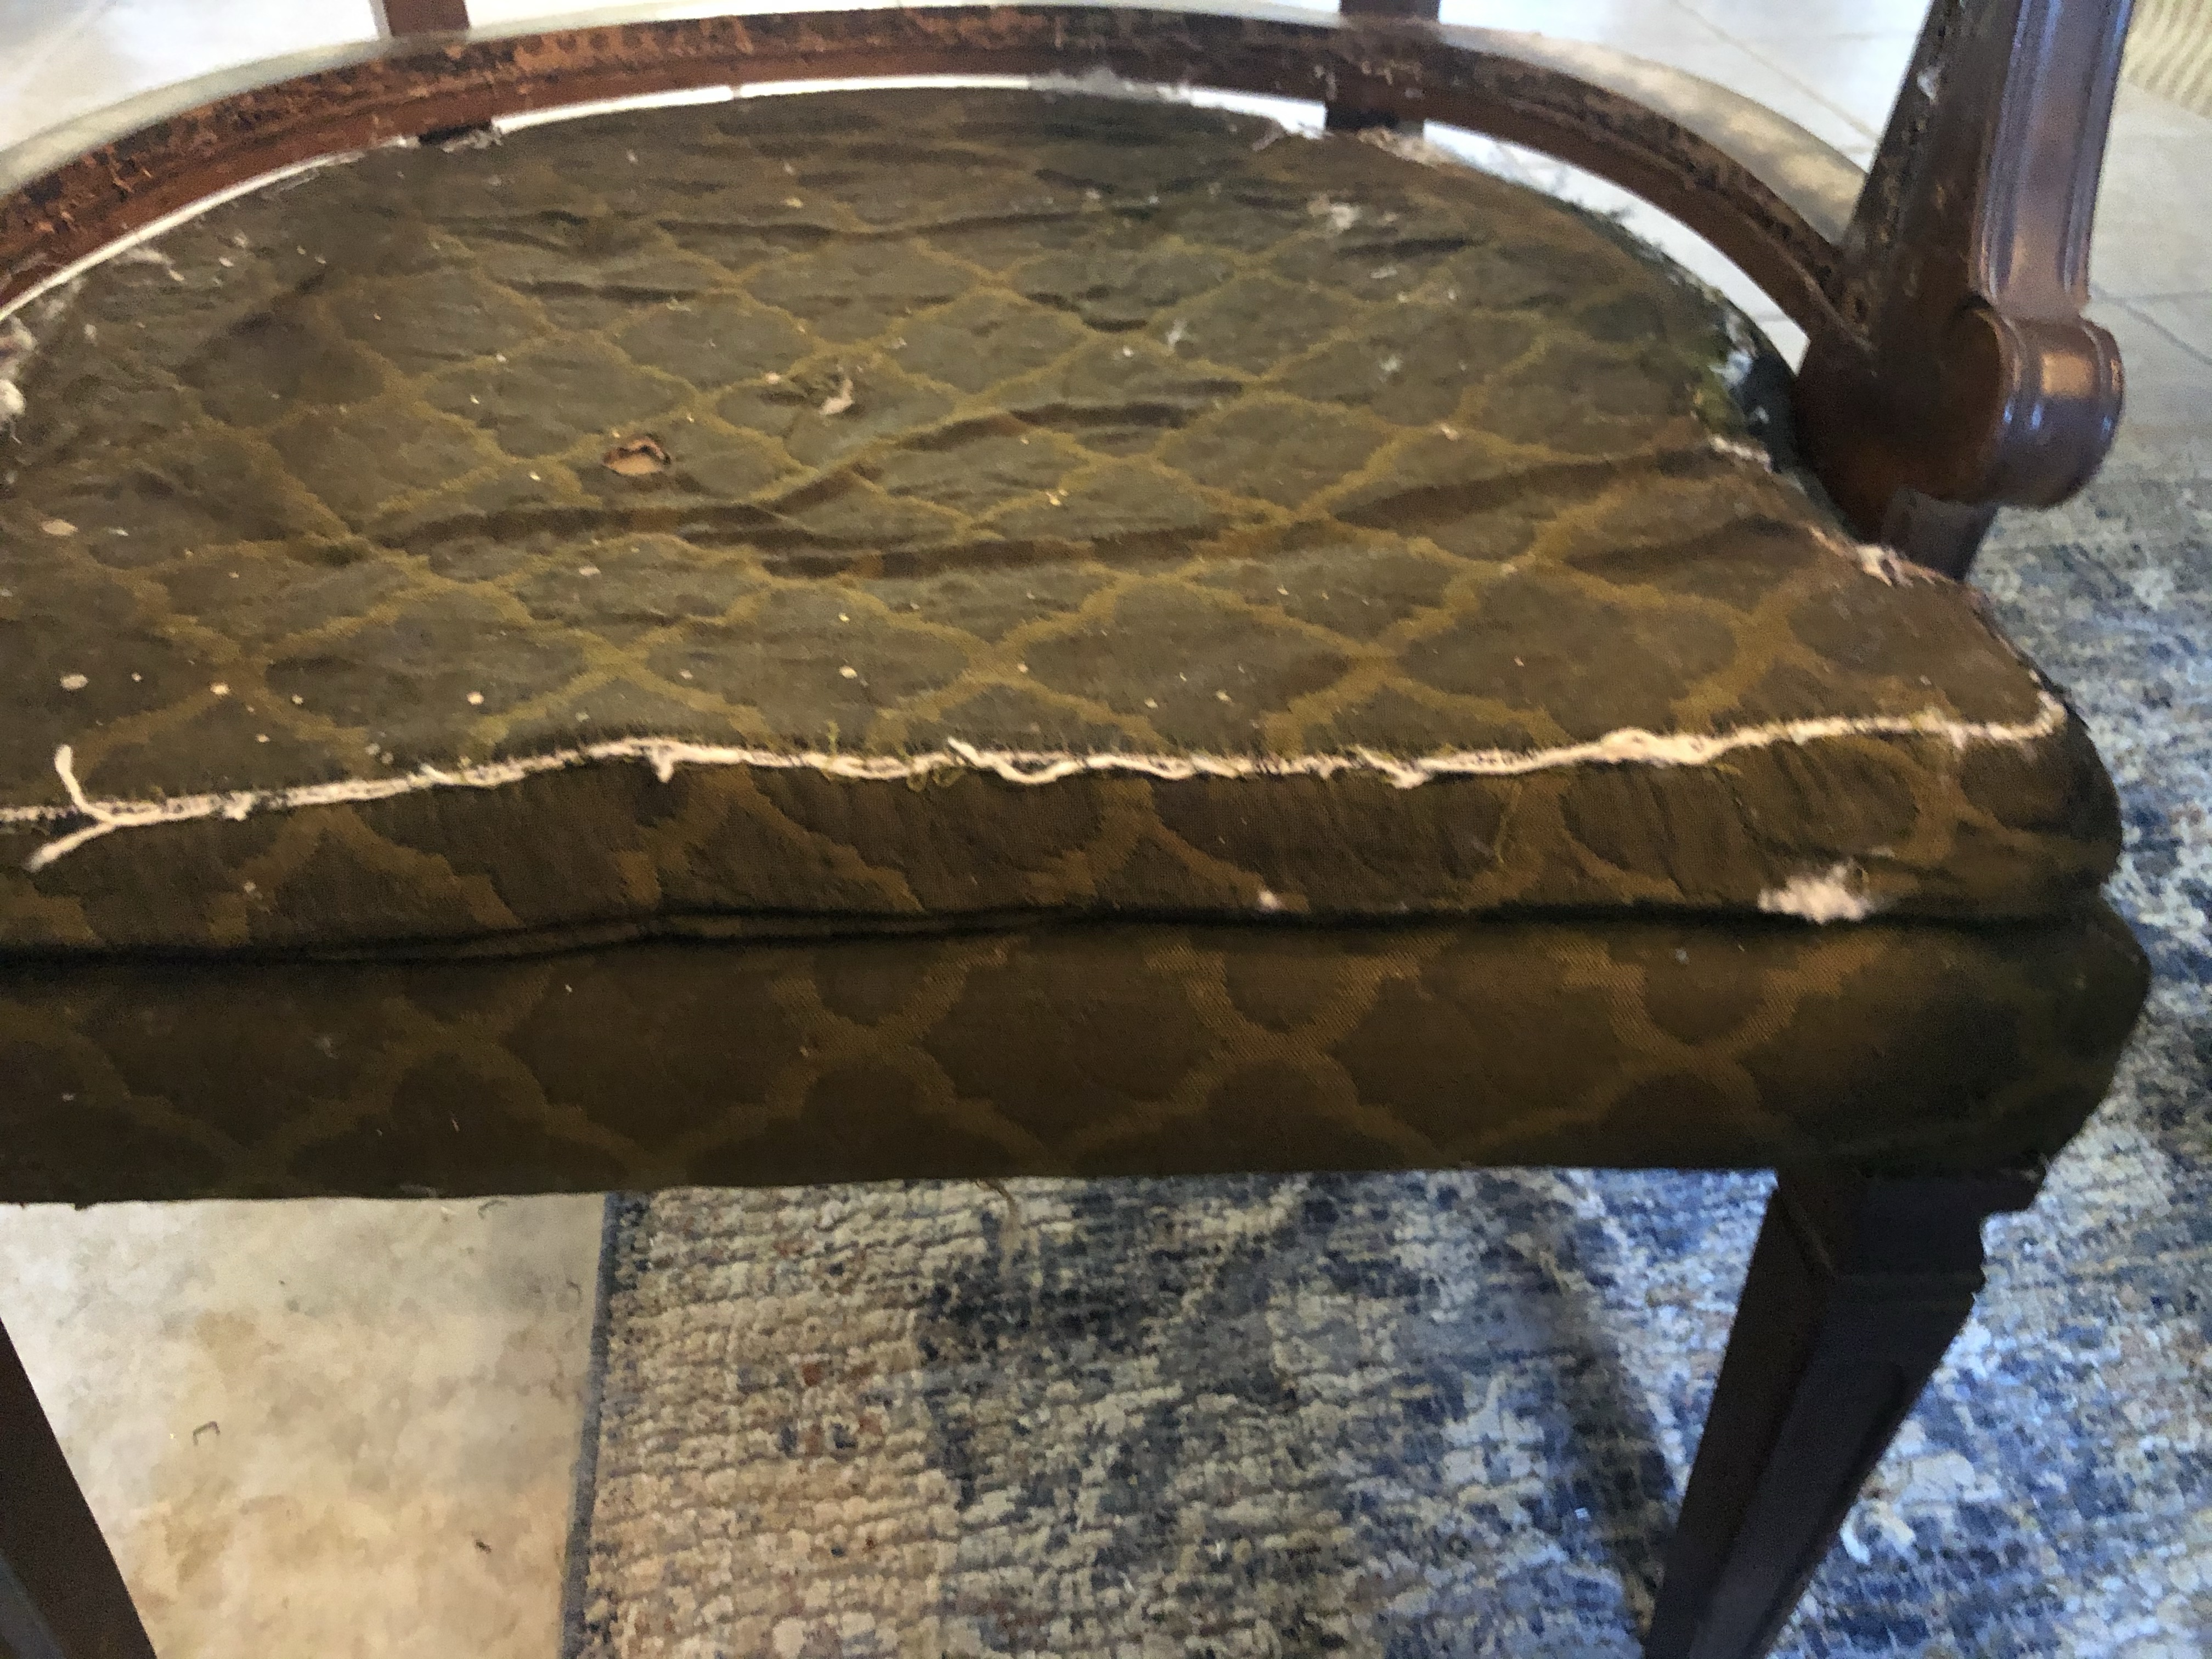
Before 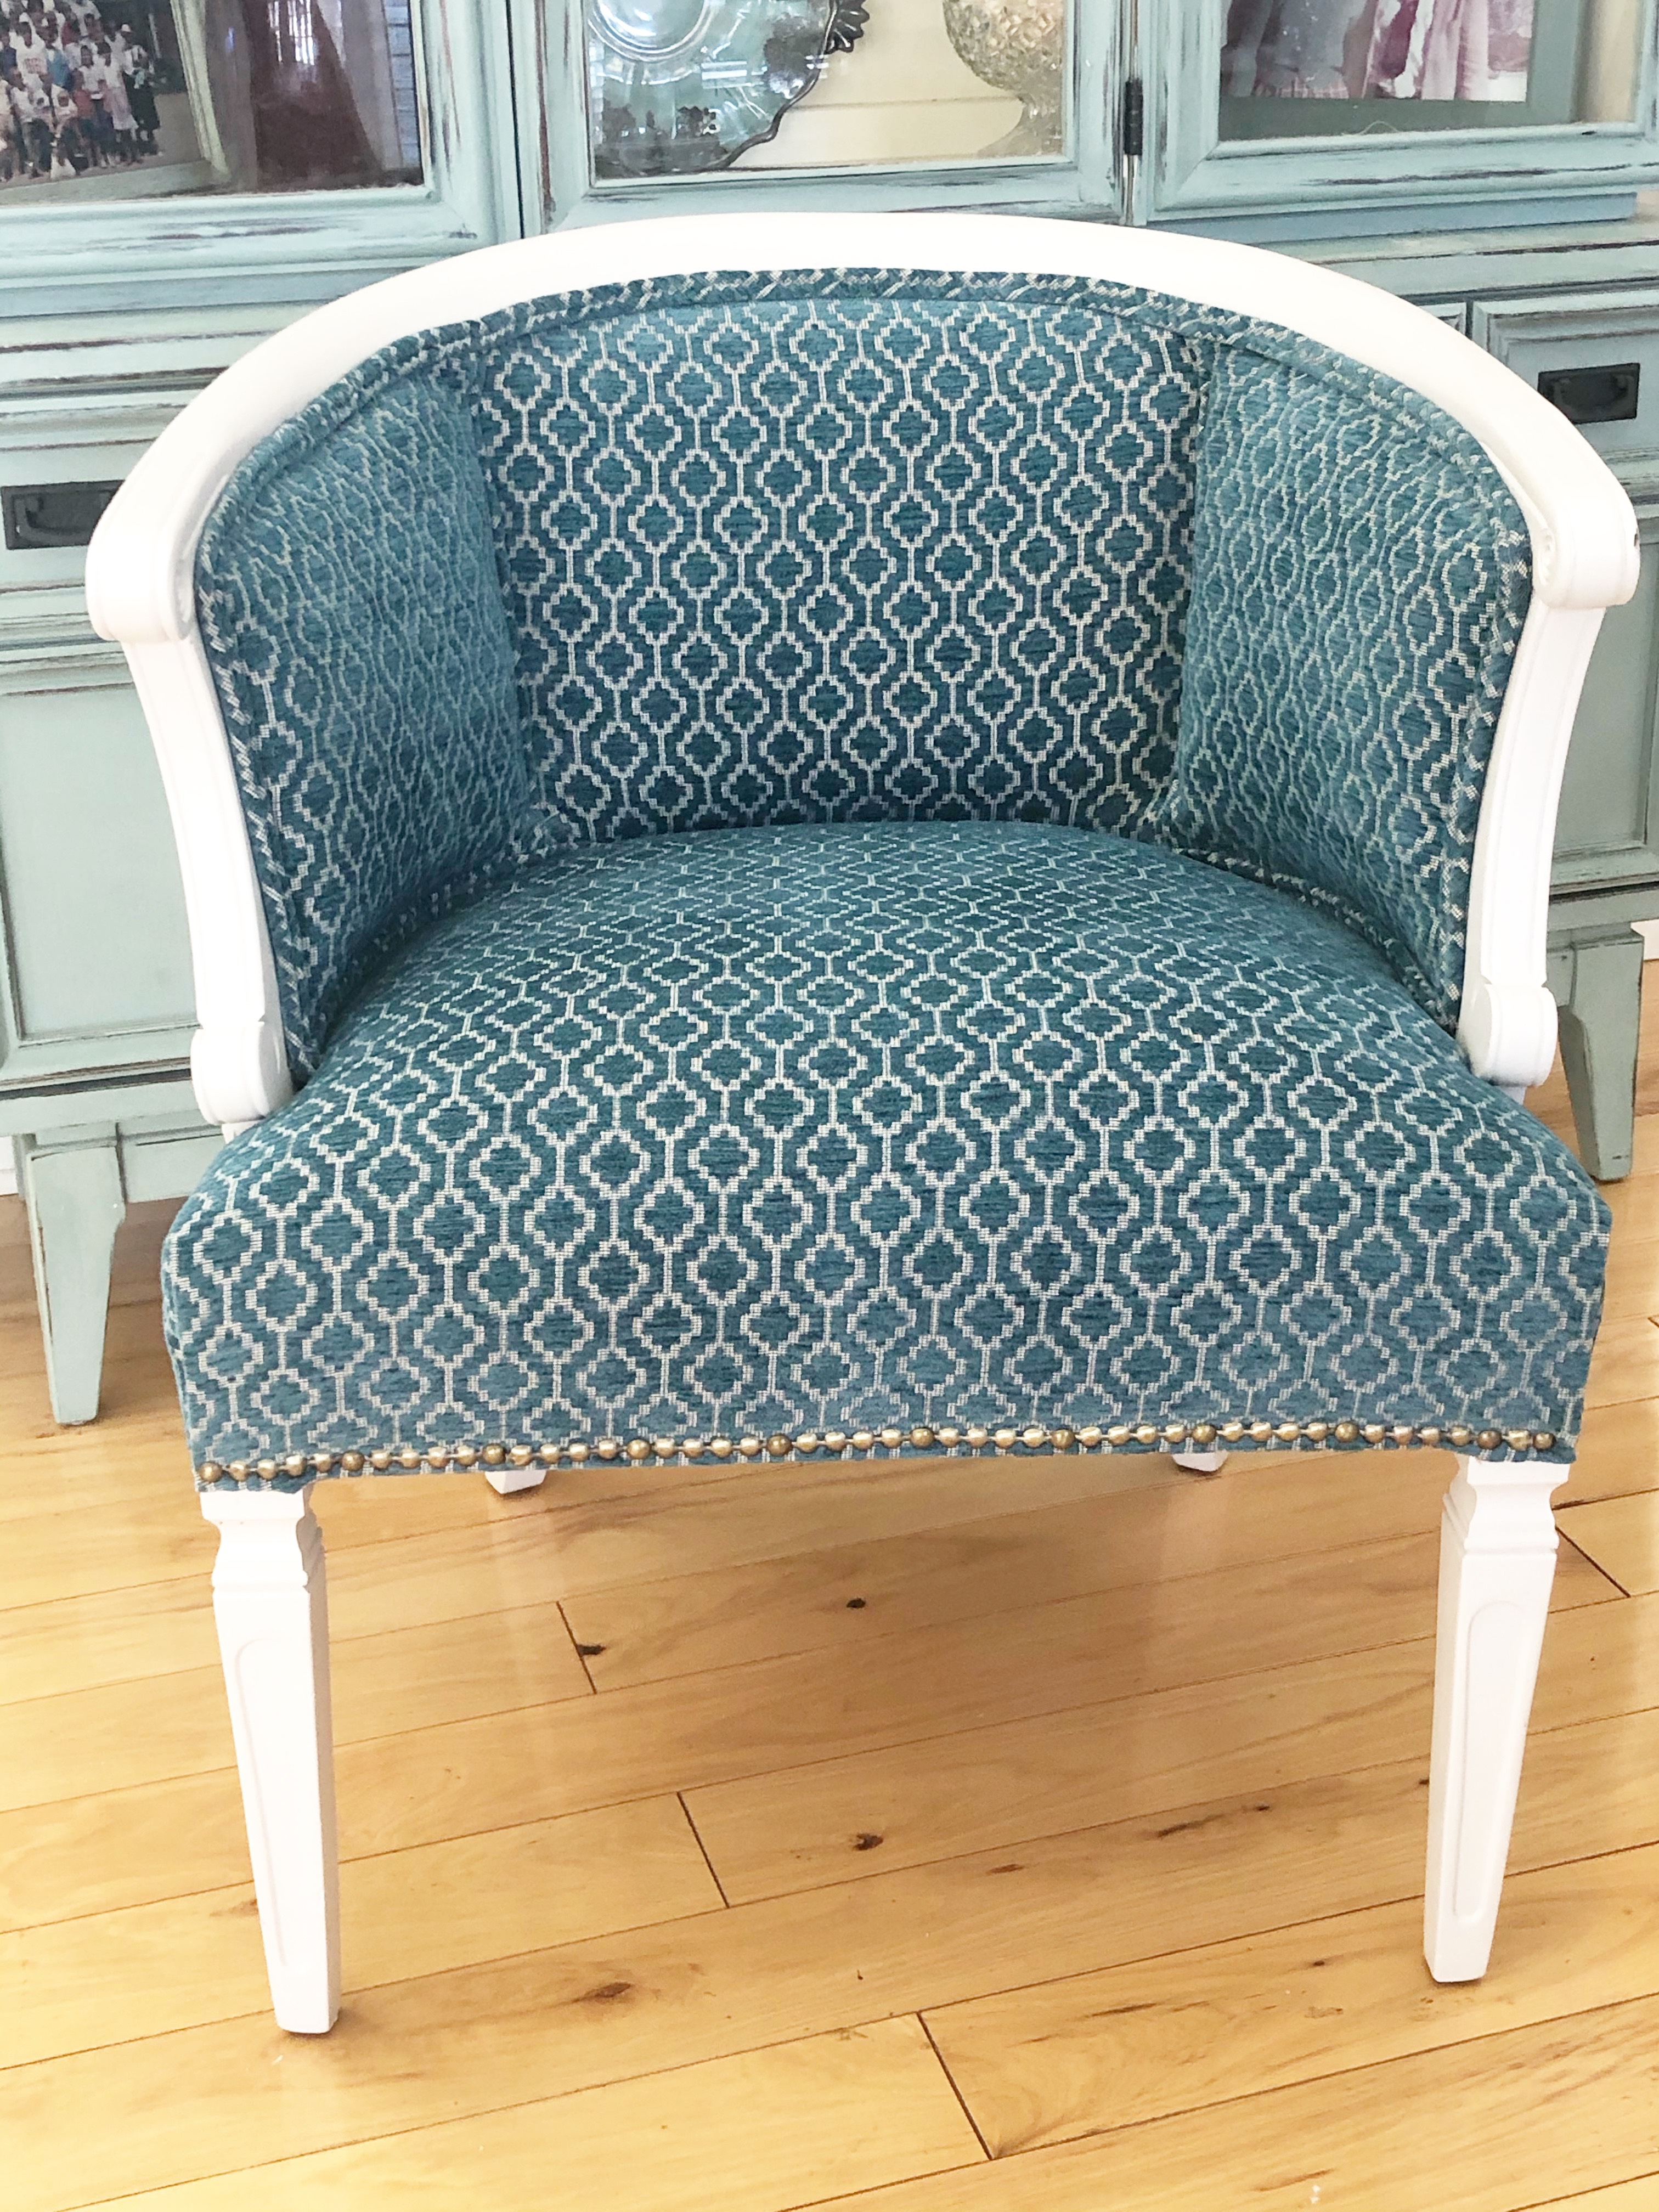
After
So the big question is….will I do more? You bet! I love to learn new skills, and with each piece I will get better. Slipcovers and upholstery are completely different animals each with their own skill sets. I do like to sew and it is what I am comfortable with but sometimes you have to get out of your comfort zone to grow and stretch.
Hope you are having a great February!
Denise

[…] Upholstery Is No Joke! […]
LikeLike