
I met Leslie by referral. She had heard I sewed from her neighbor and wanted to know if I could make her a couple of cornices for a guest bedroom. Actually, you don’t have to know how to sew in order to make a simple cornice. If you have a saw and a good stapler, you can do it too. Having never actually made a professional cornice I offered to make her first cornice for free for the experience and practice.

I wanted to make sure I made them professionally and knew what I was doing. So after watching a video from Kim’s Upholstery, I constructed my first cornice for a window at our lake house. It turned out pretty good! I was ready!
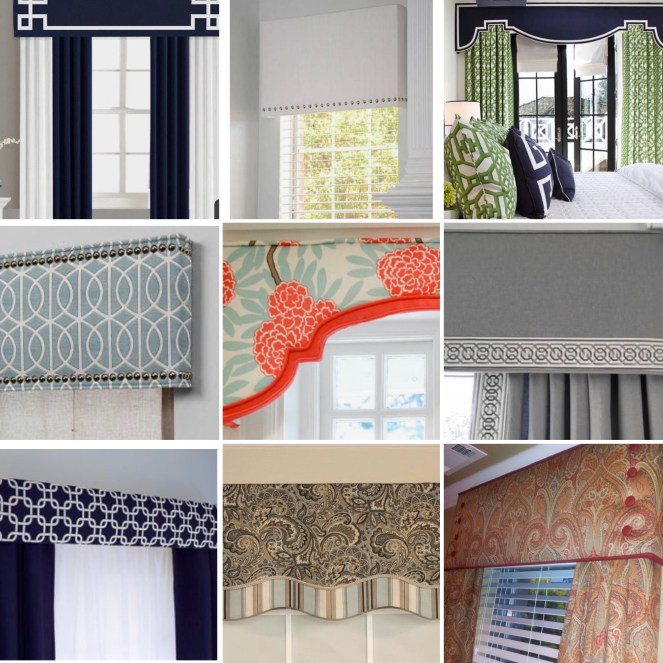
What is a Cornice?
Cornices are hard window top treatments, meaning the fabric is often created by upholstering a board ( like plywood) and unlike a valance there is no loose fabric hanging at the bottom. Used to hide window treatment hardware or just to add a pop of color to the room, cornices are a great addition to your interior design. When kept simple, they can be a great way to add “art” to your windows, coordinating with your window panels or just by themselves.

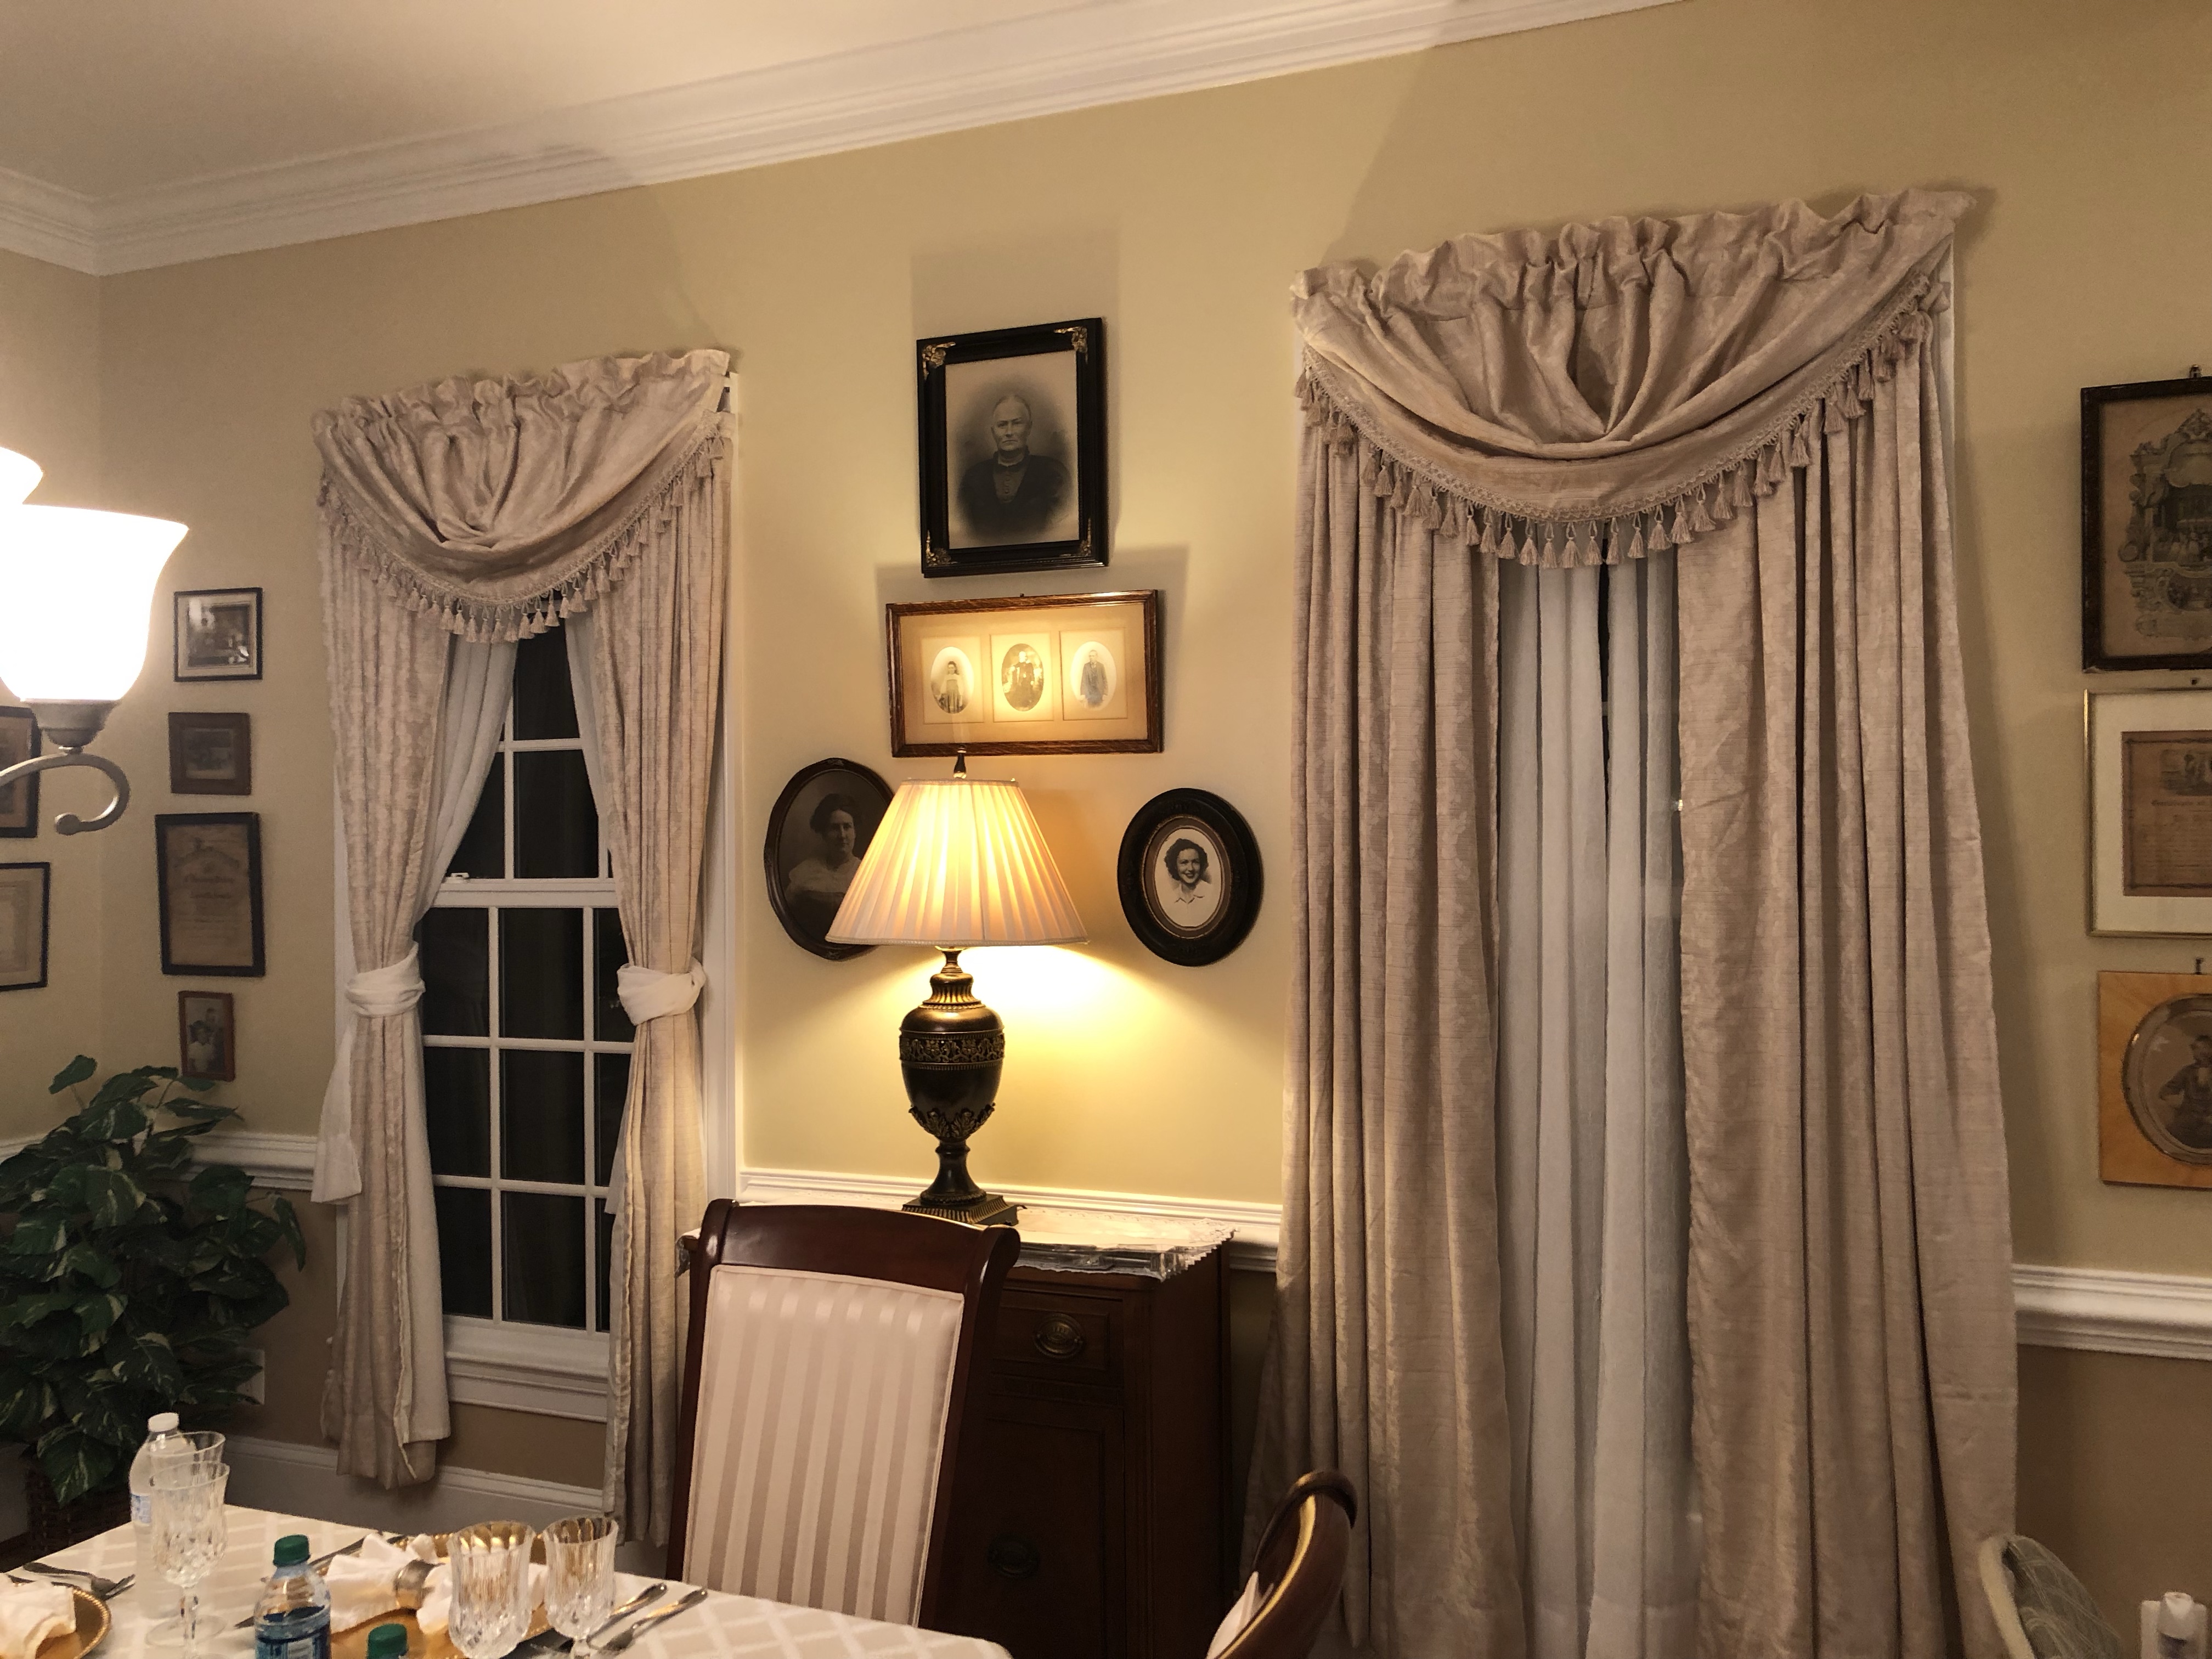
There are many ways to design a cornice. You can go completely straight and simple, as this client did with the “Virginian” focusing mainly on the fabric selection, opting for the texture to be the focus. Or, you can choose from a variety of shaped cornices that compliment the window or space and work along with curtain panels underneath. Trim, cording, banding, fringe and nailheads are all options to add extra interest to your cornice to really make a statement.
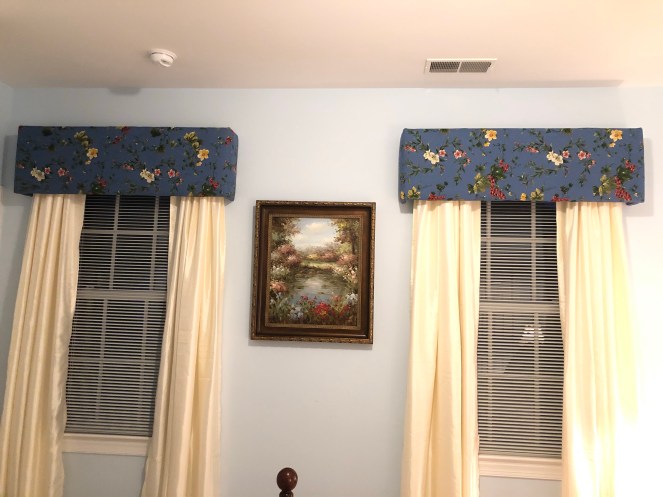
With one cornice behind me, I started working on Leslie’s project. She wanted to repurpose some old curtains to make a couple of simple cornices for a guest bedroom. I removed the seams and lining, pressed the fabric and made all the cuts. She planned to install panels under the cornice so we opted for the 1×6″ leg and 15″ depth of the cornice face to account for that. The buttery soft color of the panels accents the blue cornices perfectly and instantly softens the room with the pop of color that it needed. Simple and elegant.
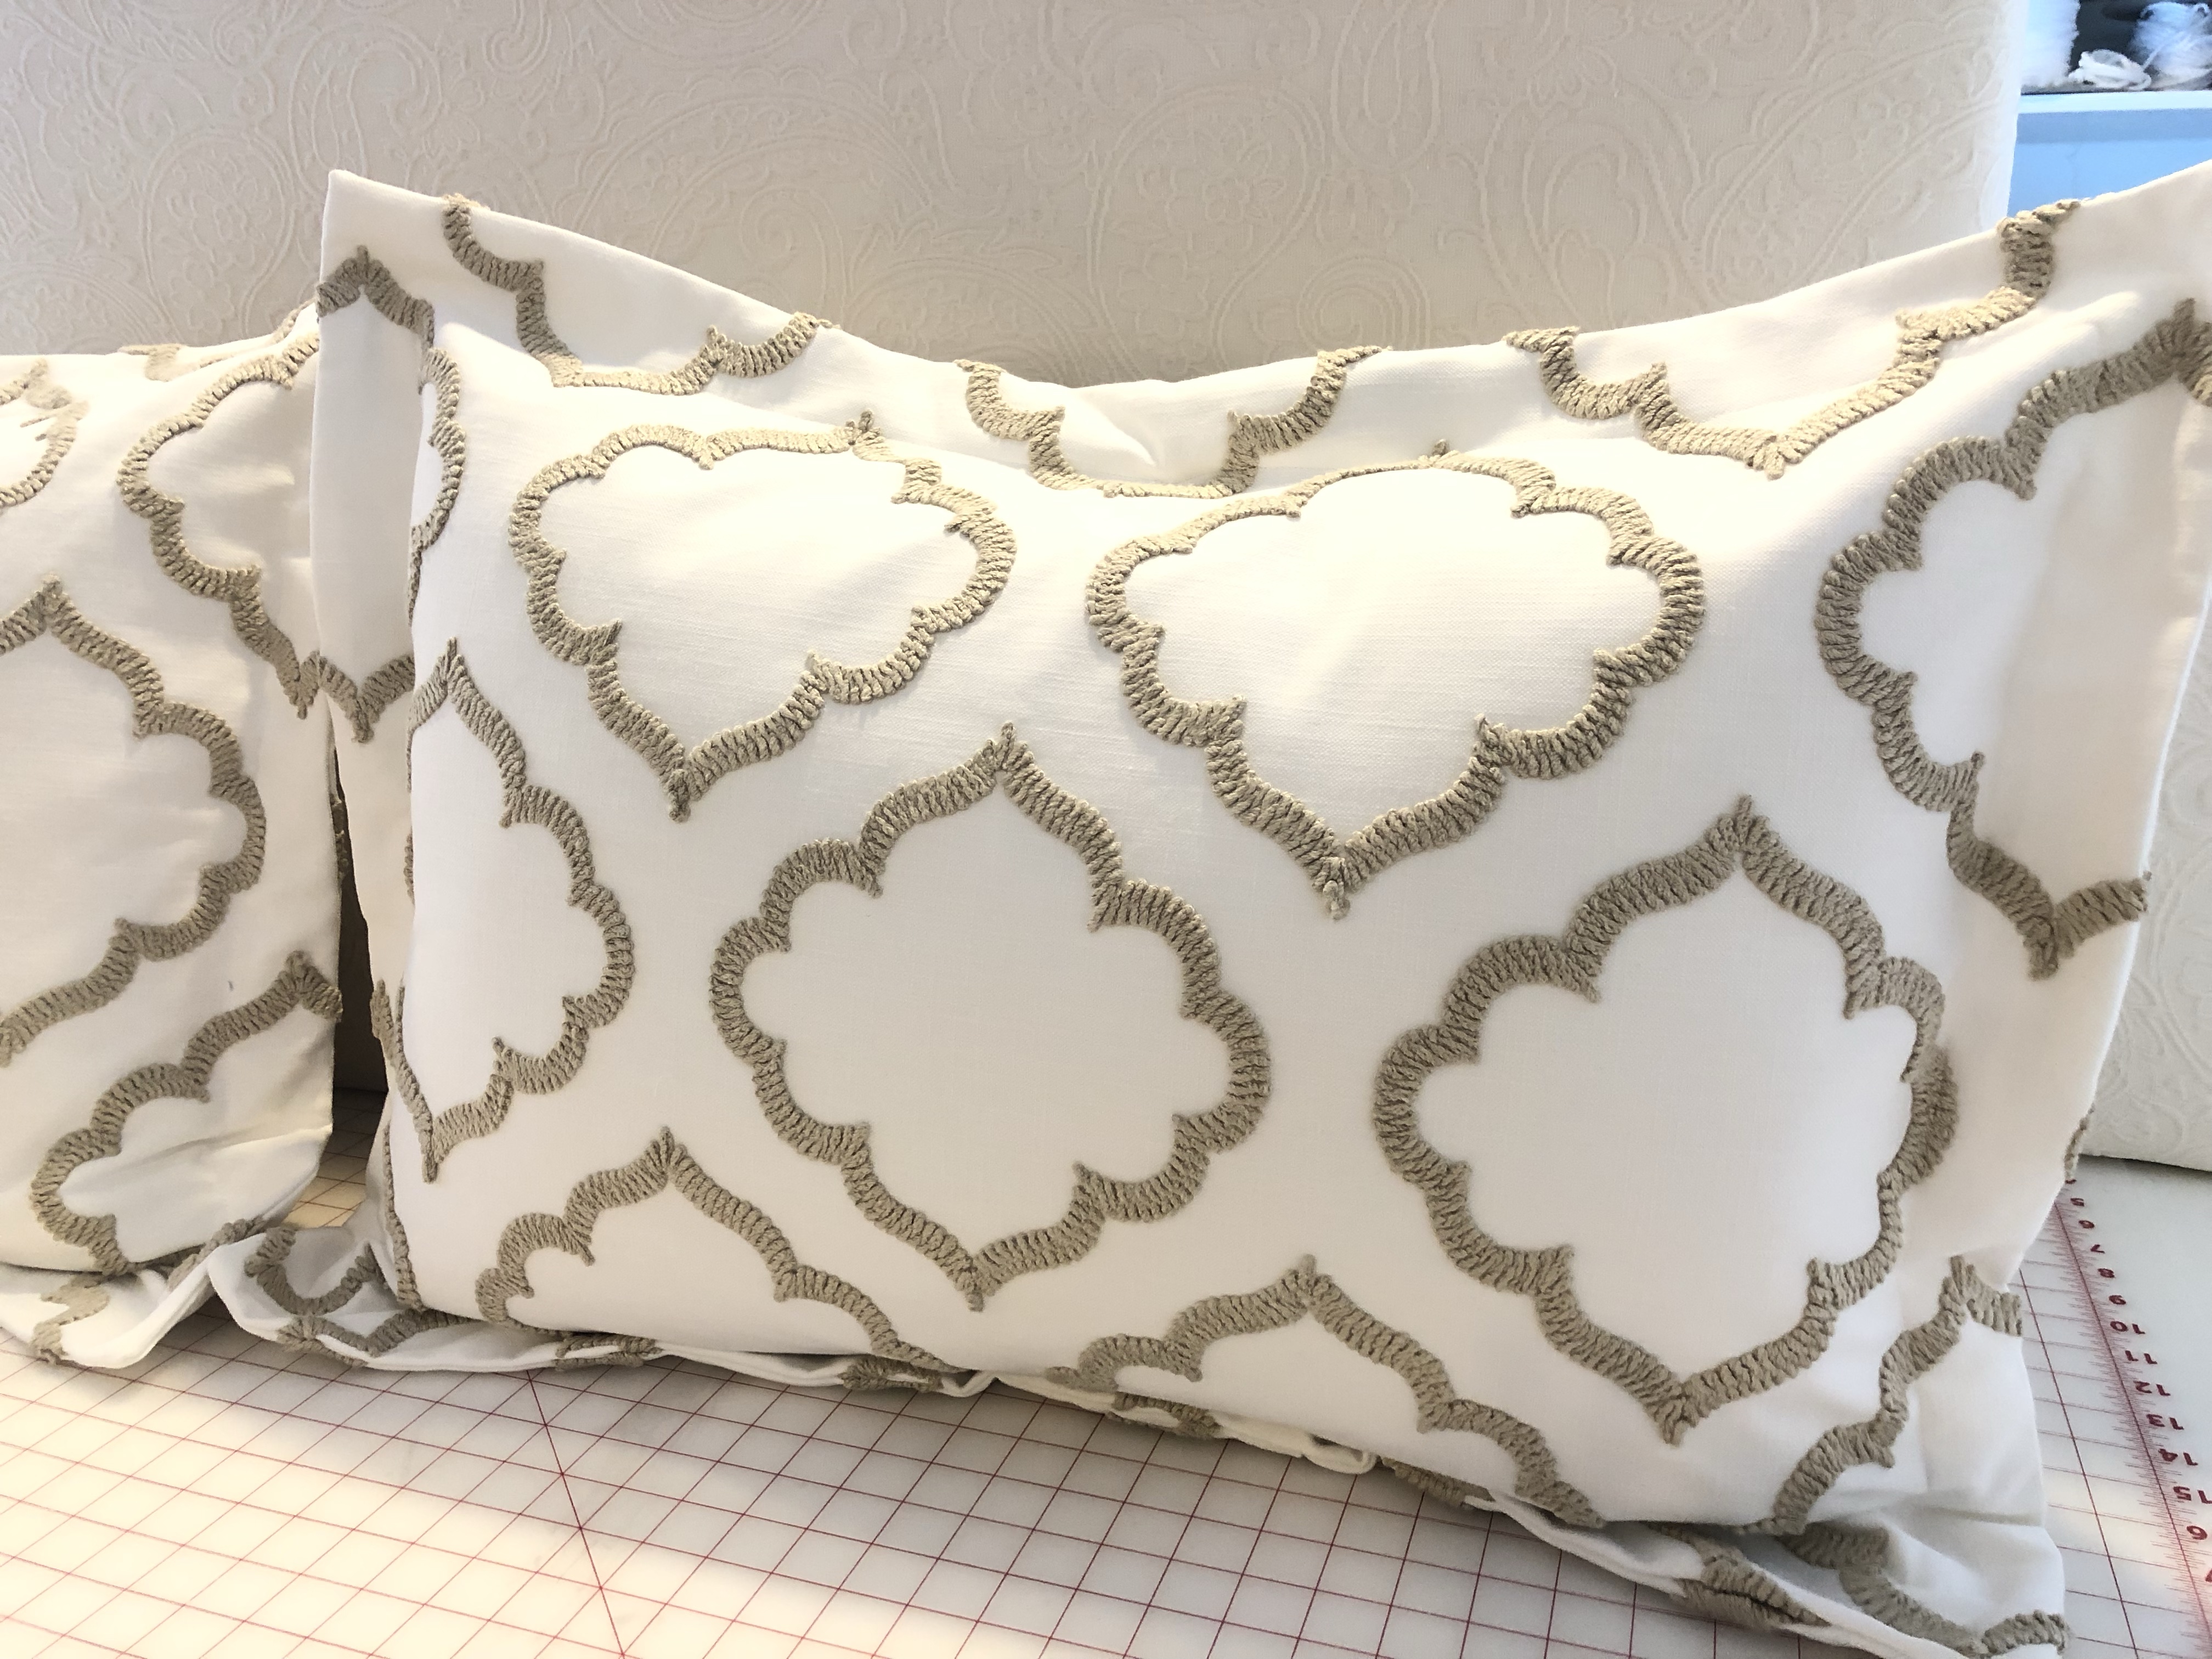
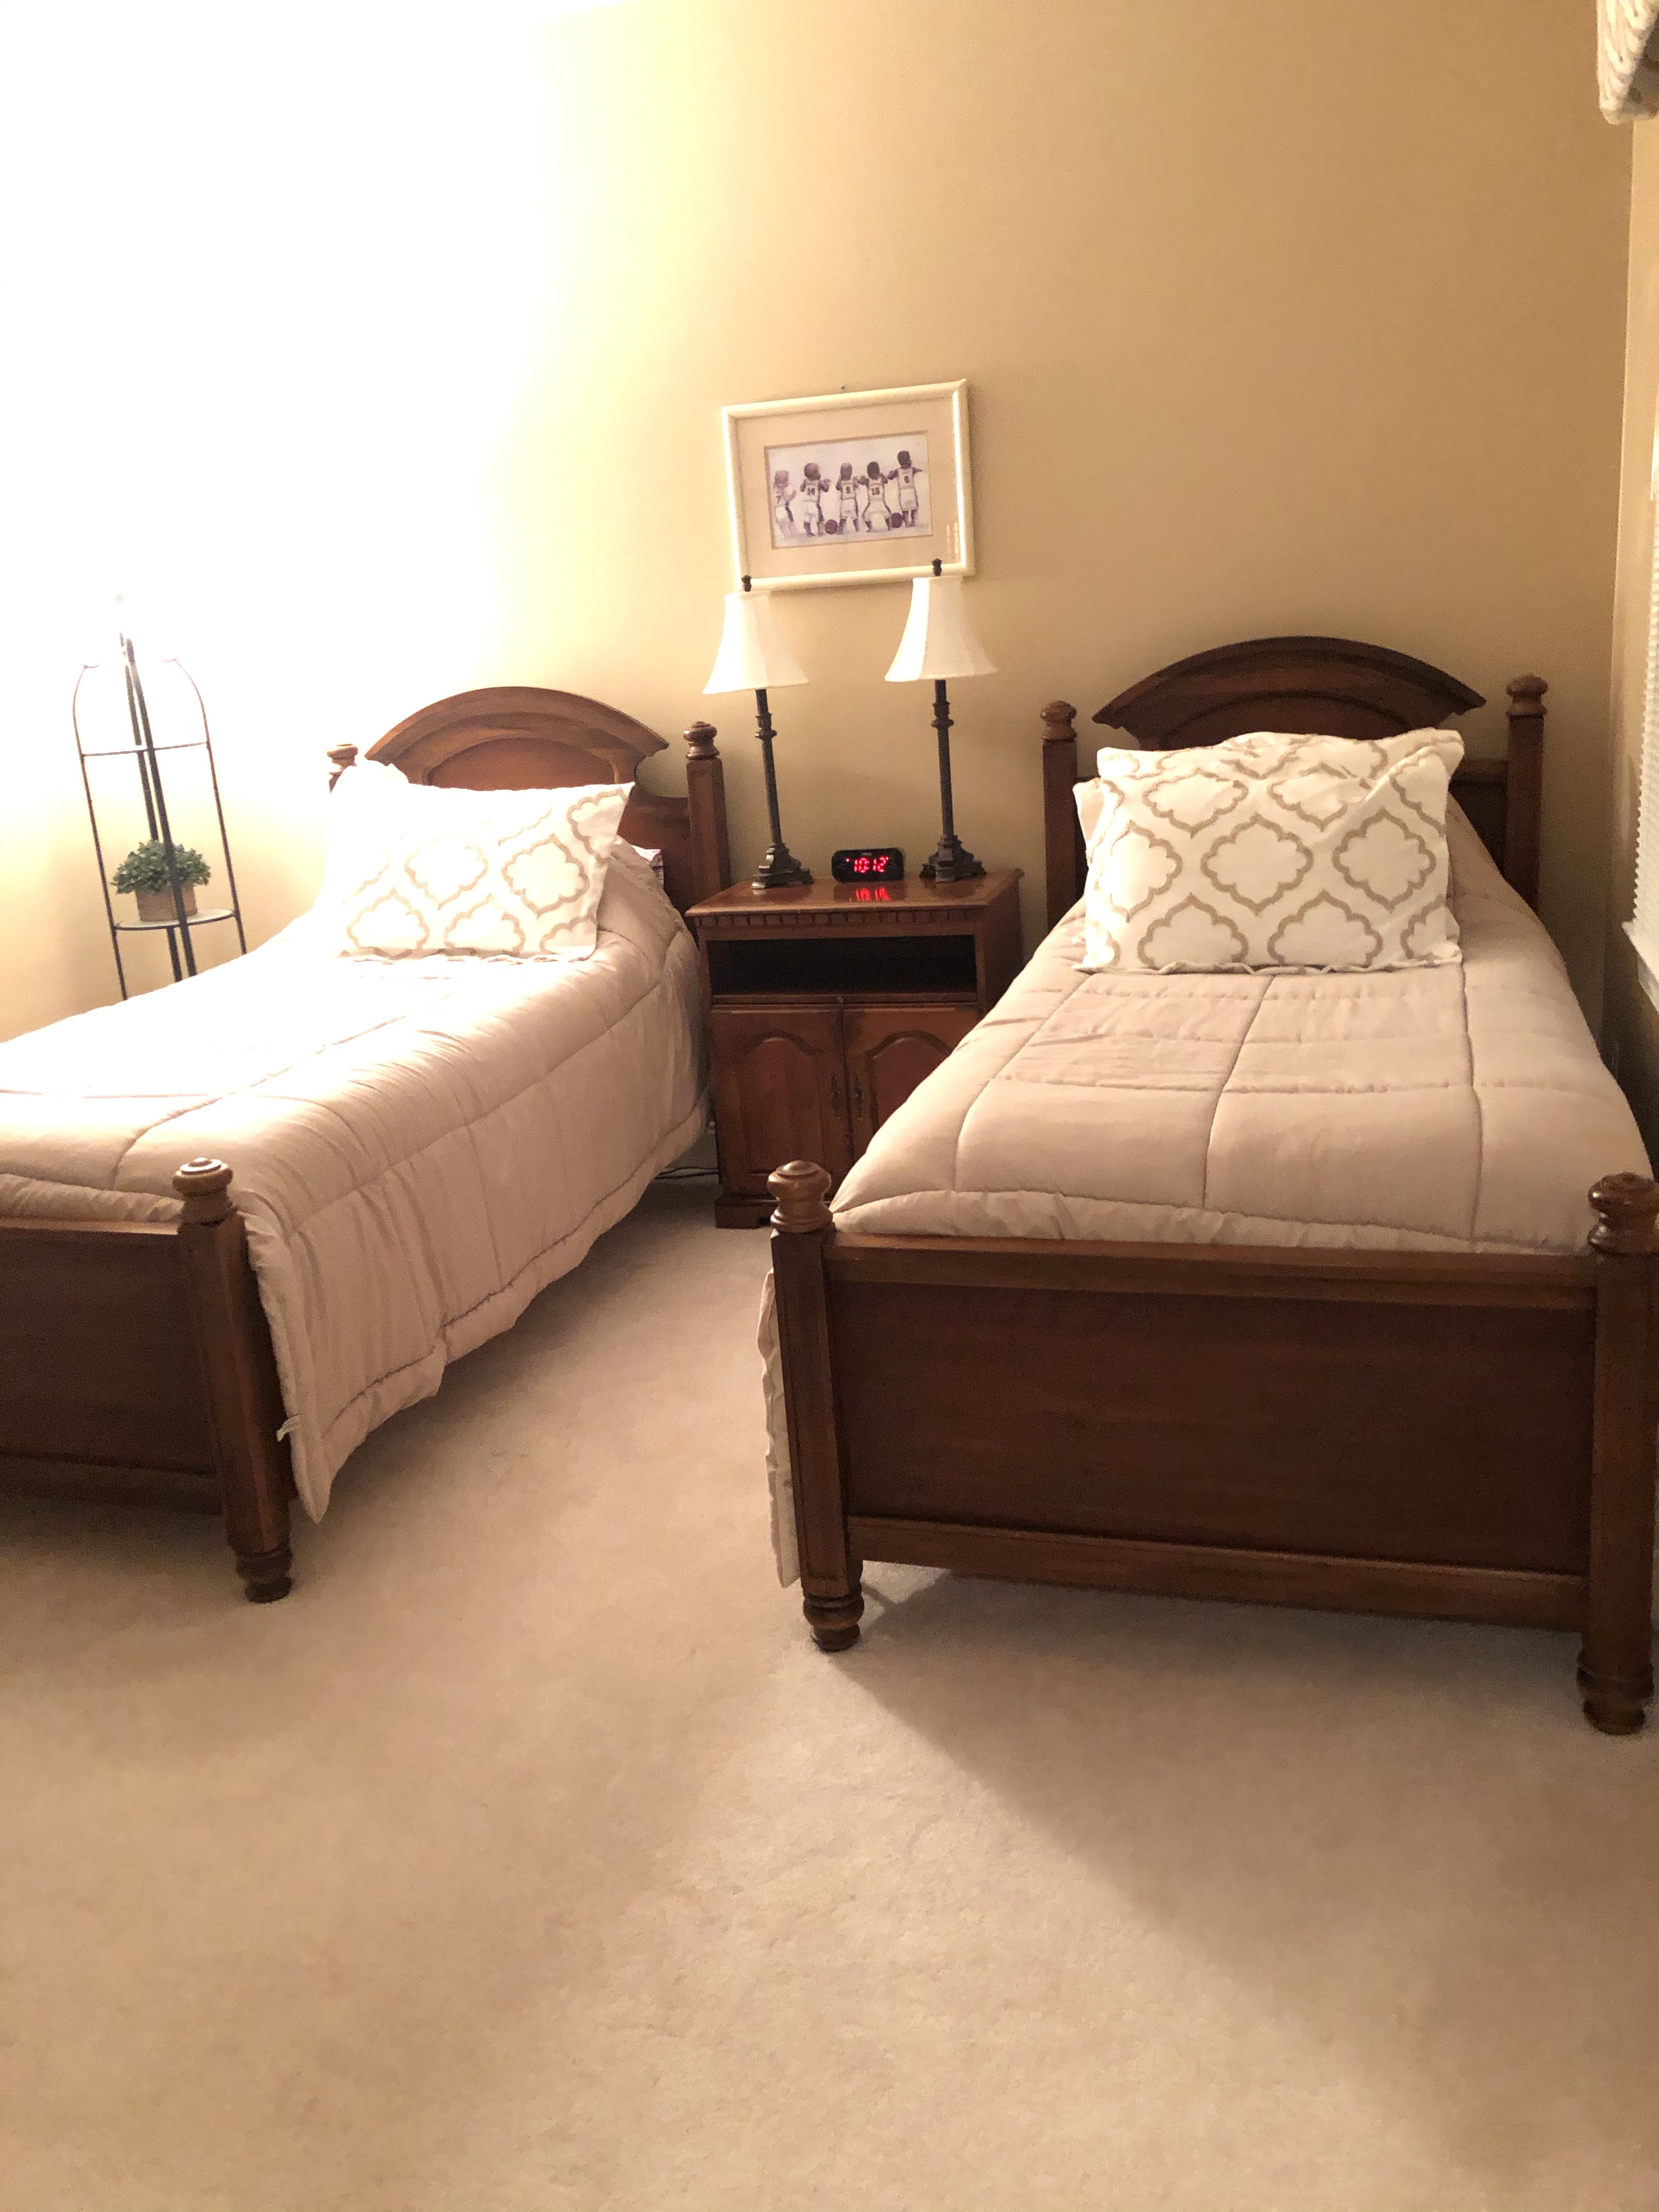
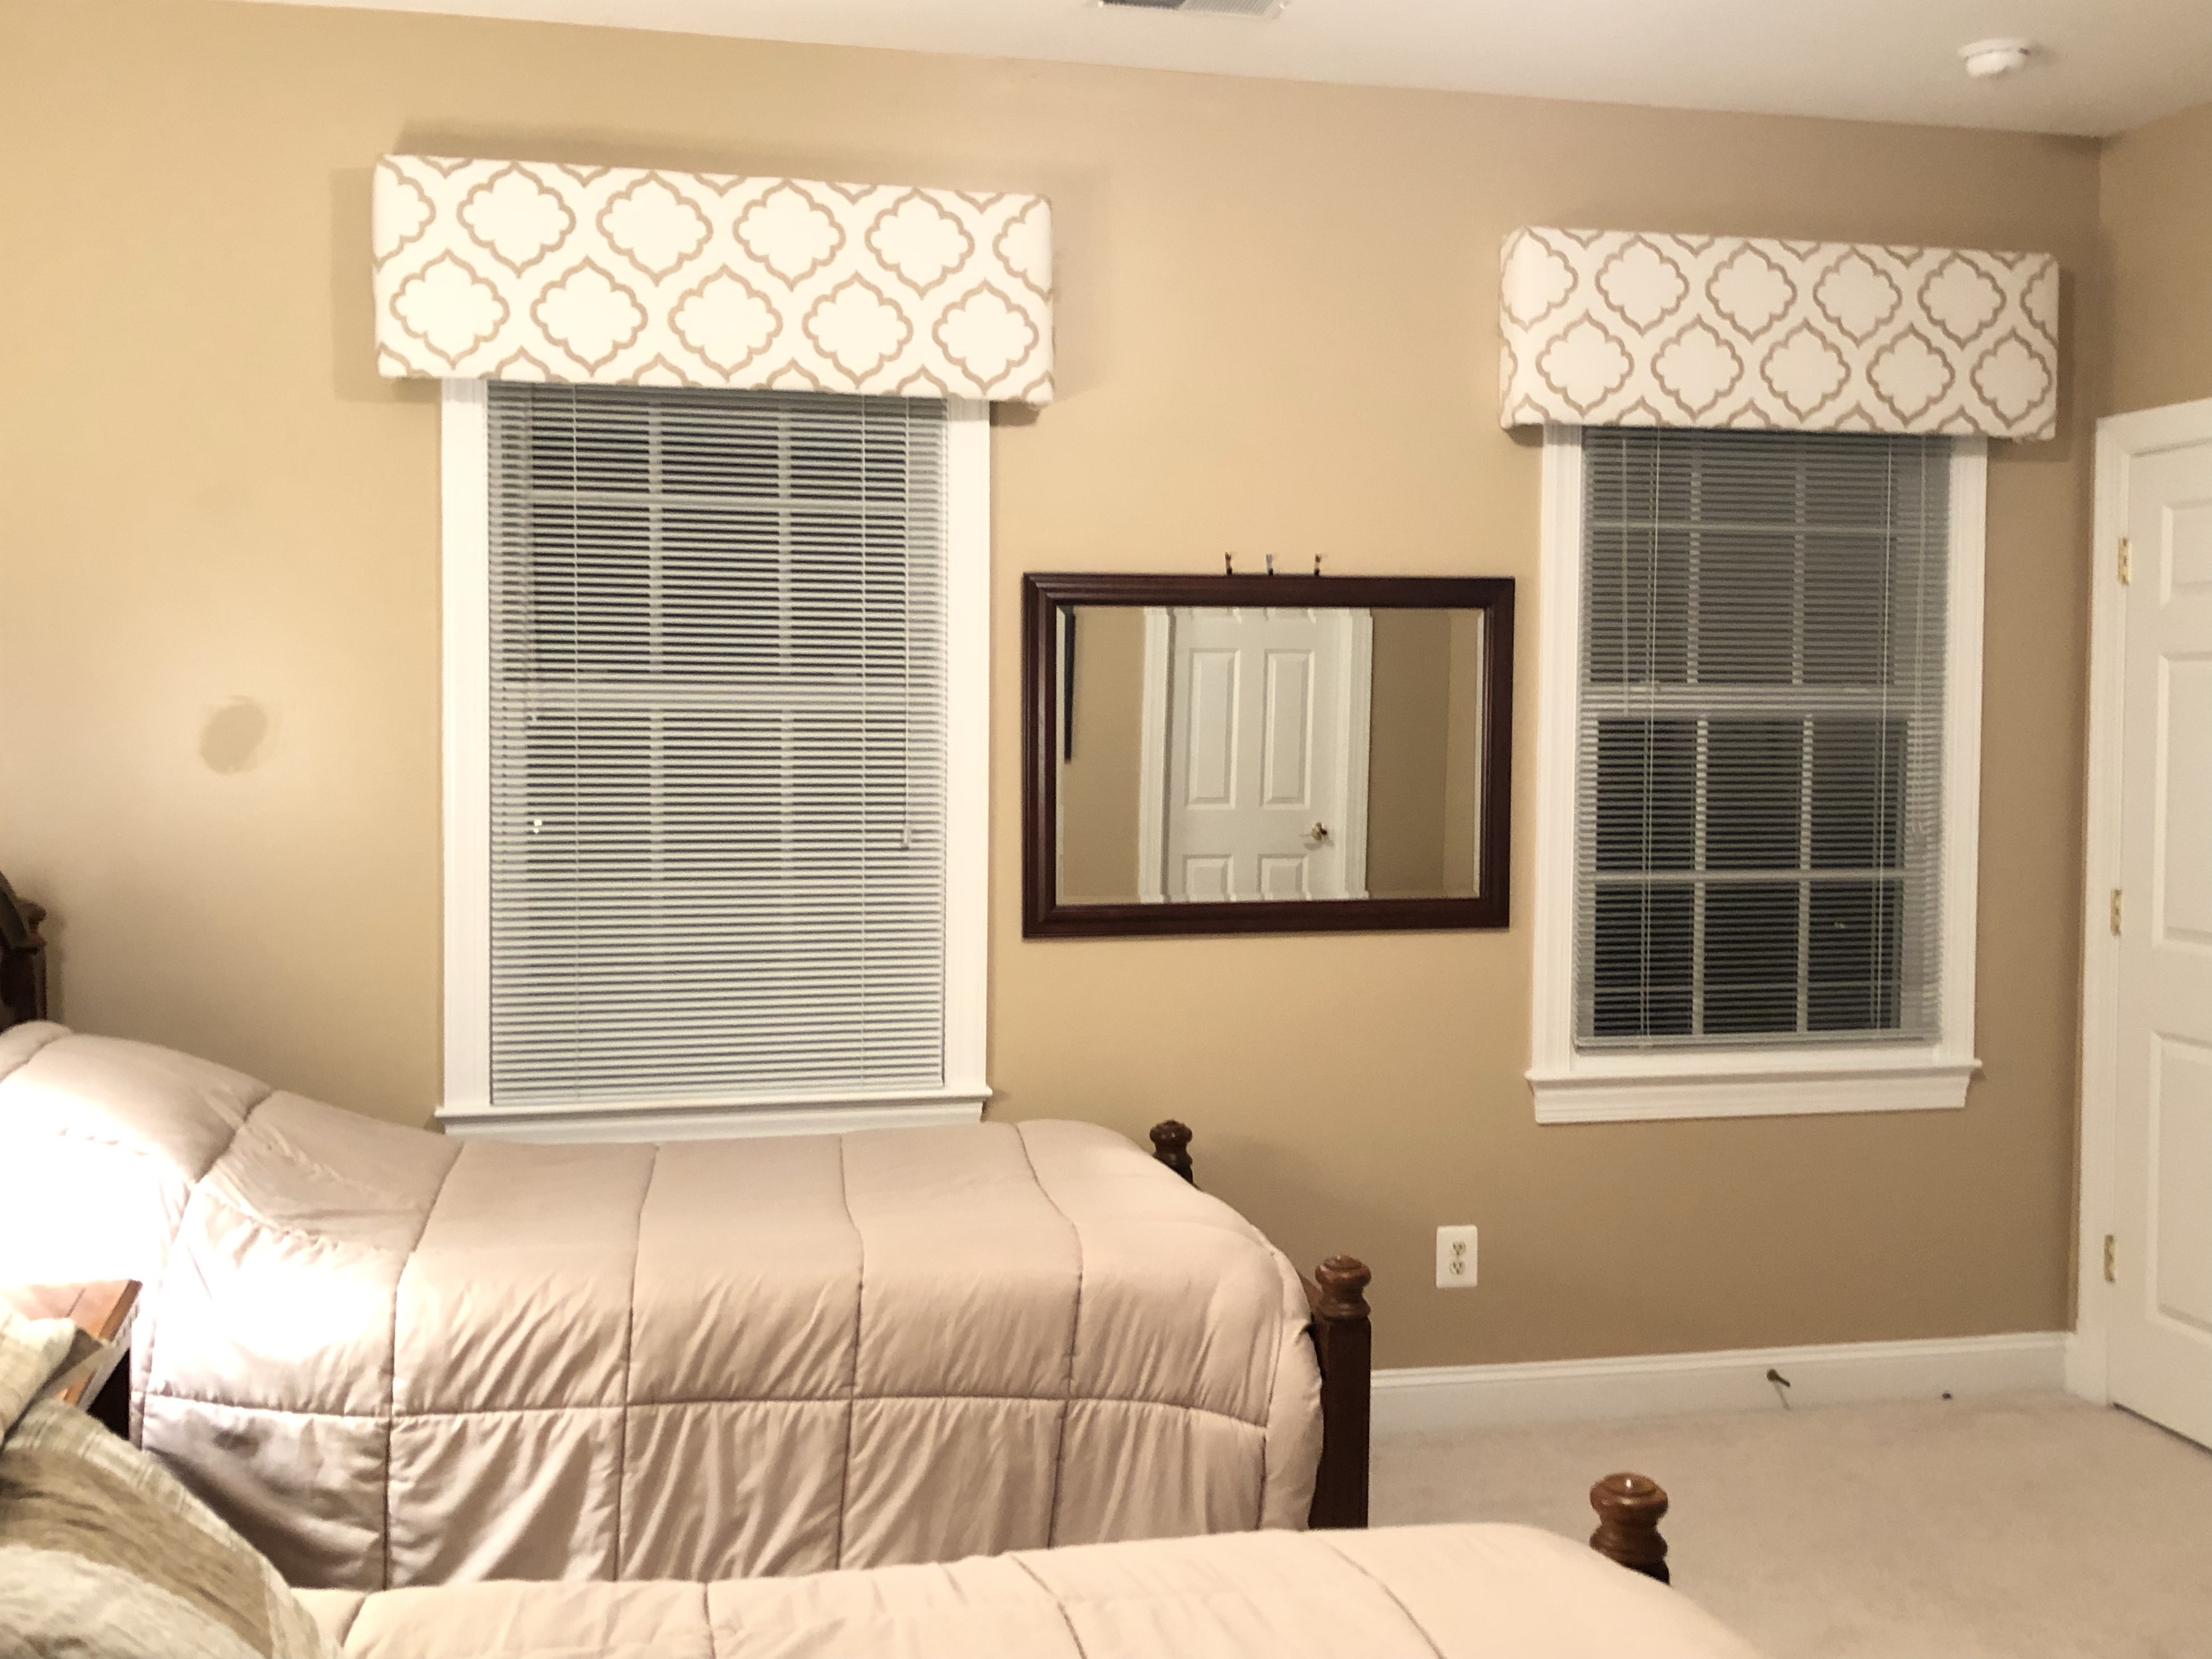
Happy with the results, Leslie decided to have cornices made for several more windows. She picked a gorgeous embroidered fabric for a bedroom with twin windows as well as the adjoining bedroom with an extra long window. I made a few flanged pillow shams with the extra fabric.
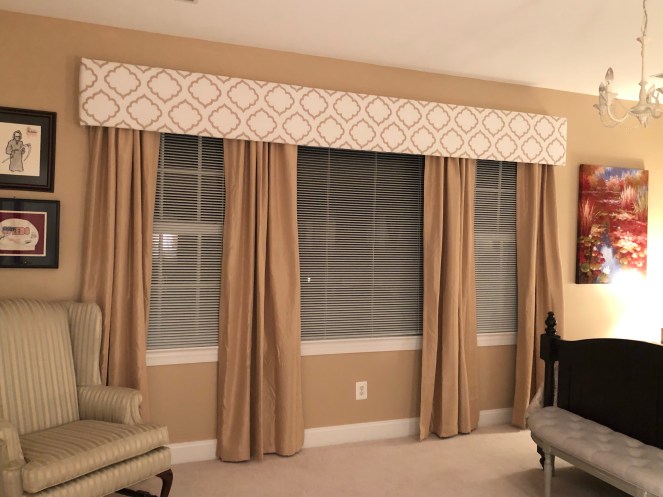
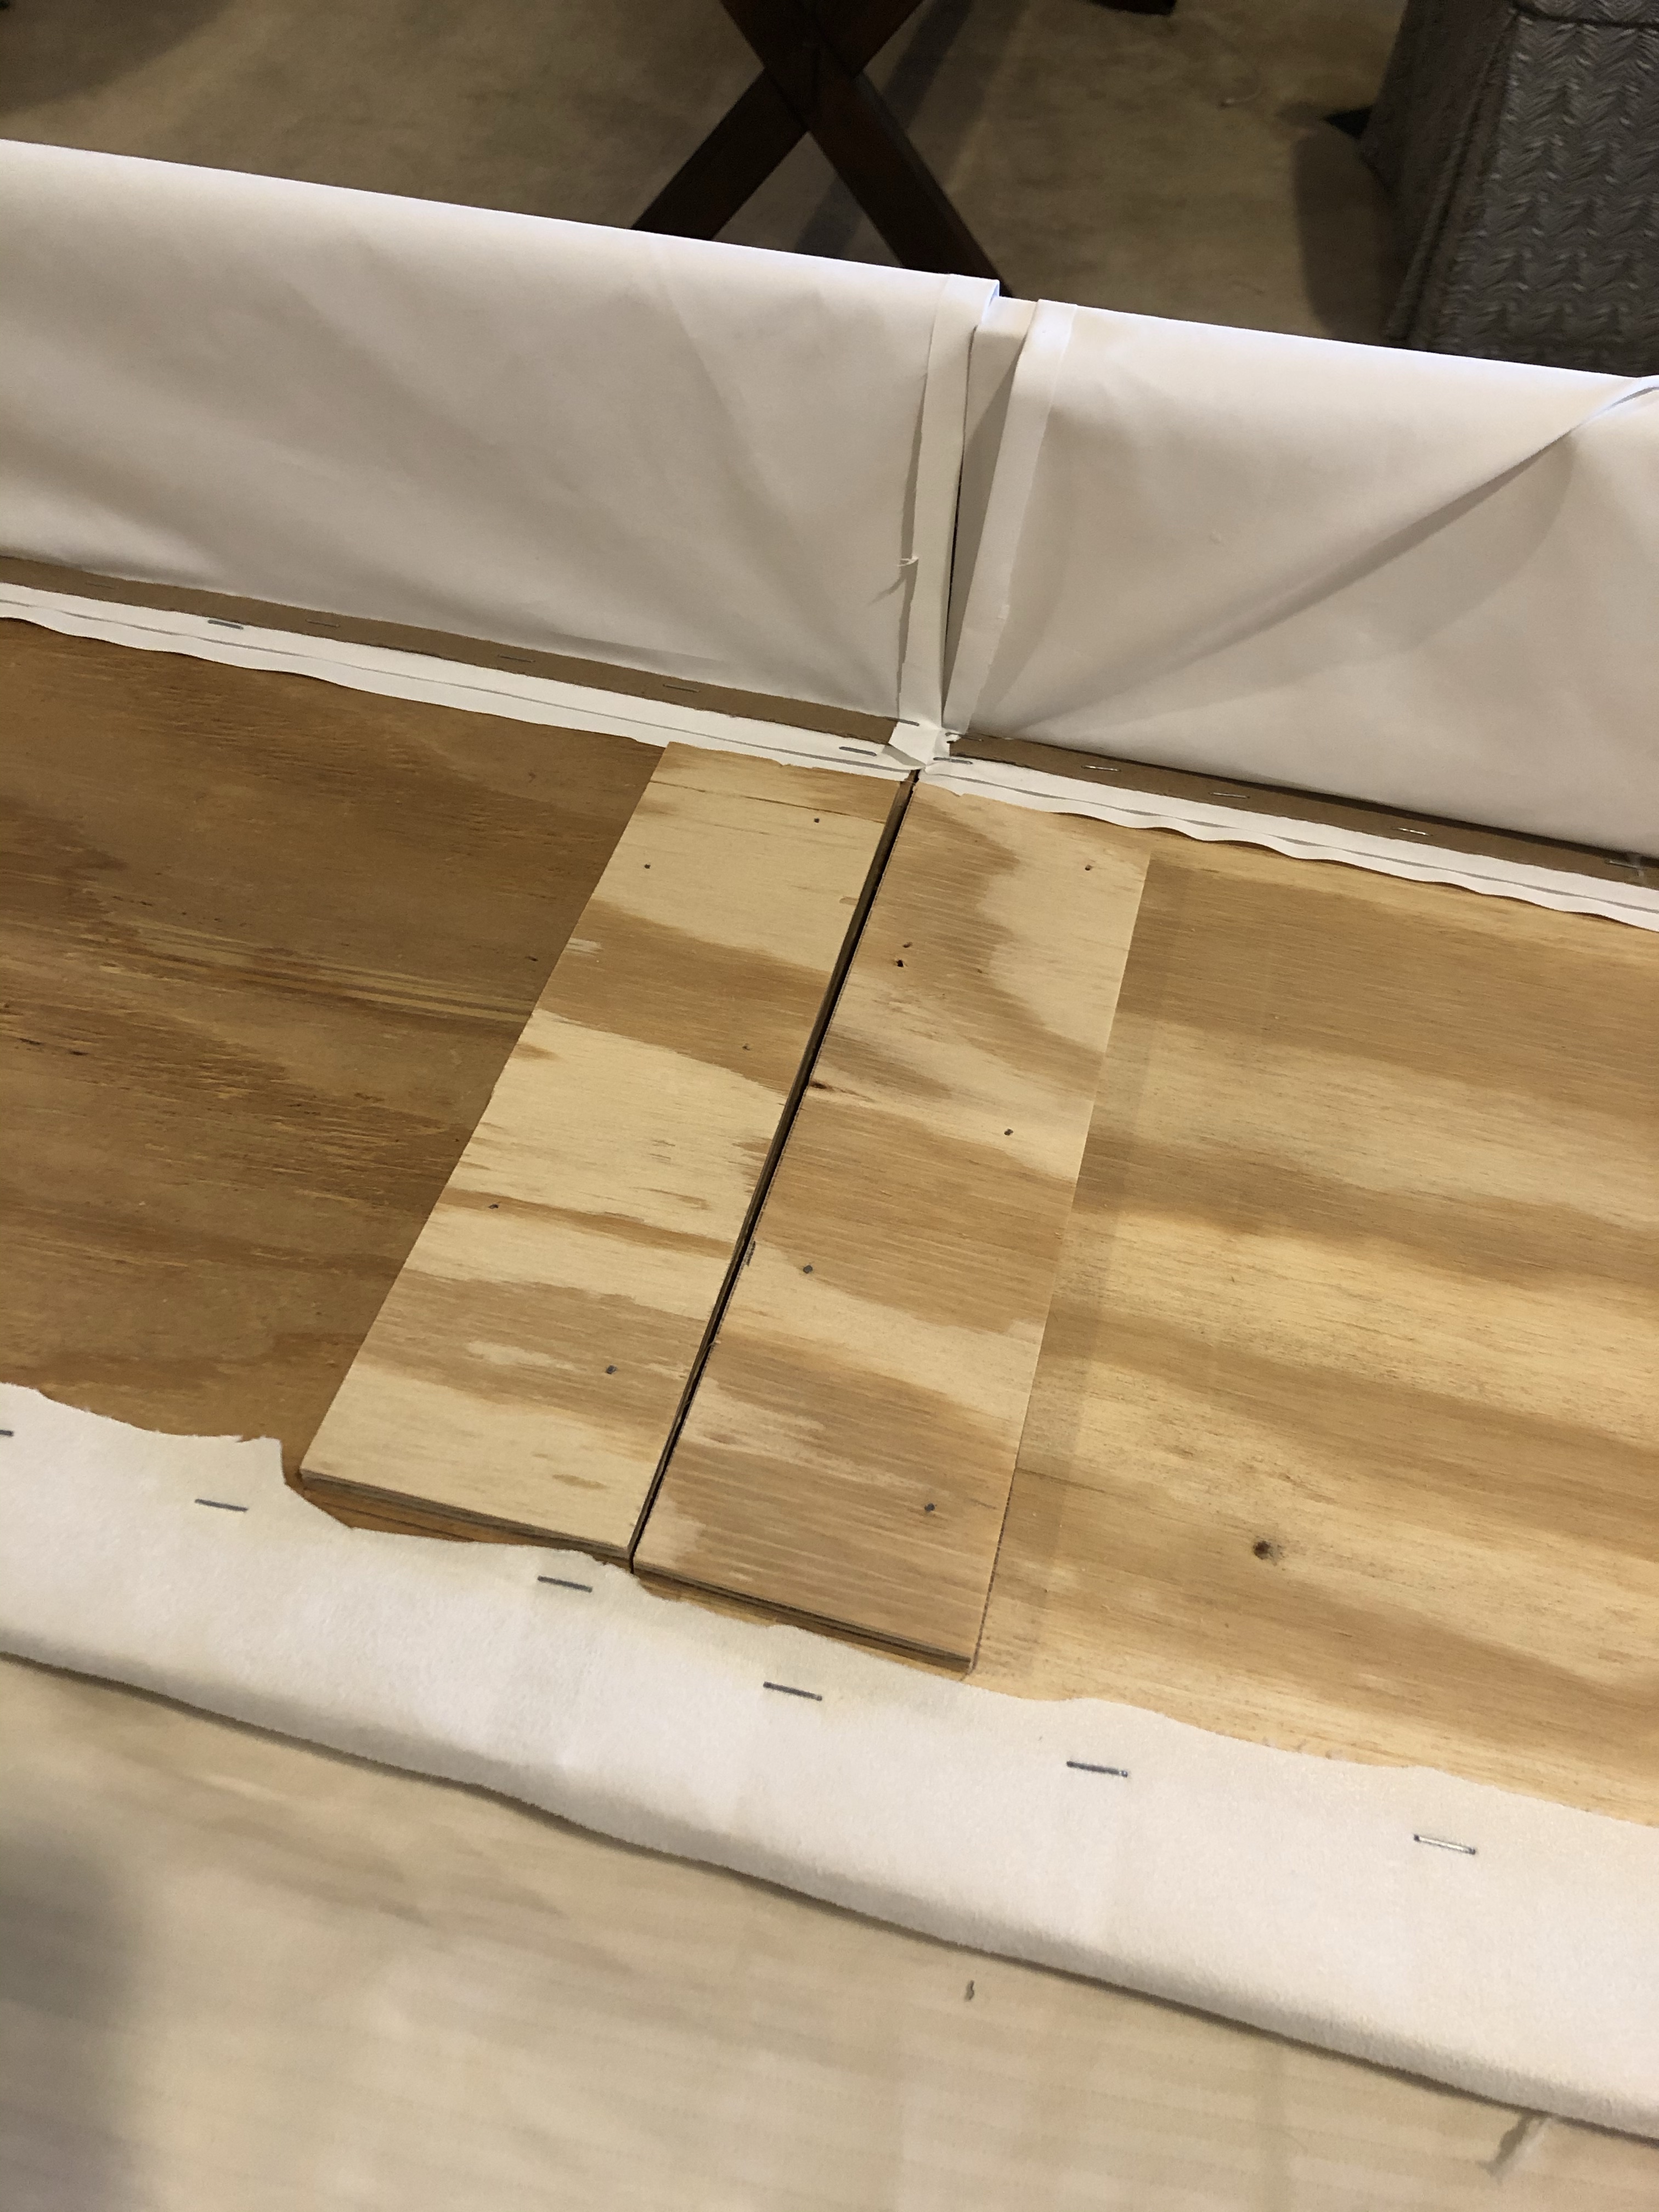
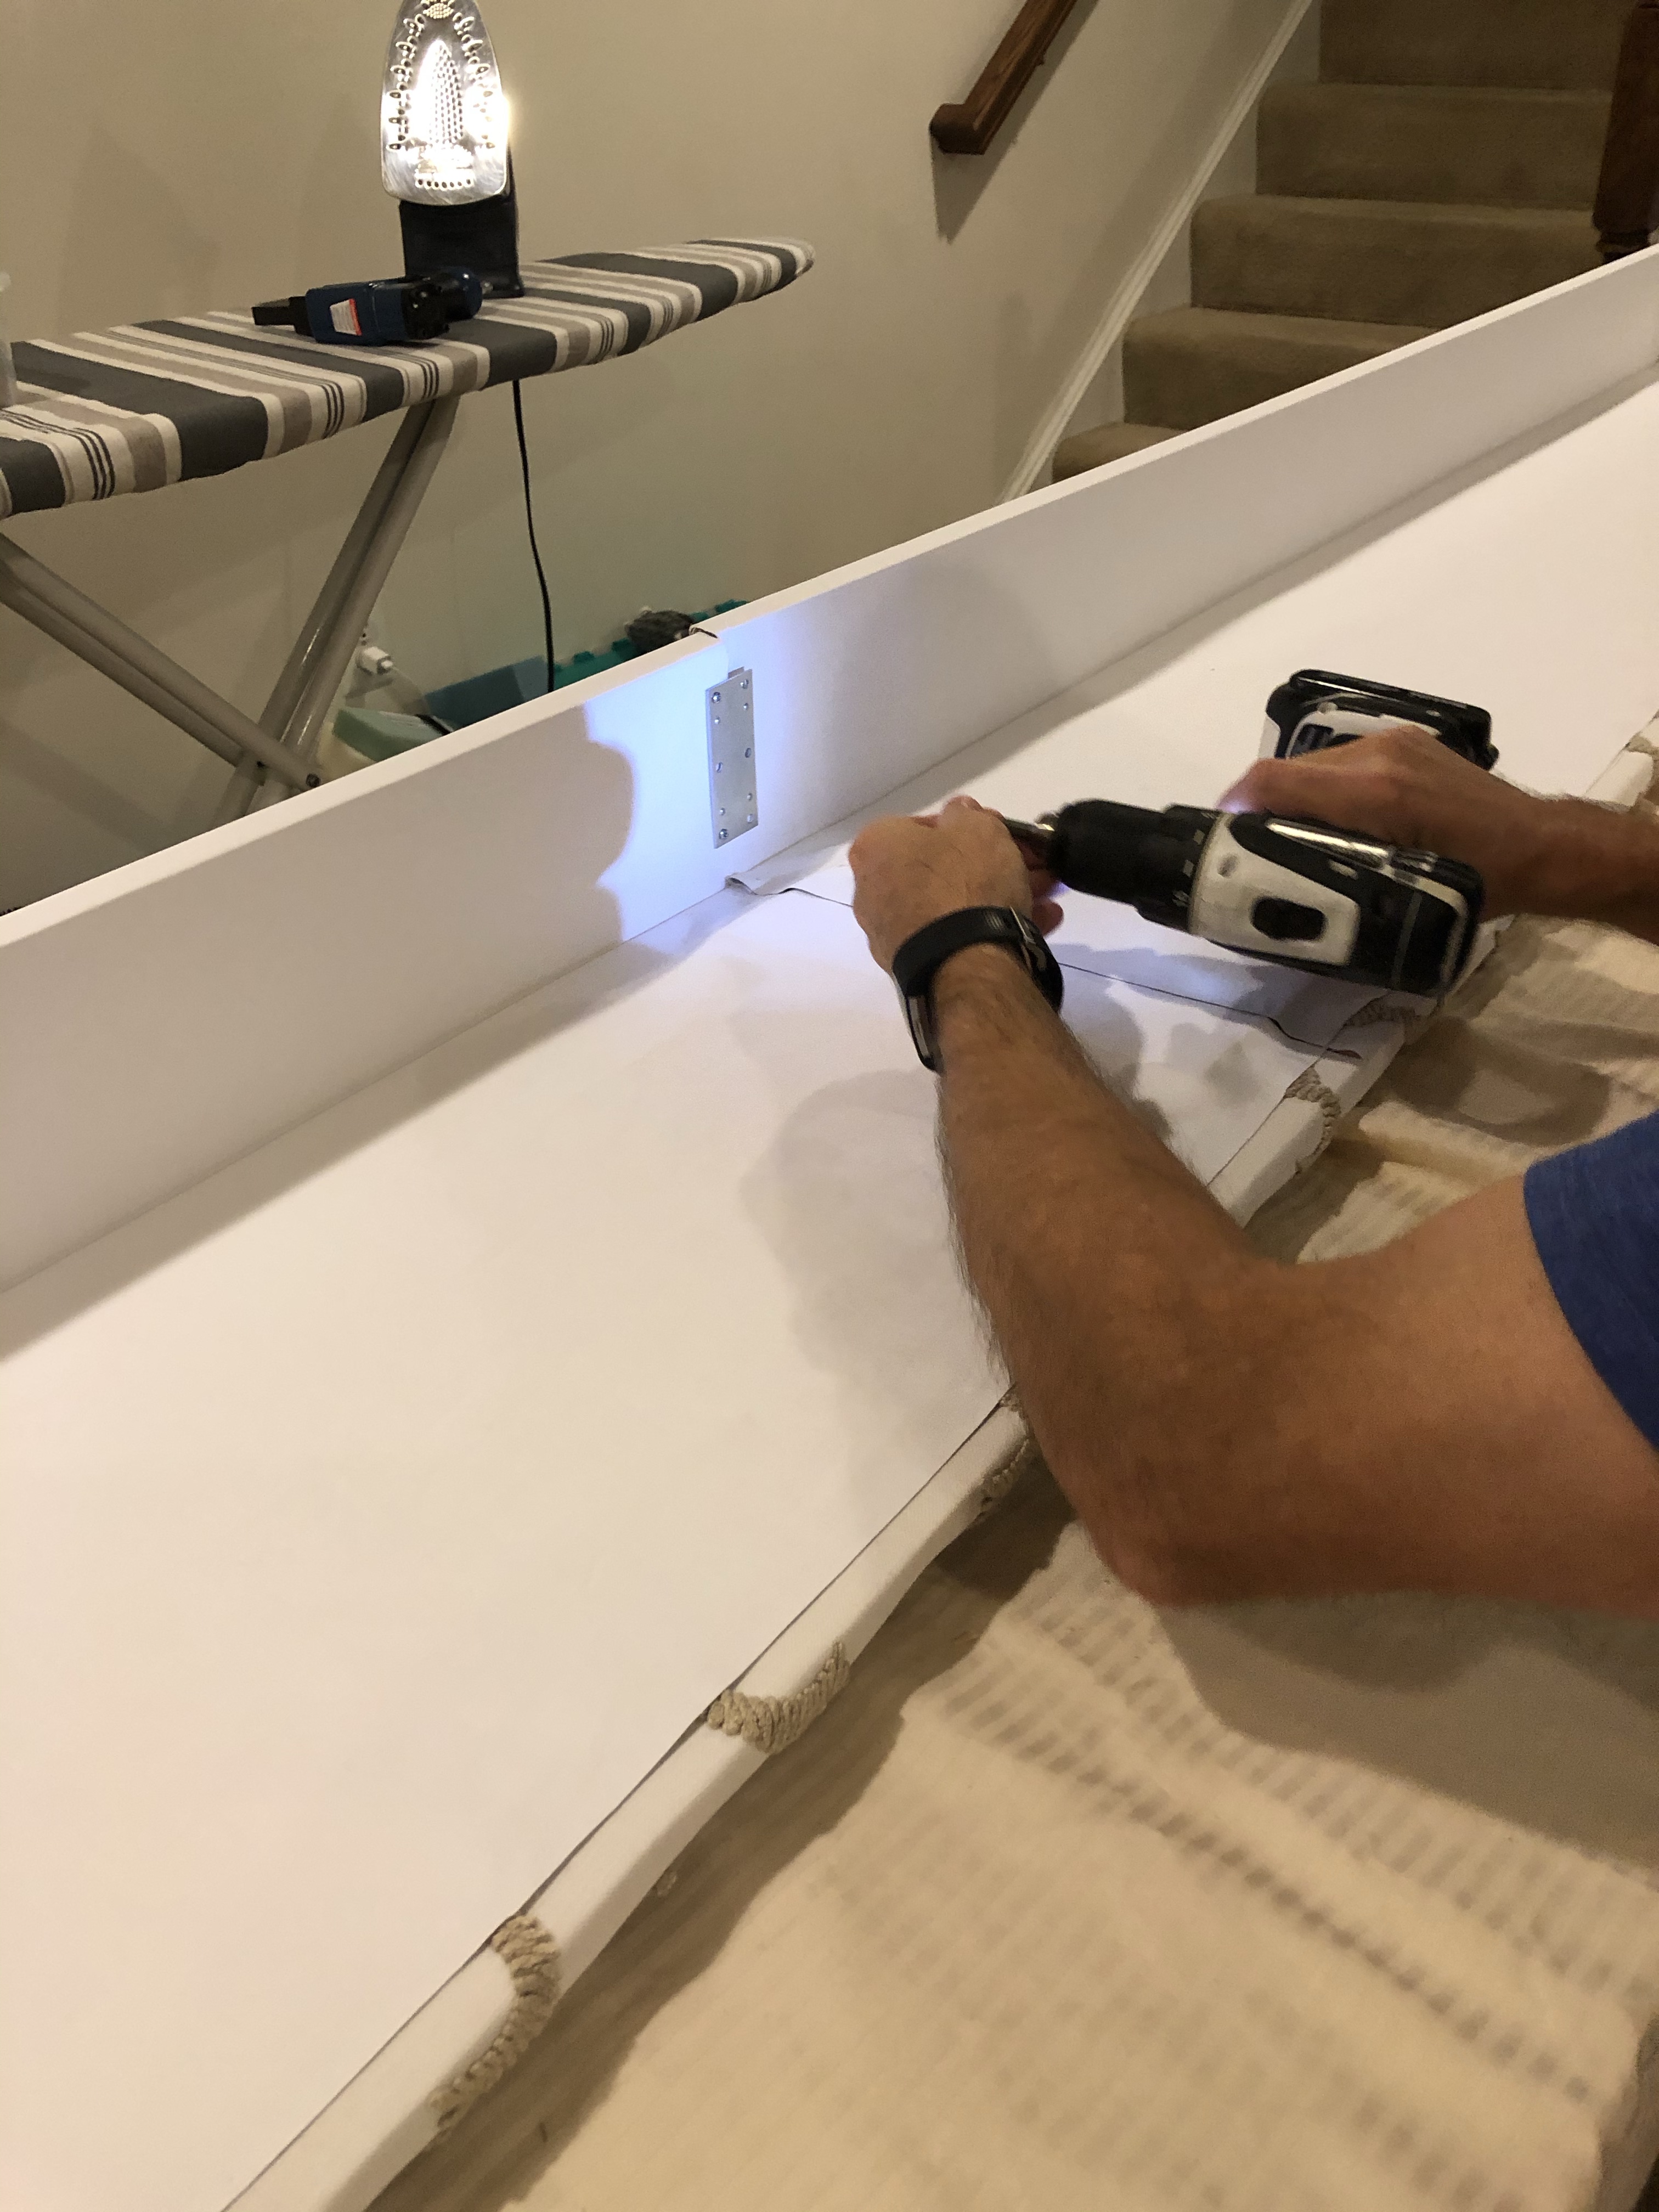
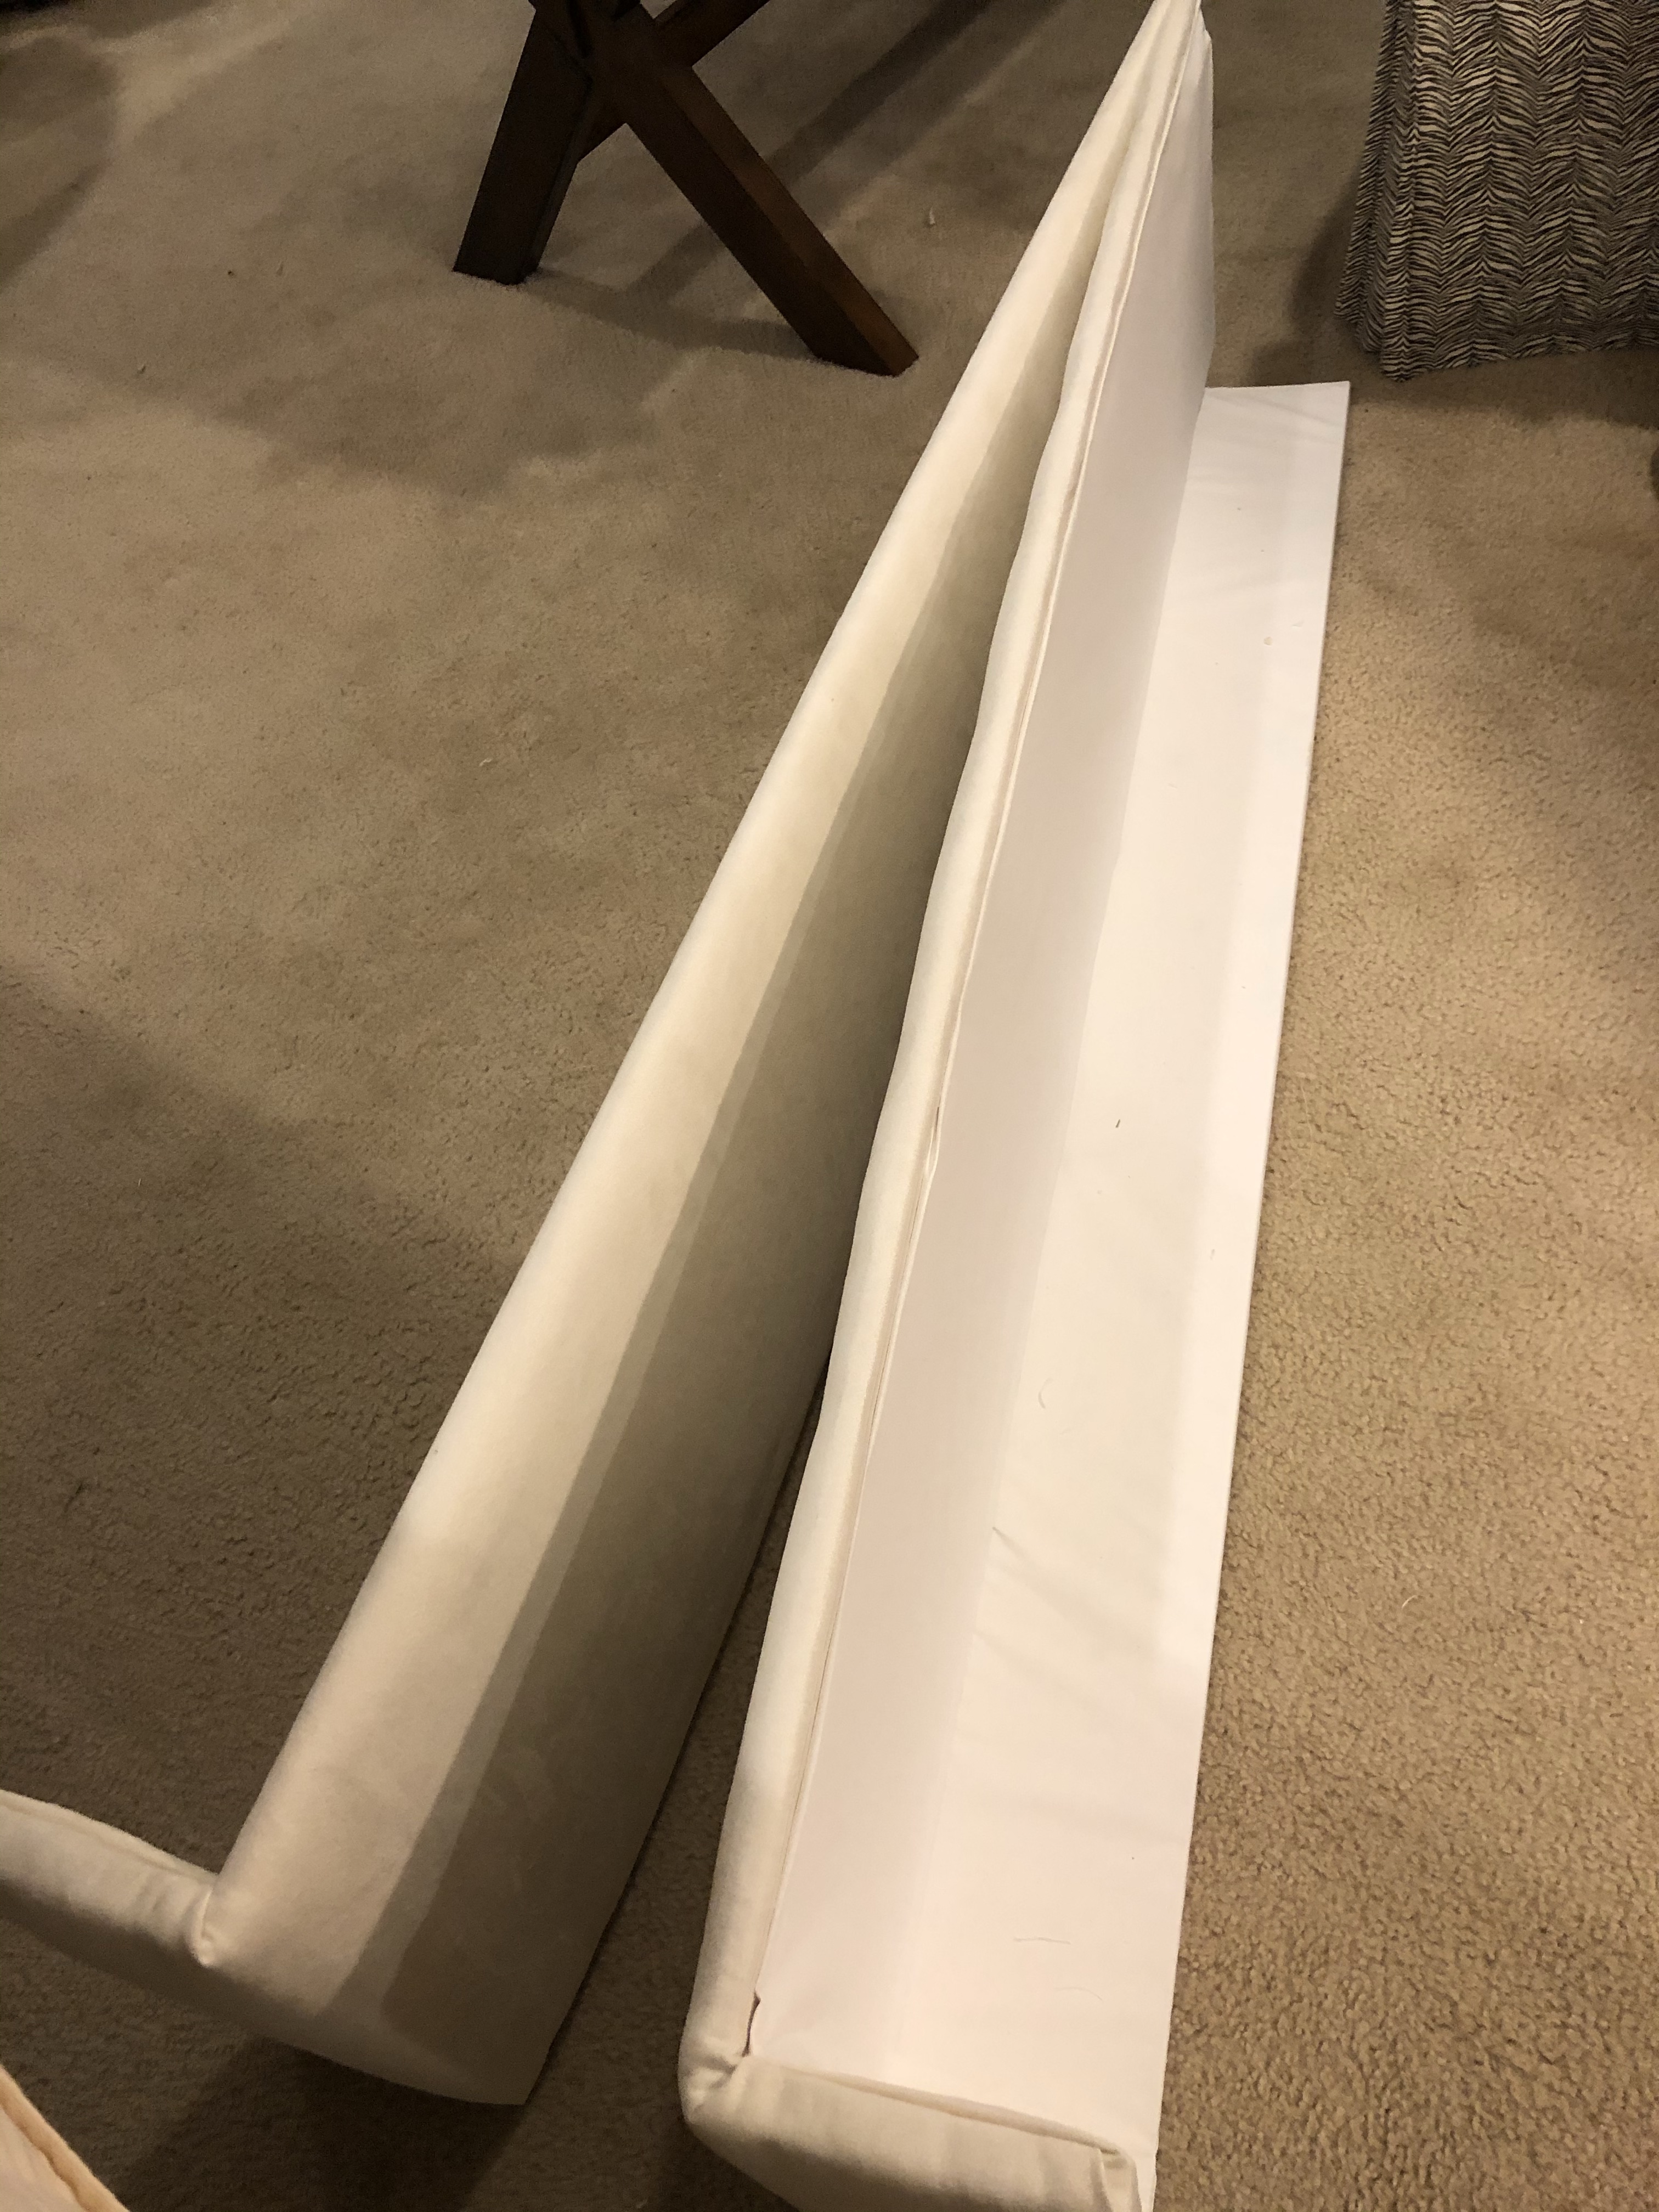
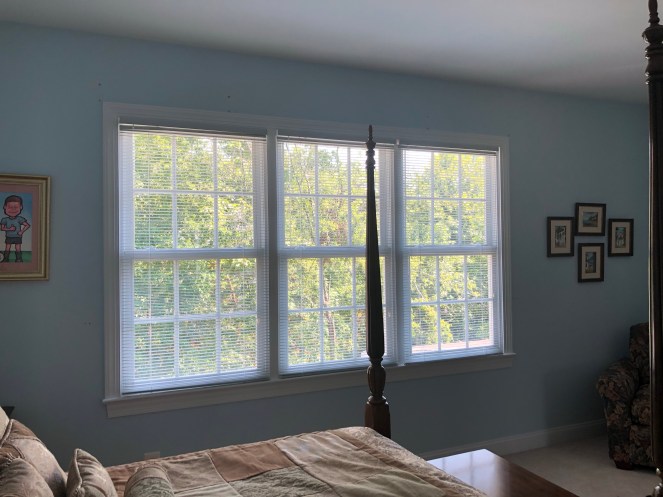
This window took extra consideration to construct and transport. I learned of a new technique at the Custom Workroom Conference this fall which involved making the long cornice in two pieces and hinging it. It was the perfect solution and my handy dandy carpenter, installer ( aka husband) made it. It worked like a charm and even when folded in half, barely fit in my SUV. It was long!
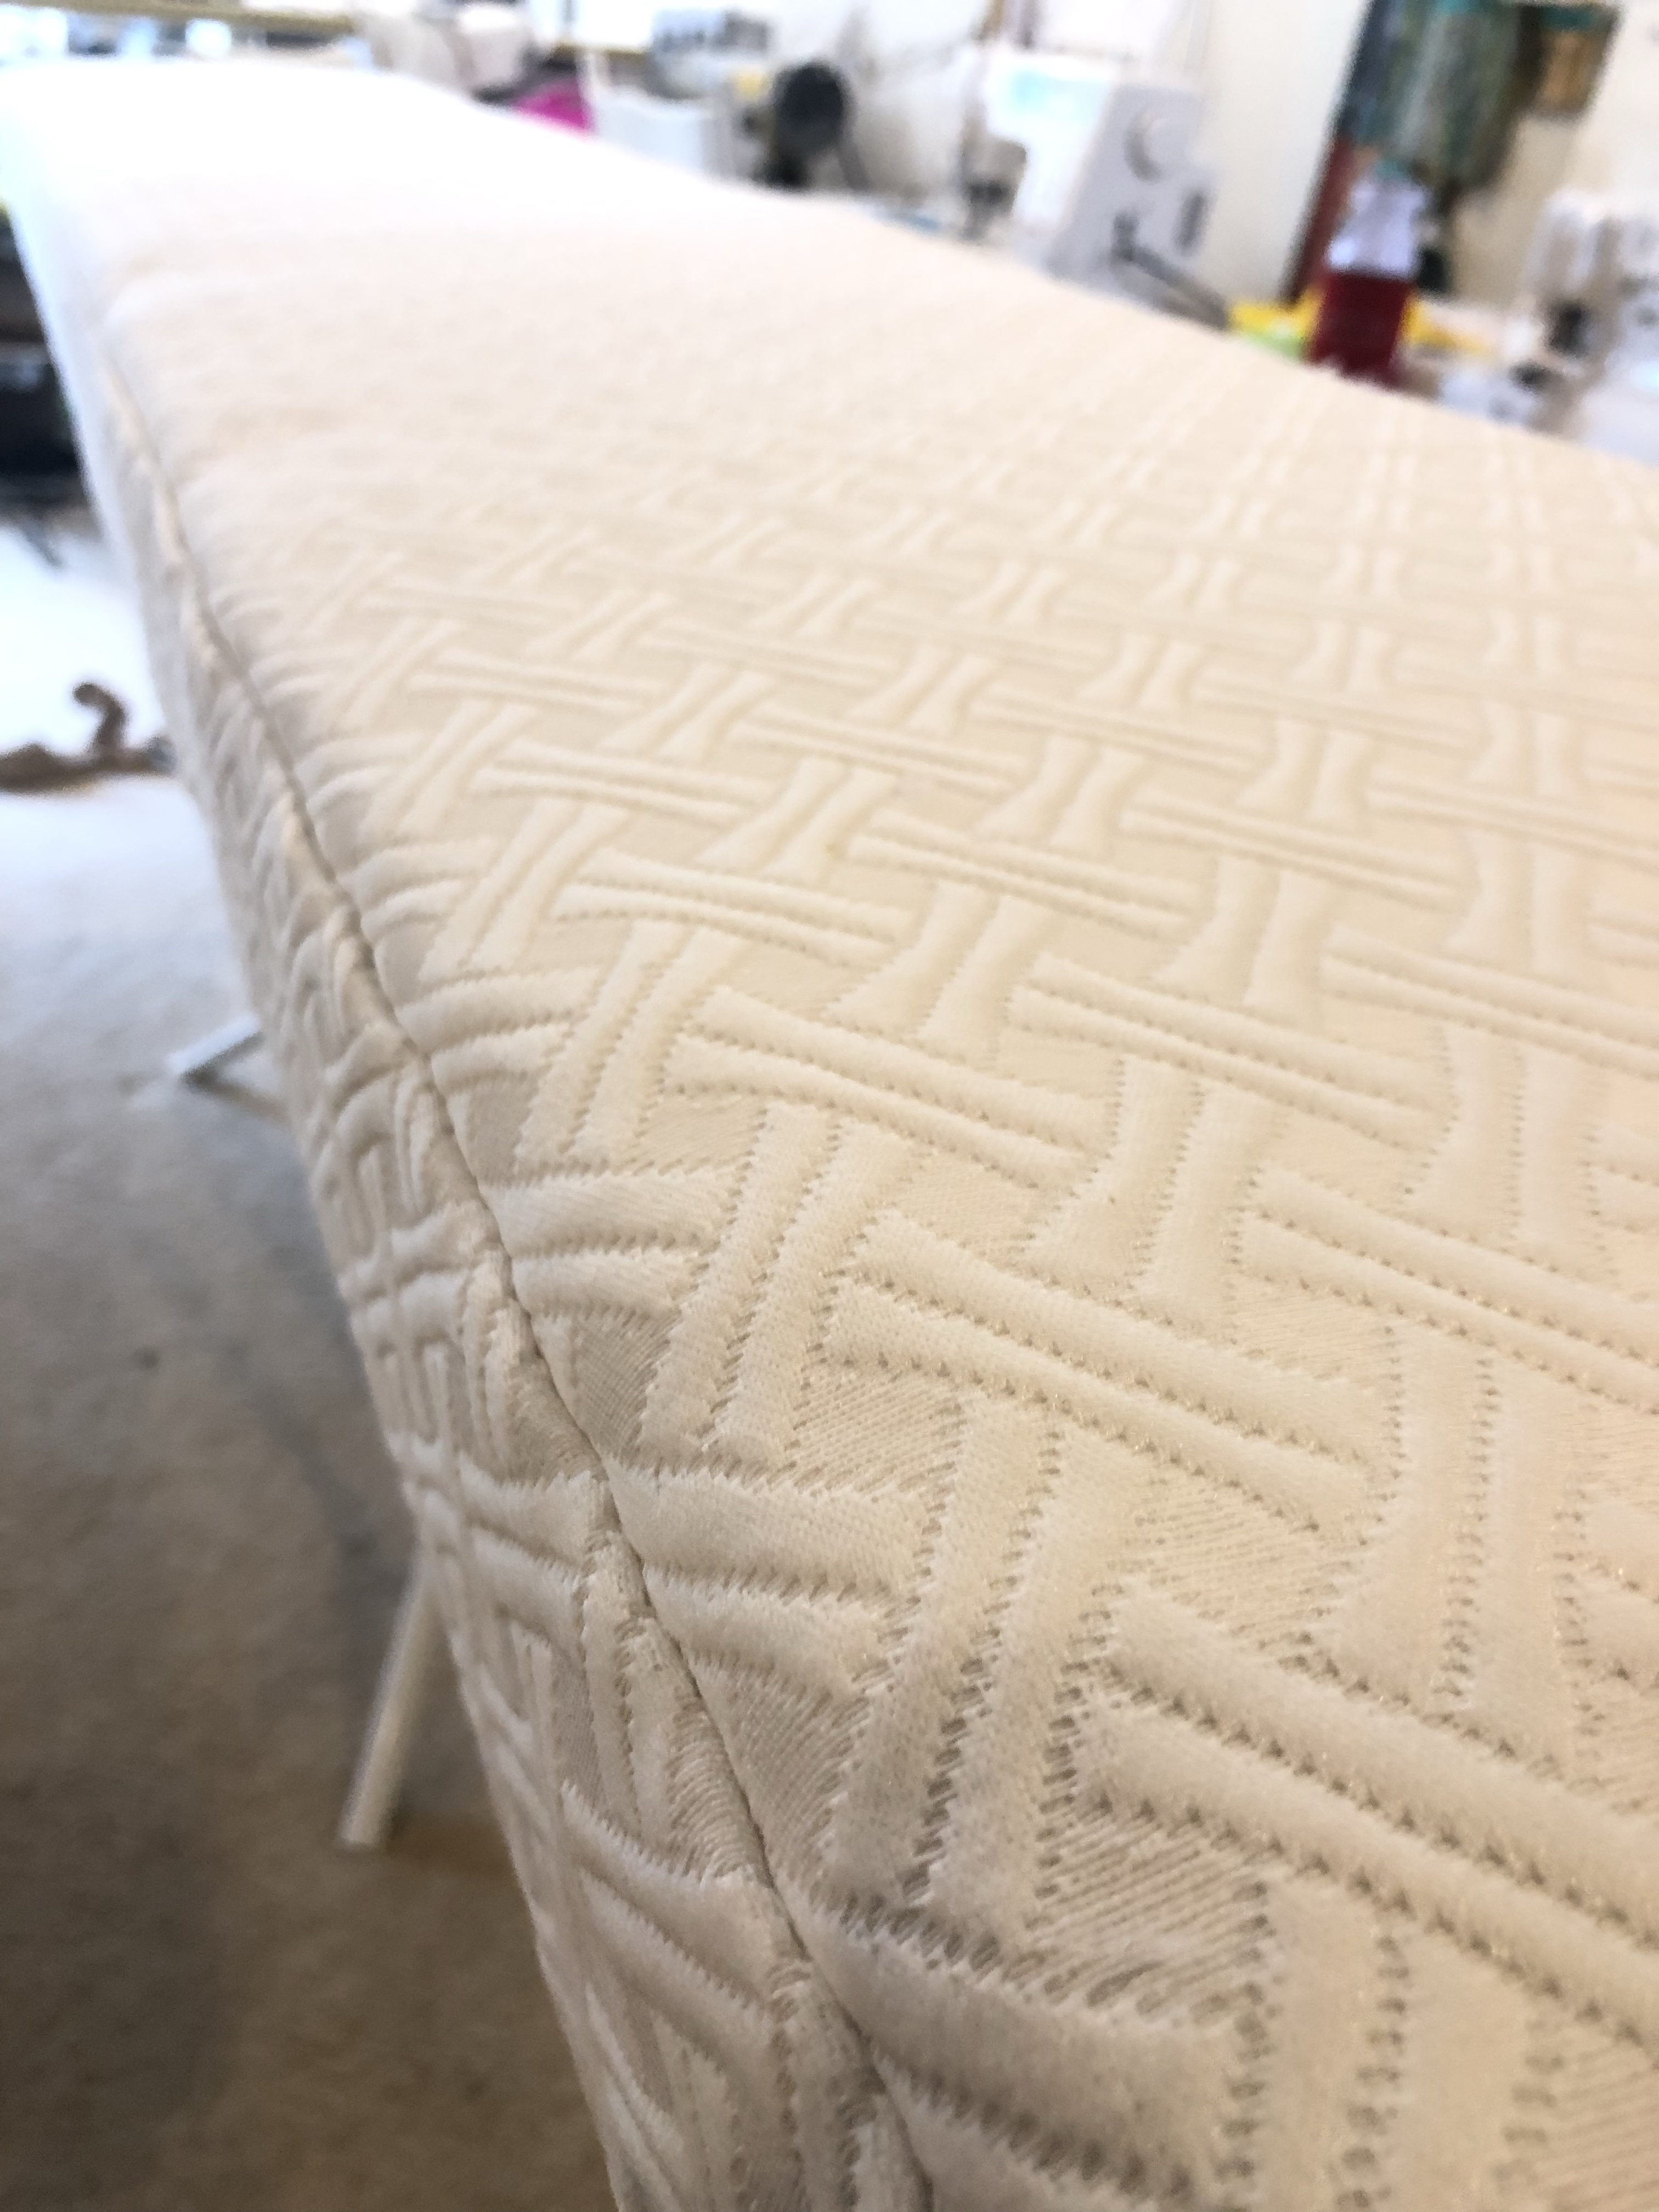
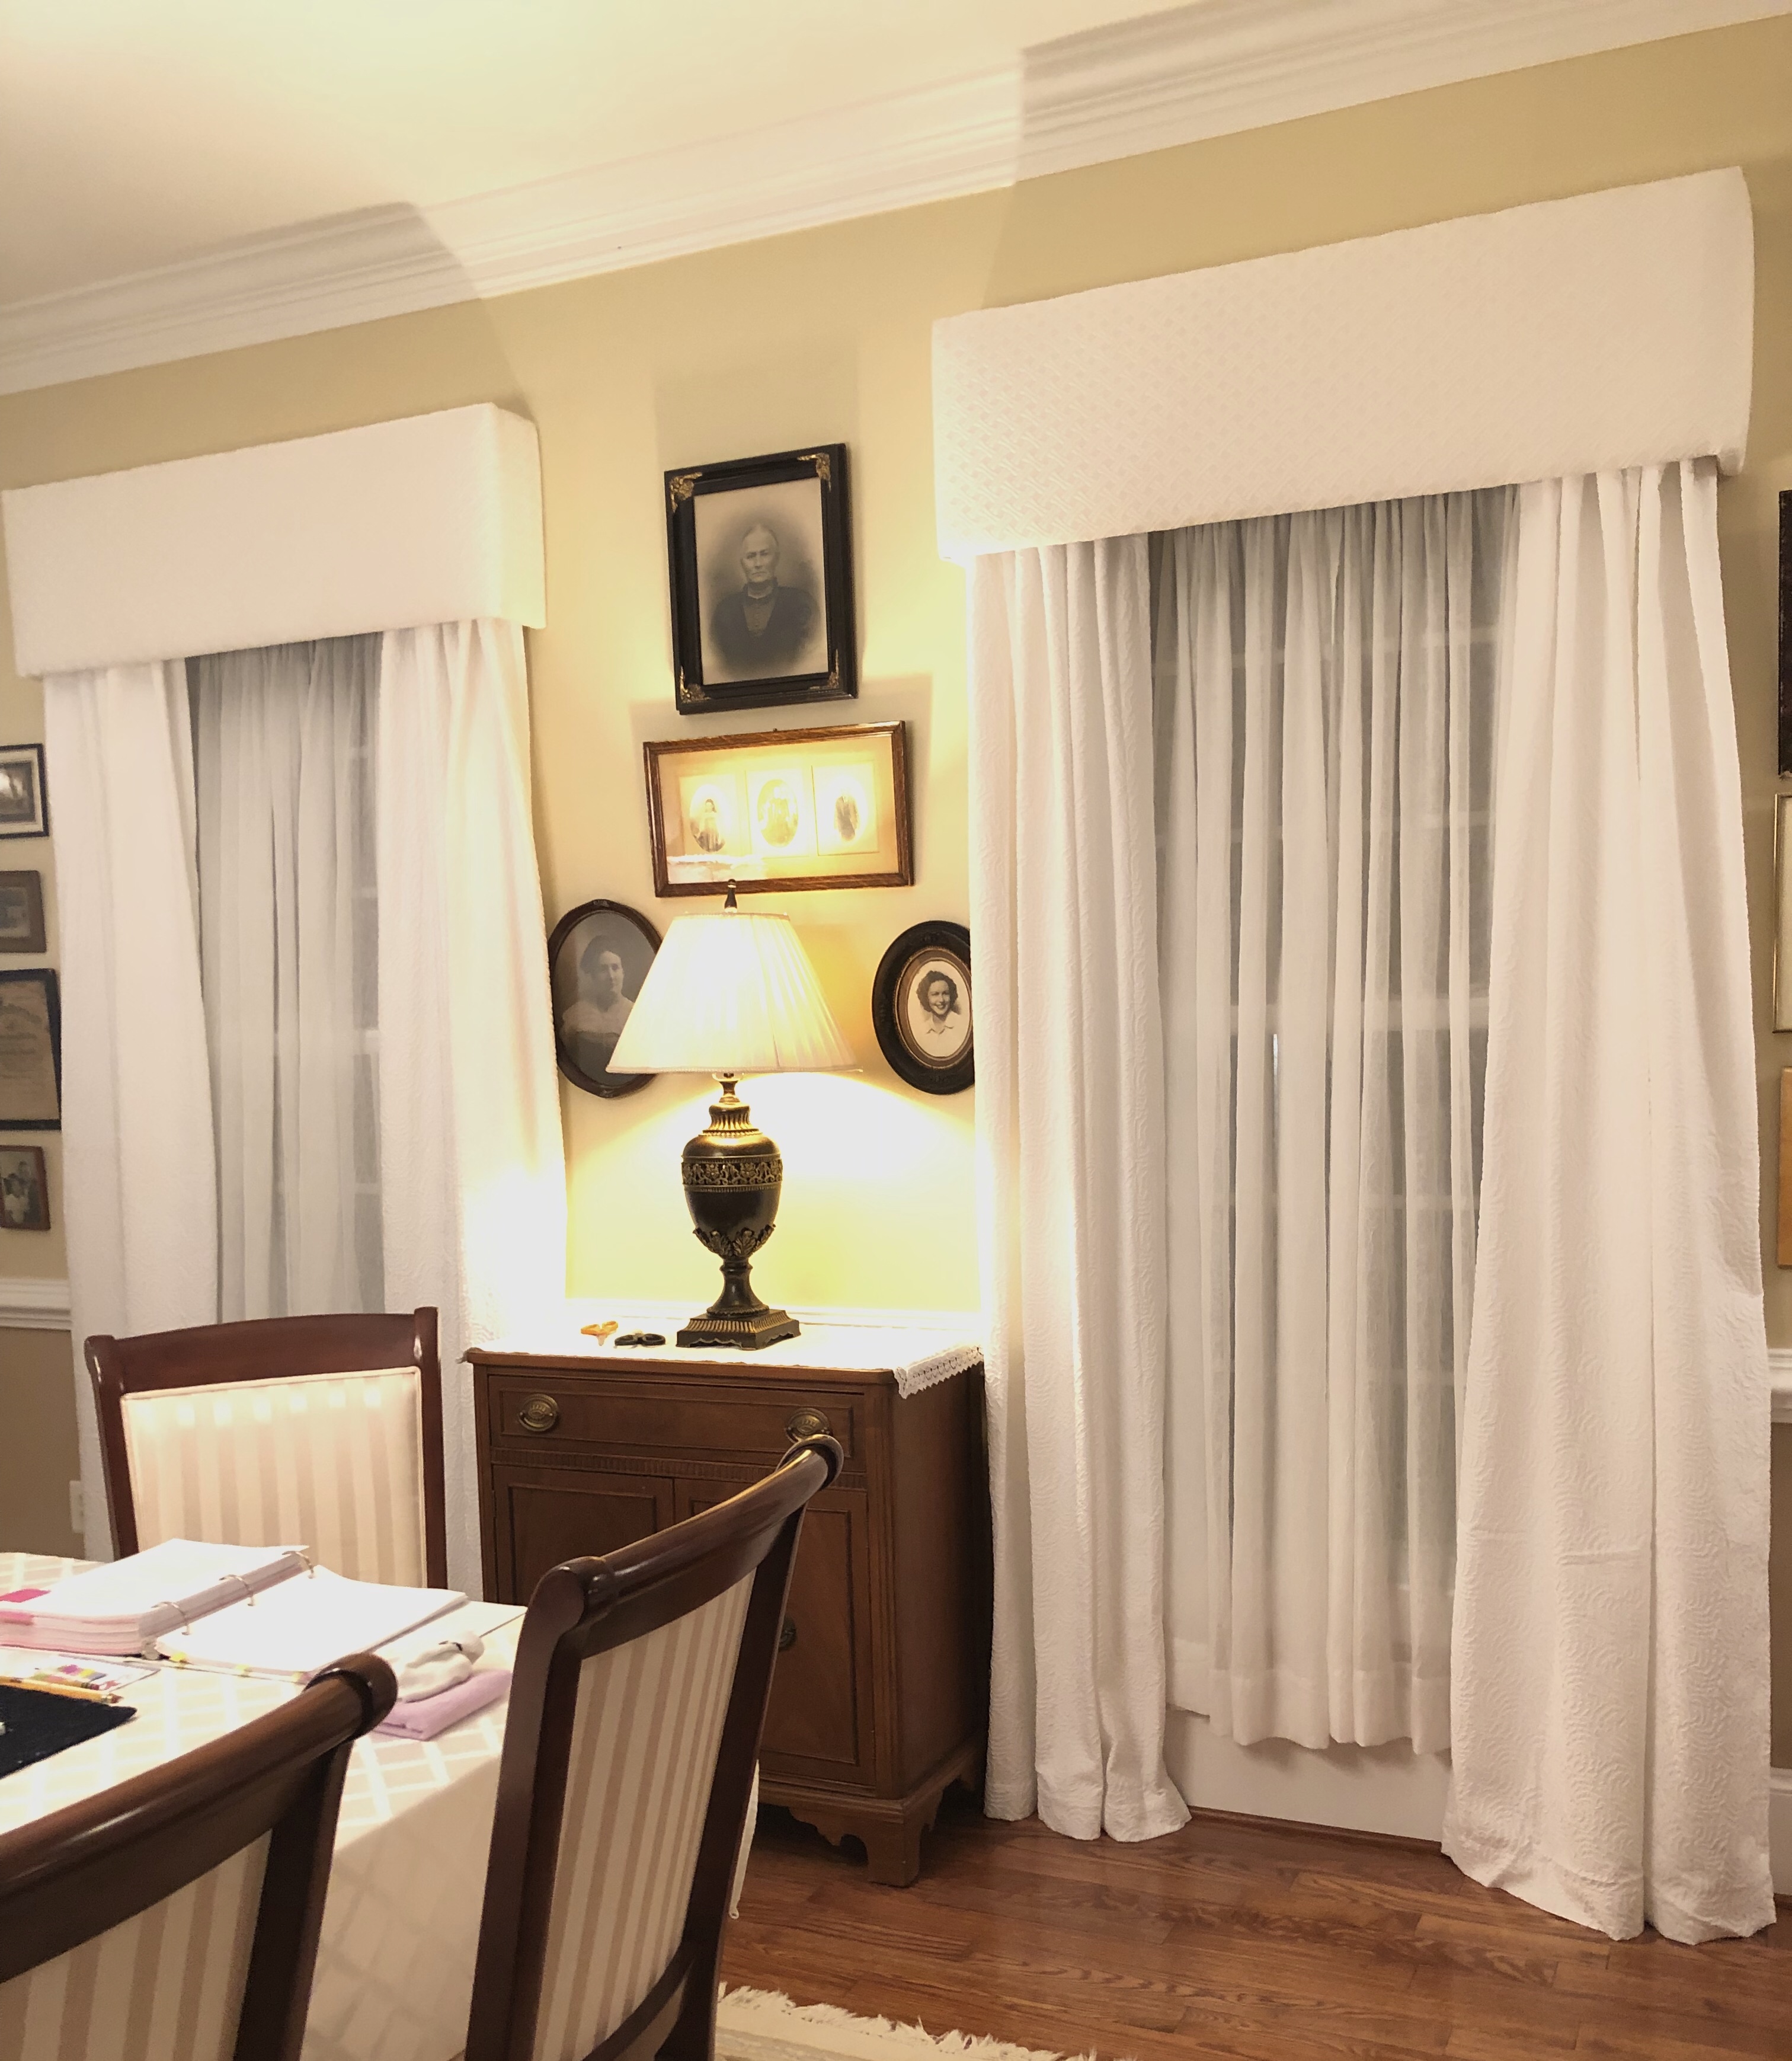
Leslie decided on a monochromatic look for her formal dining room. She chose a textured lattice solid creamy white fabric with a printed purchased curtain panels for underneath to soften the look. Elegant.
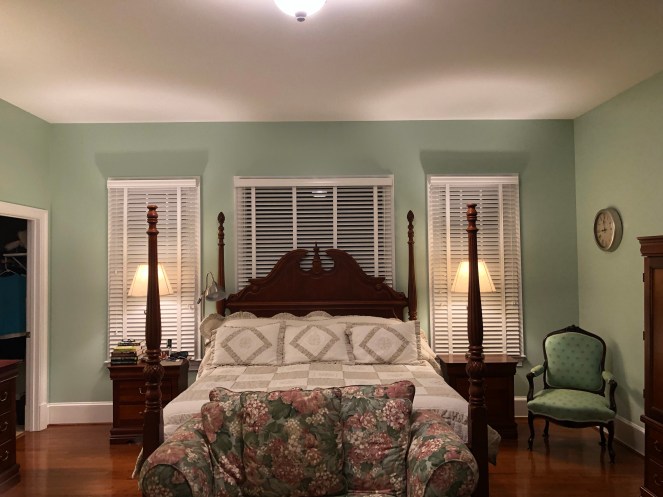
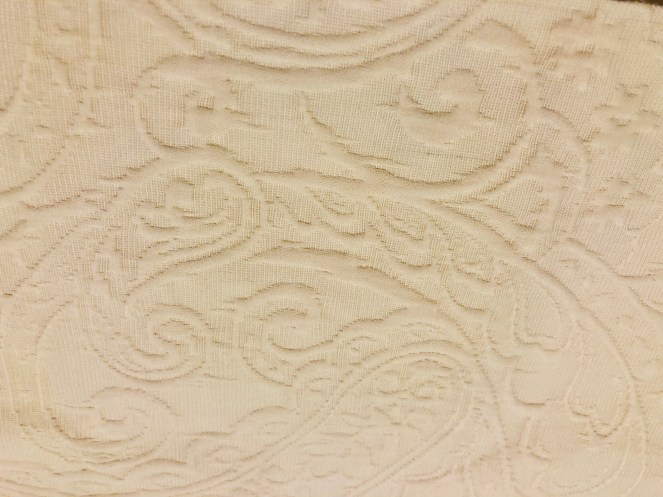
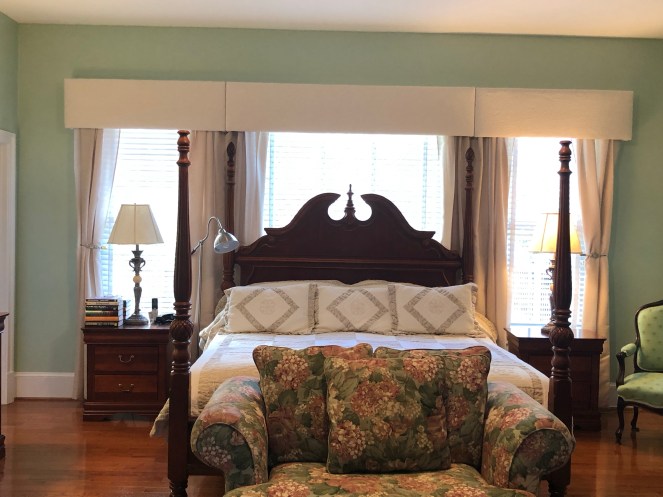
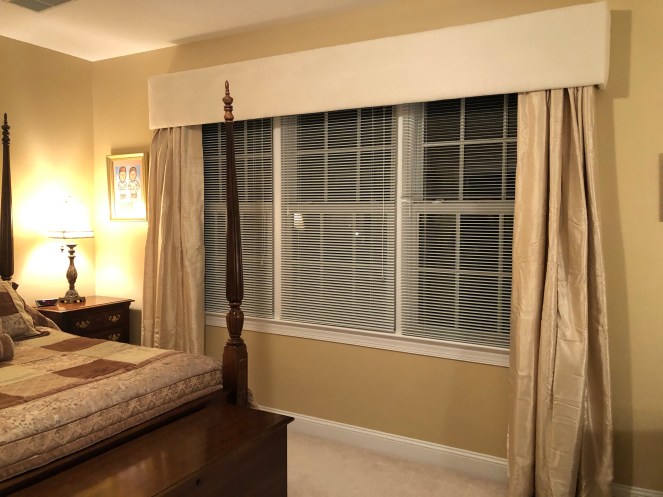
The master bedroom had three separate windows. Though there were a few options on how to approach this, we decided to make three separate cornices butted up against each other and each with a curtain rod installed underneath to install curtains for a softer finished look that frames the bed and creates a focal piece when entering the room. A creamy embroidered fabric from Hobby Lobby was chosen to coordinate with her bedding.
One more window would complete this cornice project. This bedroom would also feature an extra long cornice with a solid suede like fabric. The texture and simplicity of the fabric is perfect for a mature looking room when her grown son’s come home to visit.
If you are looking for a little something to finish off a window without a lot of fuss, you might want to consider a cornice. There is plenty of room for personal style and interpretation from the shape to fabric to trim. It’s all up to your imagination.
Denise
