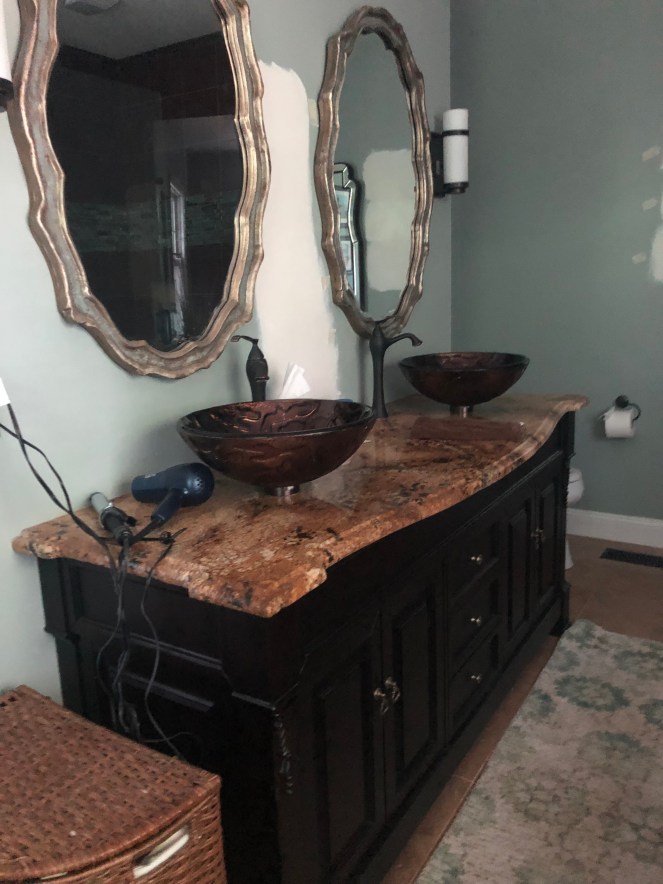
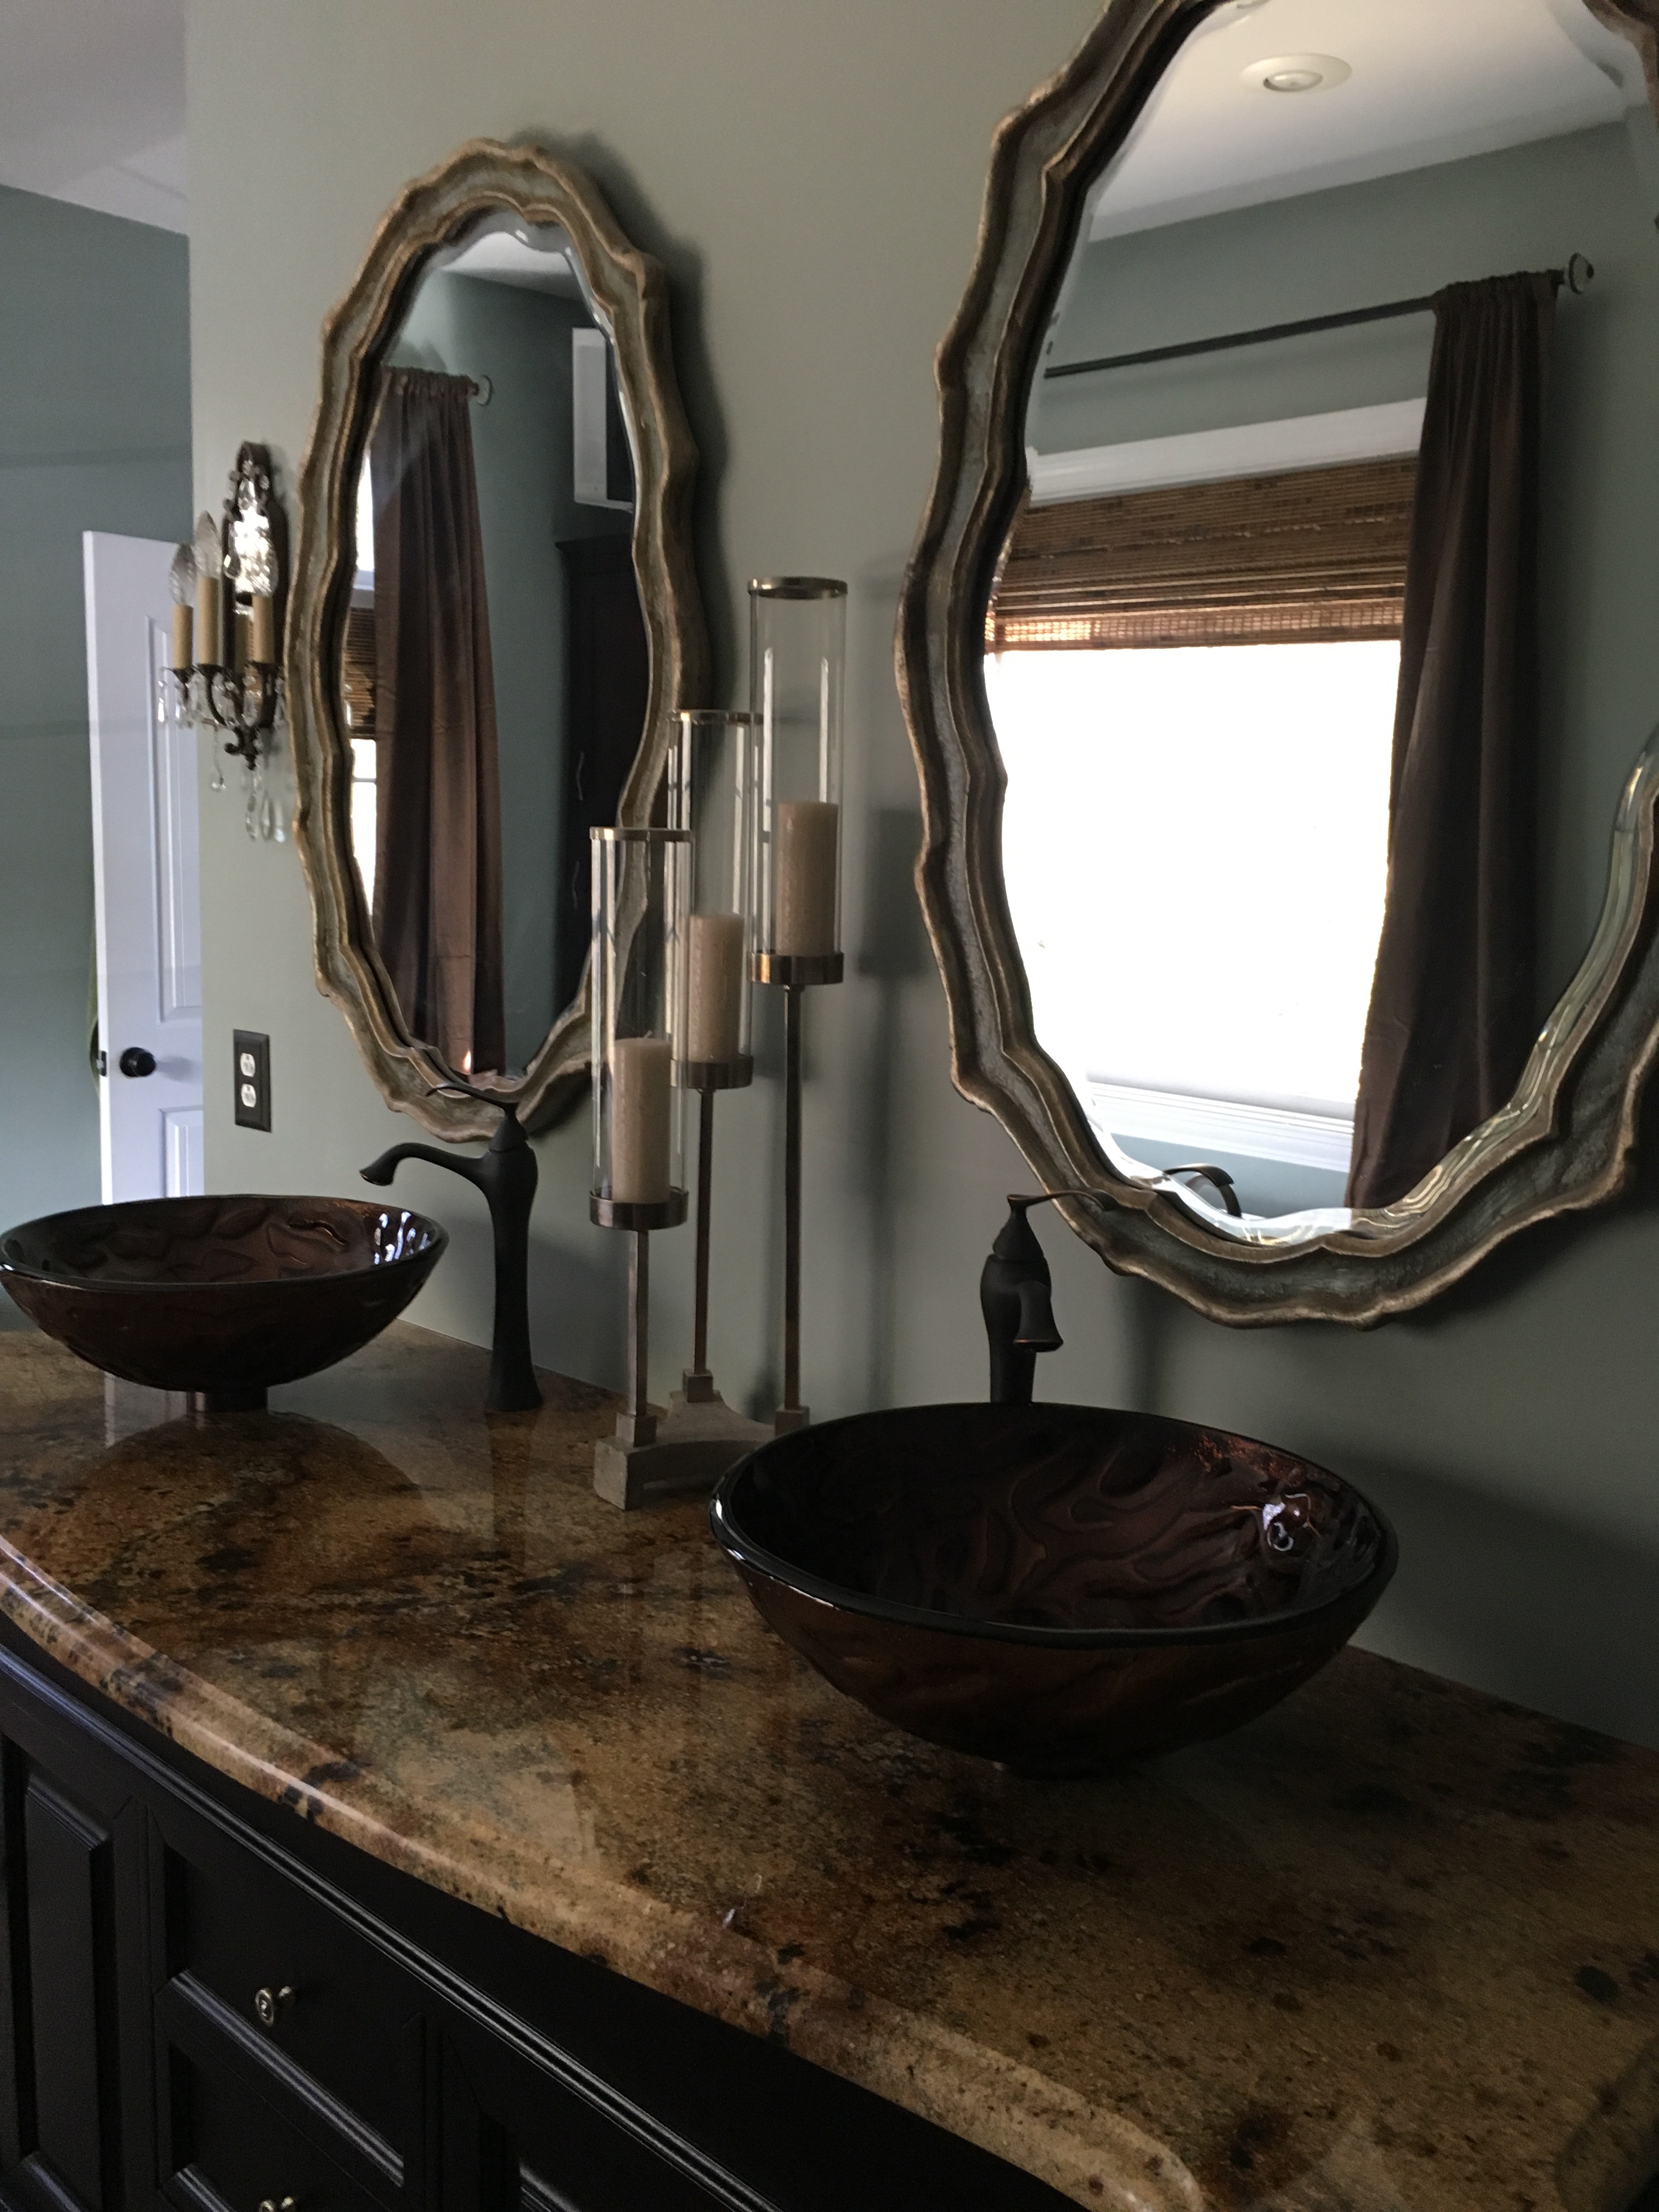
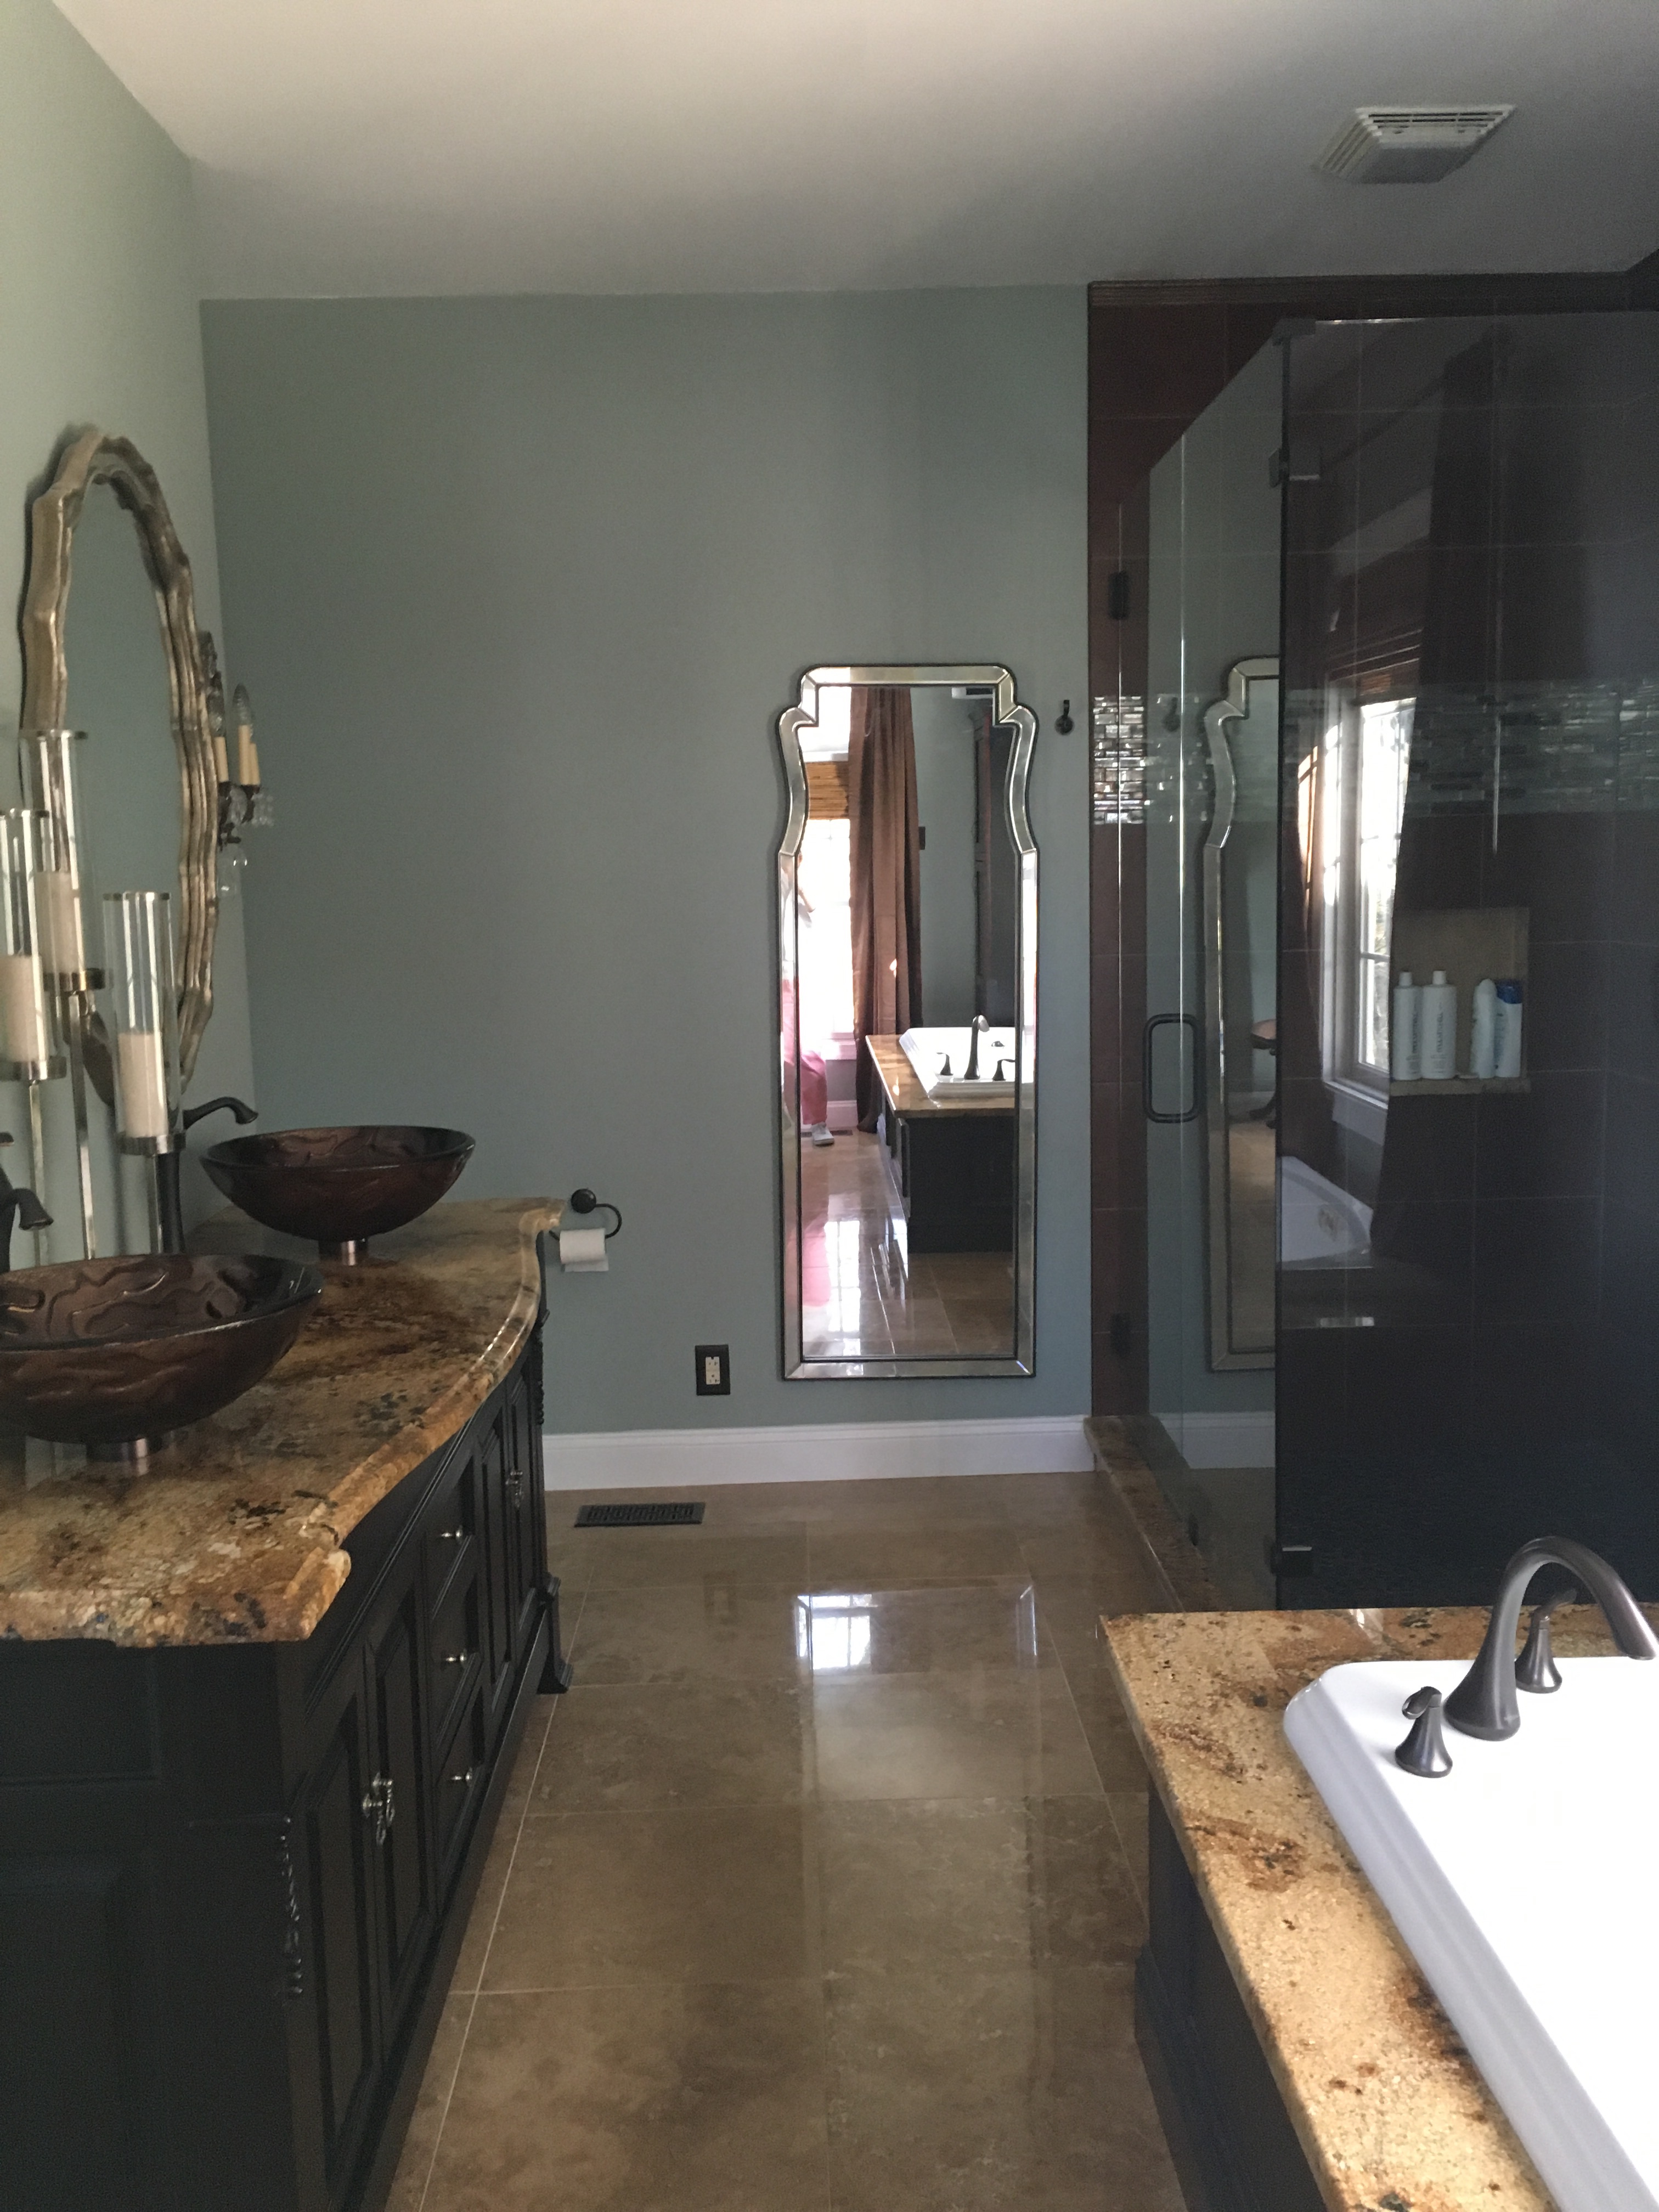
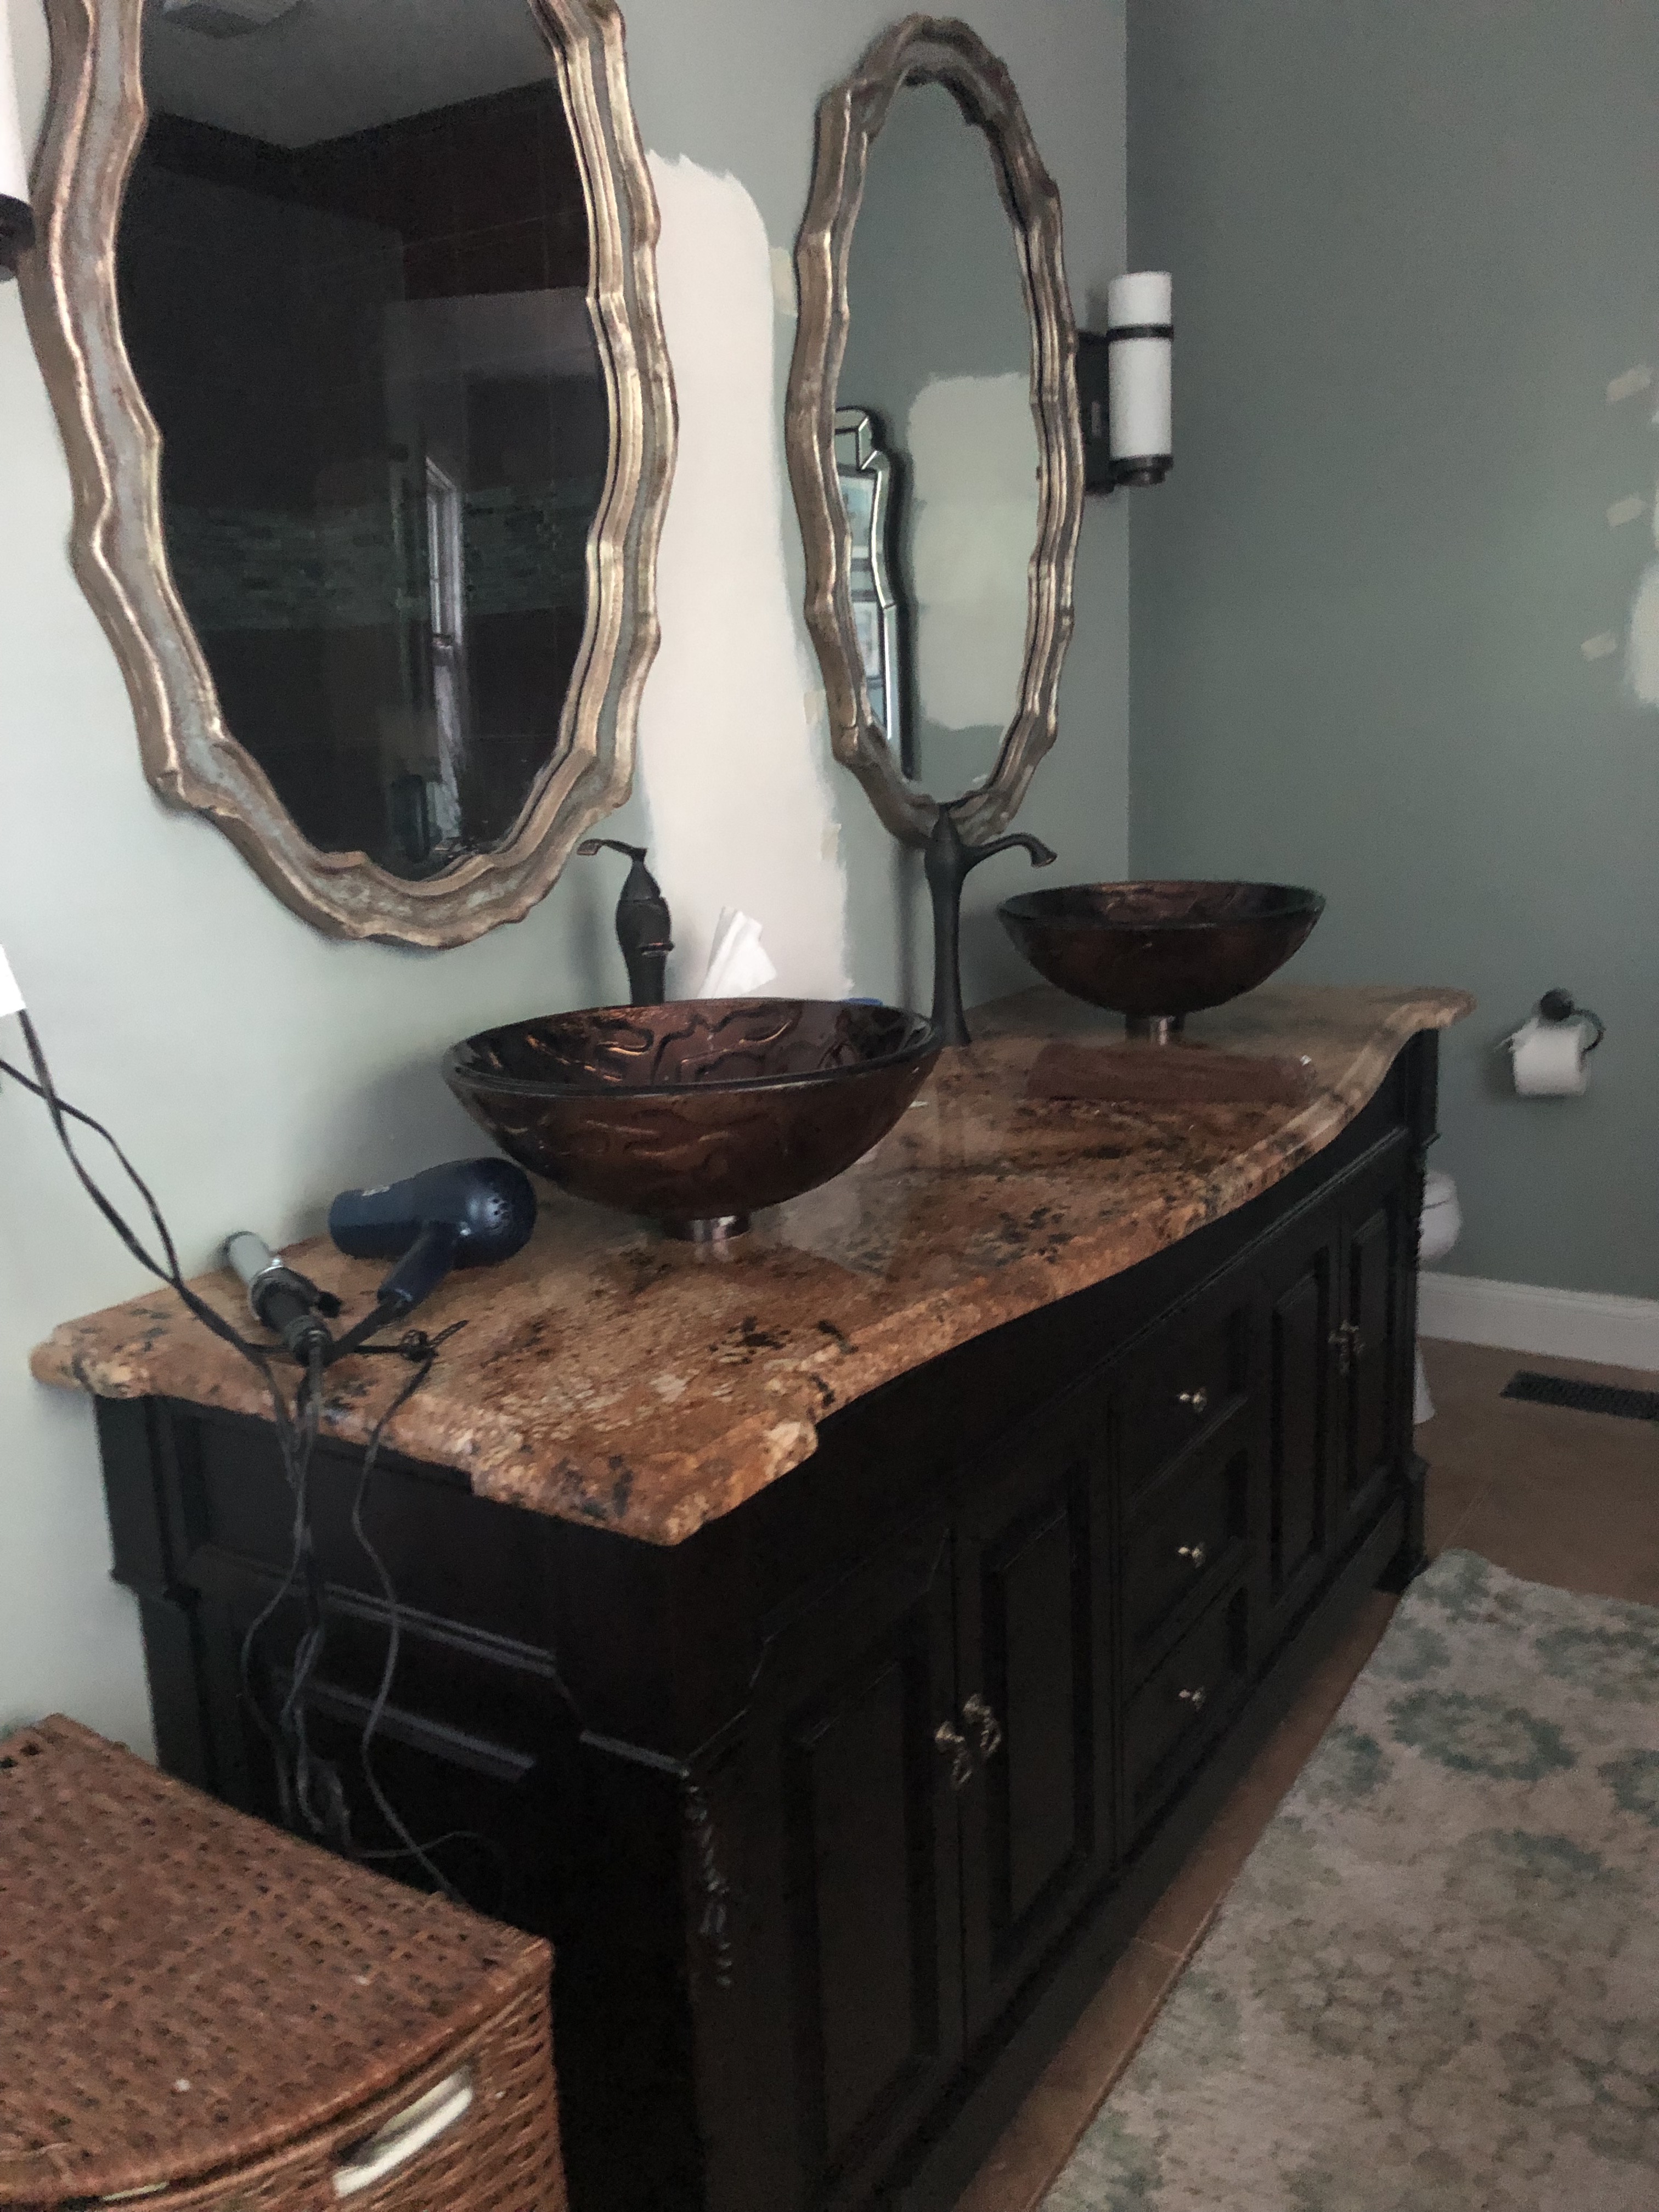
When we bought our lake house three years ago, the master bathroom was definitely a room that I was anxious to make some changes to. What initially seemed like a sophisticated master bath soon felt like walking into a dark heavy space with the dark wood shades, brown curtain panels, brown tiled shower, dark wood vanity with gold granite and tile. Though the effort was to make it look elegant with the crystal lights around the vanity and in the closet and the decorative mirrors, it was just a bit too much for me and didn’t fit my style.

Your bathroom should be an extension of your master bedroom retreat space and thus should also be a very personal decision on how you approach decorating it. What worked for the previous owners just didn’t work for me. But it doesn’t have to be a complete demolition to bring it in line with your own taste. Here’s how I approached our master bath.
Pros and Cons Assessment
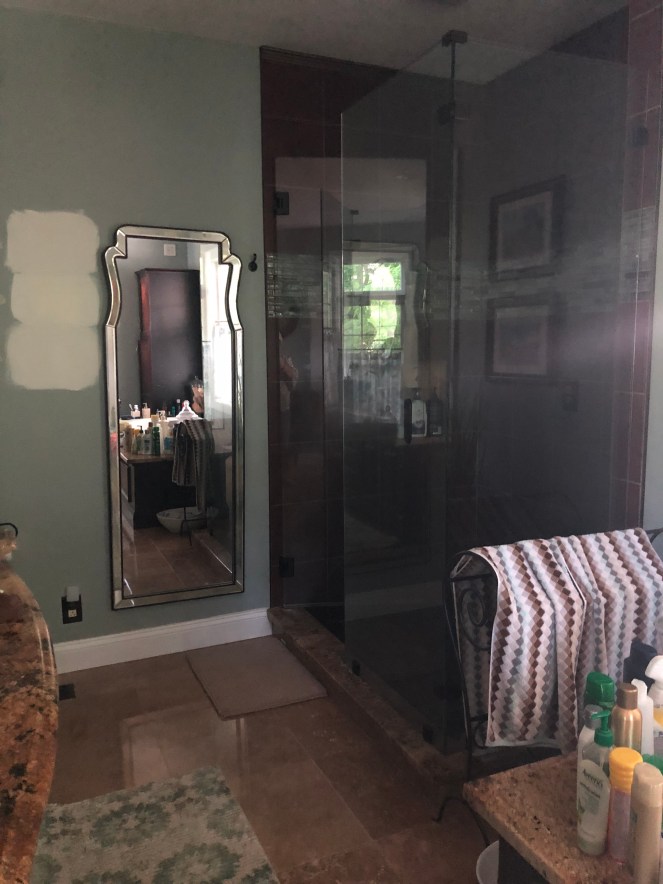
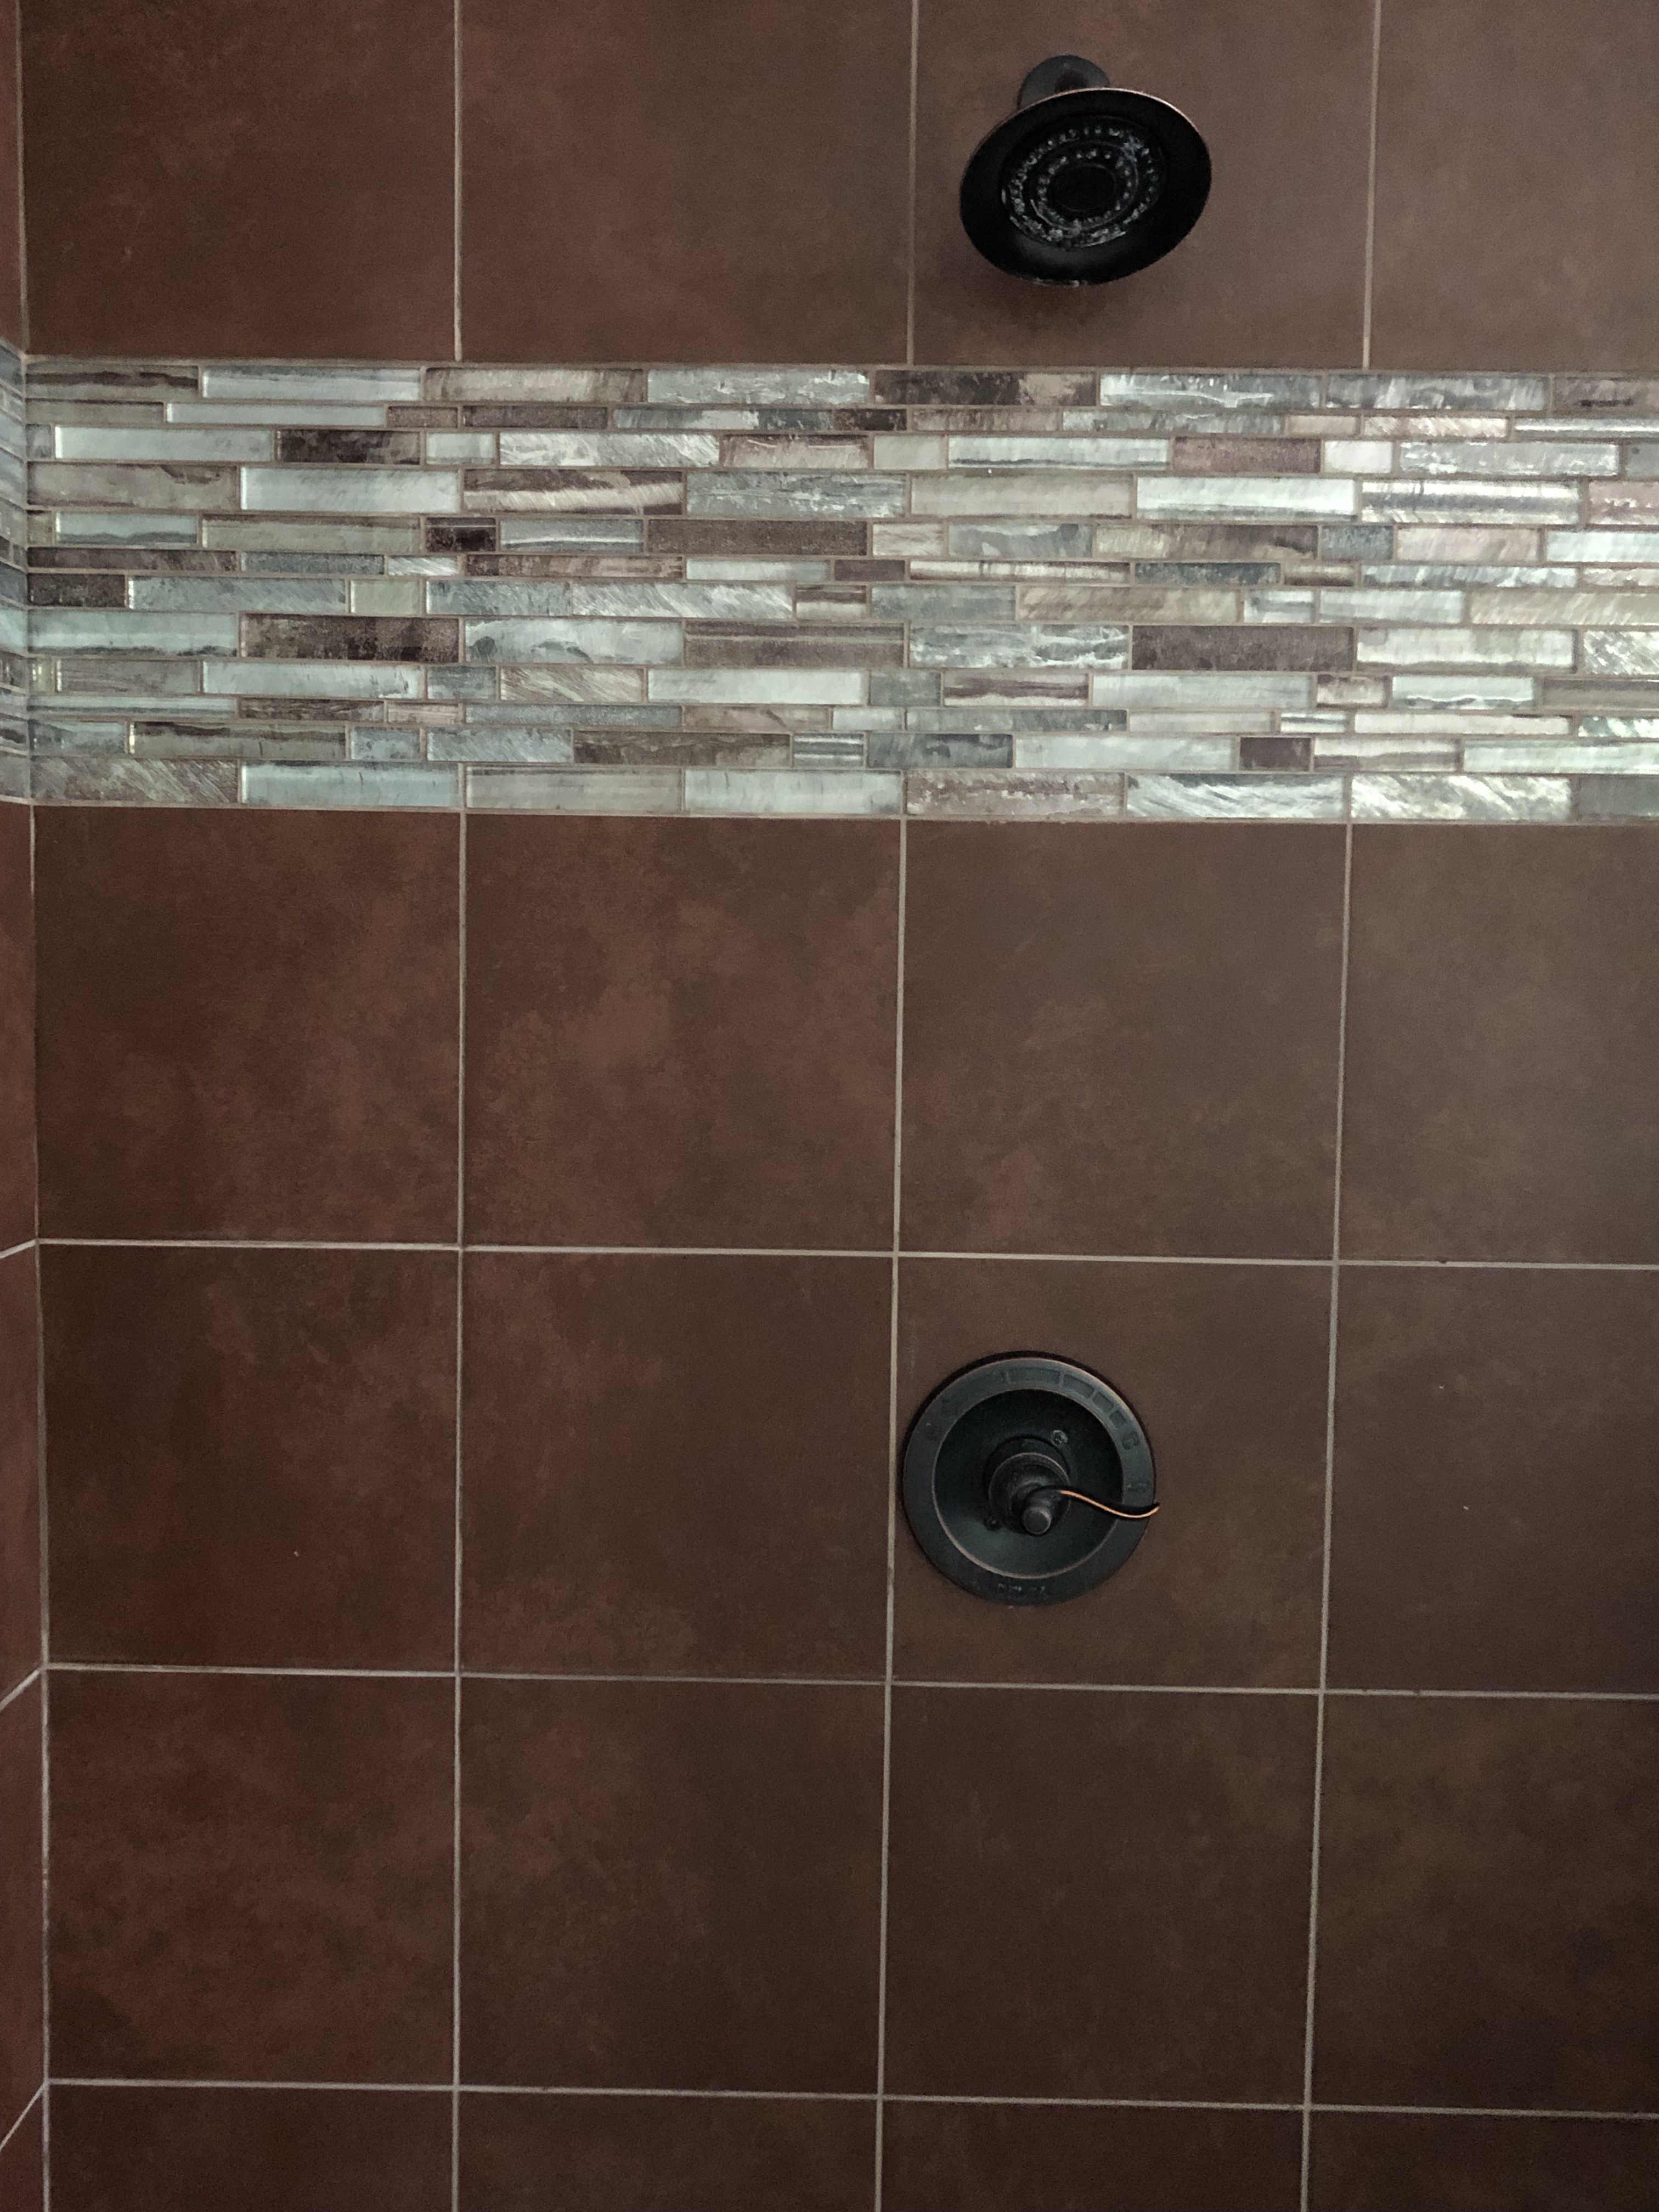
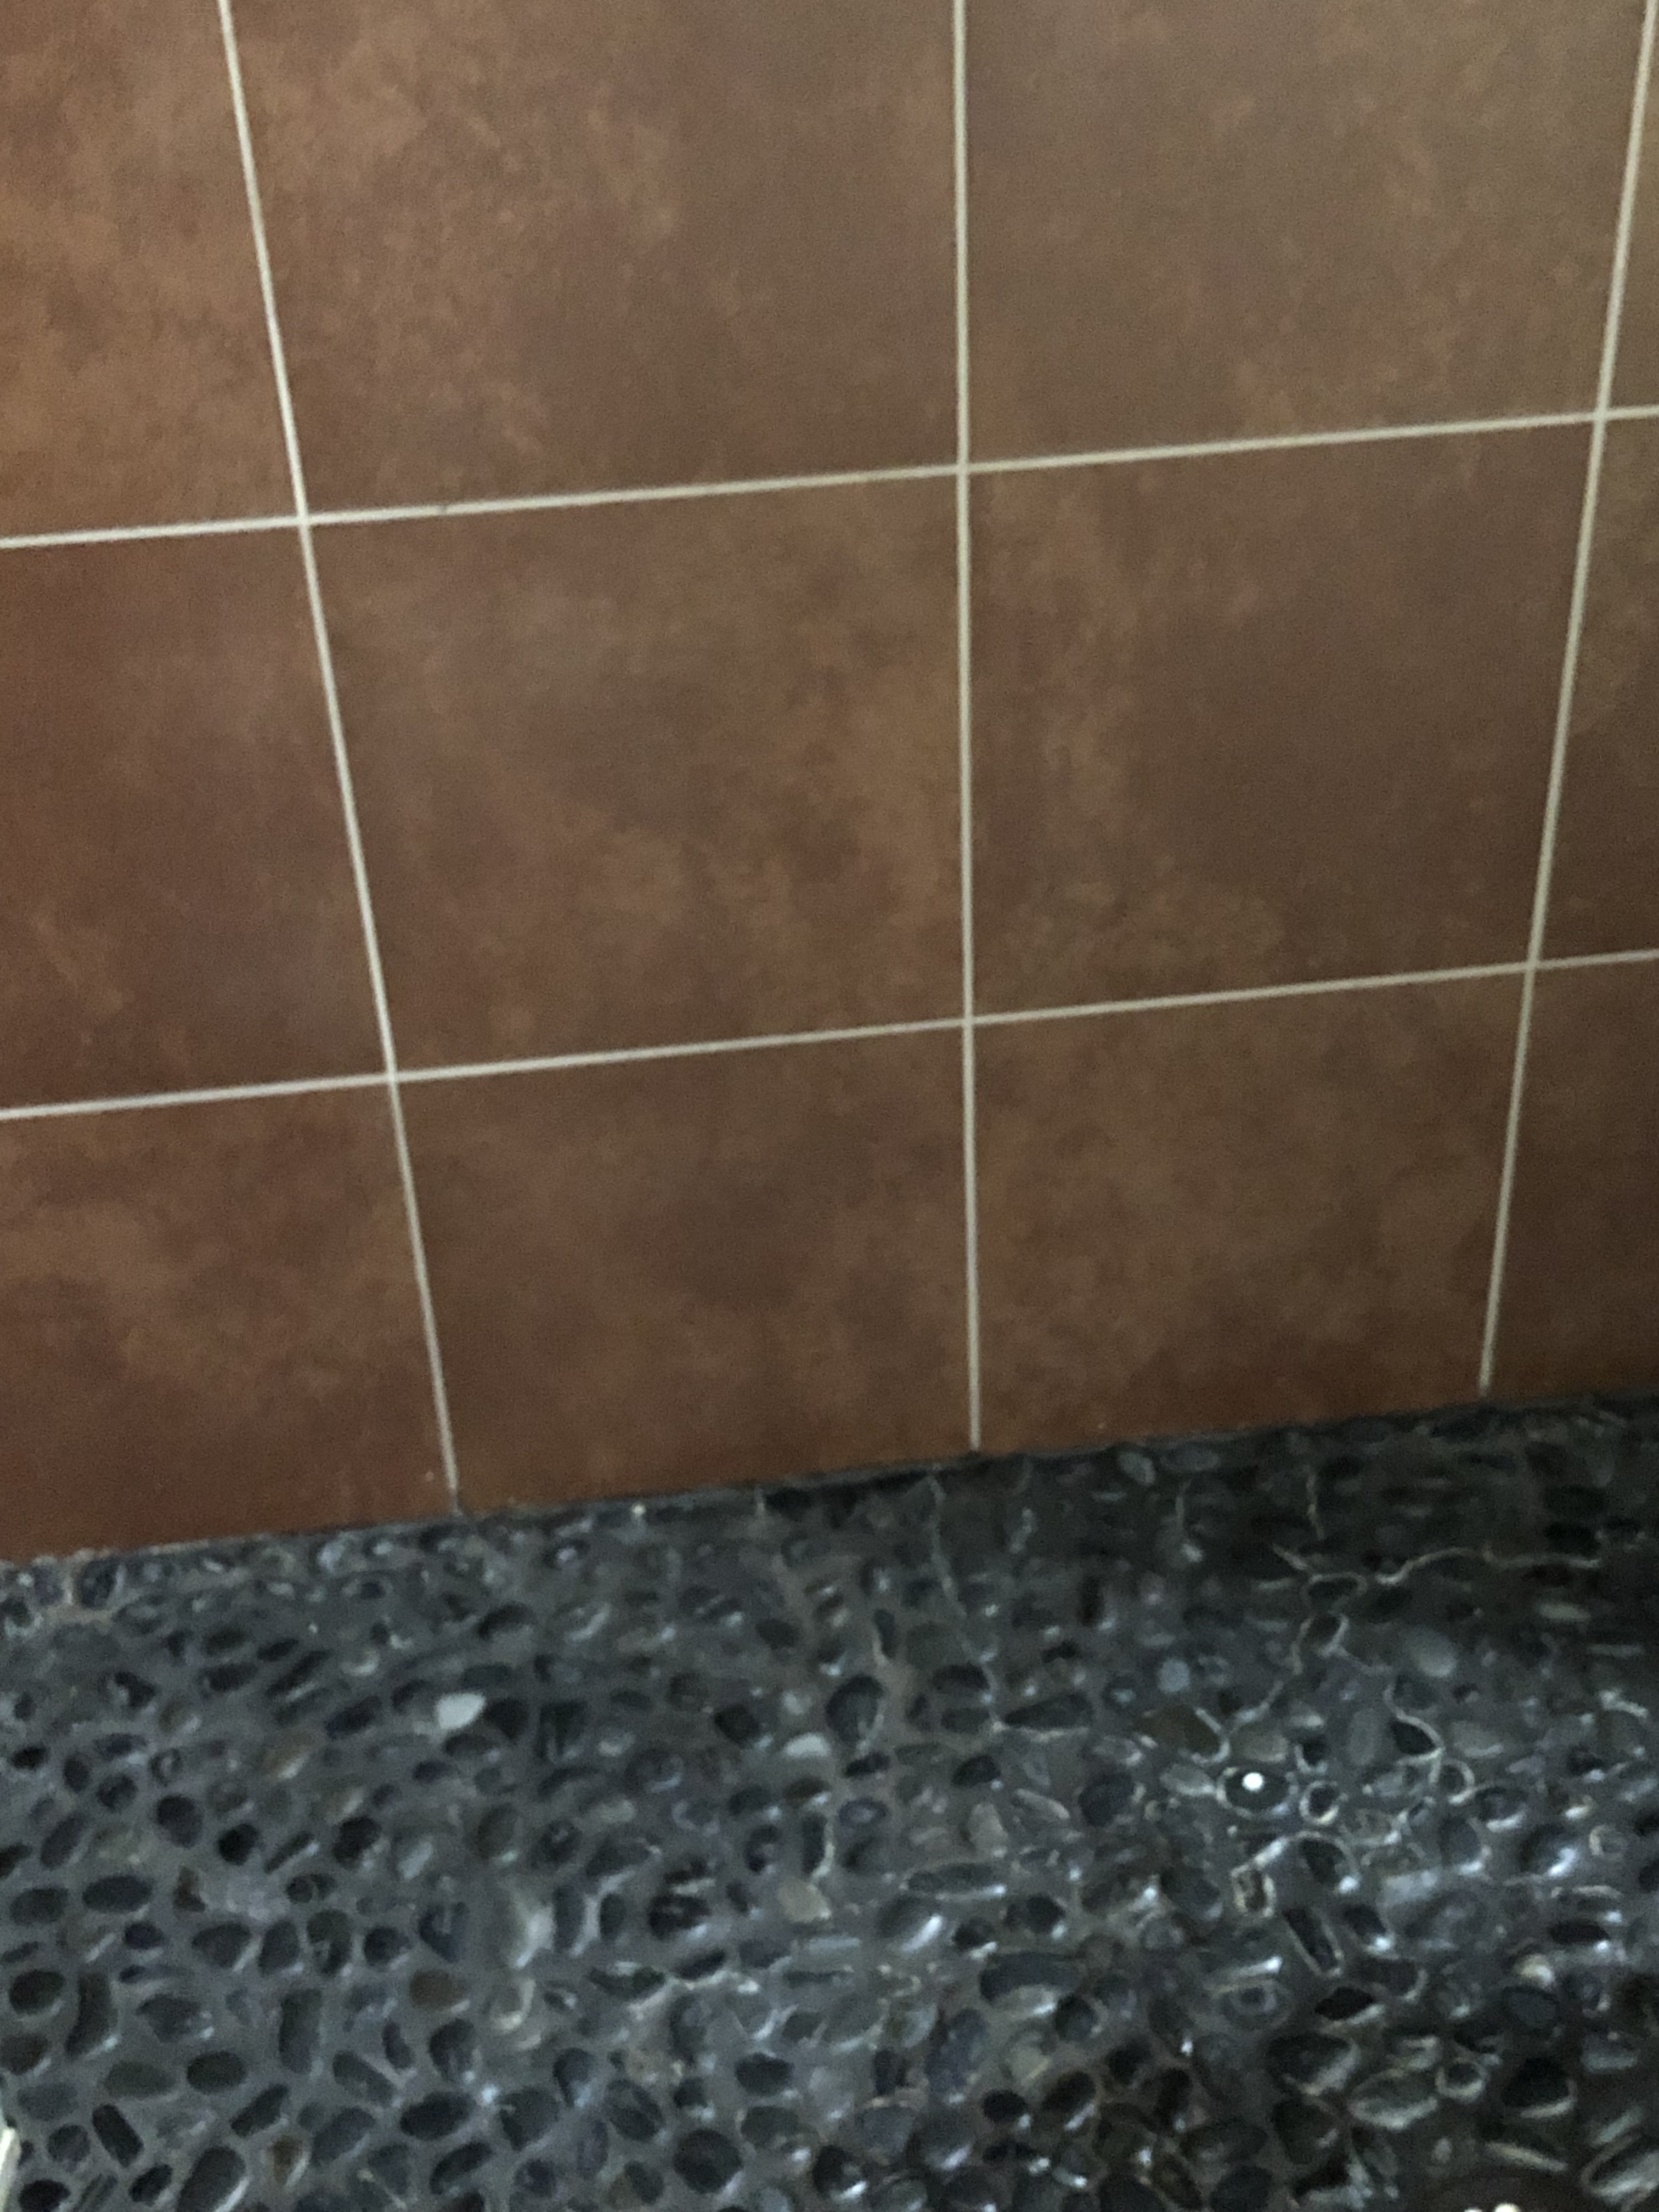
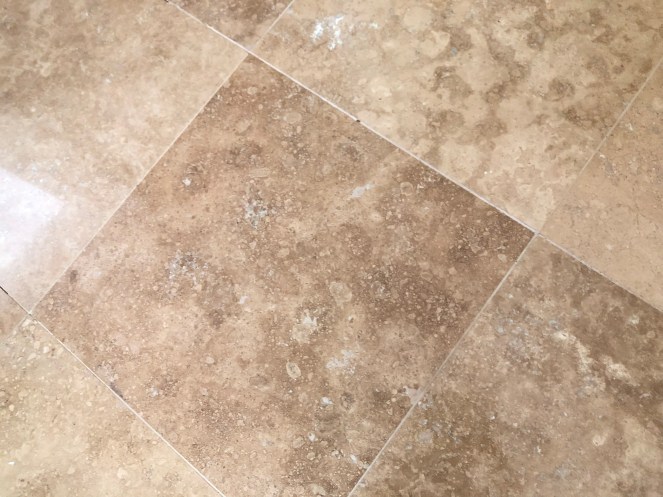
Start by assessing what you have. What do you like about the bathroom and what is an absolute “redo”, keeping in mind your budget. Making over a bathroom doesn’t have to break the bank if you approach it the right way. I loved the shower, especially the river stone floor. Though the tile was dark brown, the light blue/green glass tile insert helped to break up the darkness and I could definitely work with that color. I also loved the seamless glass outside walls of the shower. No changes there. I also liked the light gold large tiled floor just fine, certainly didn’t want to waste money changing it.
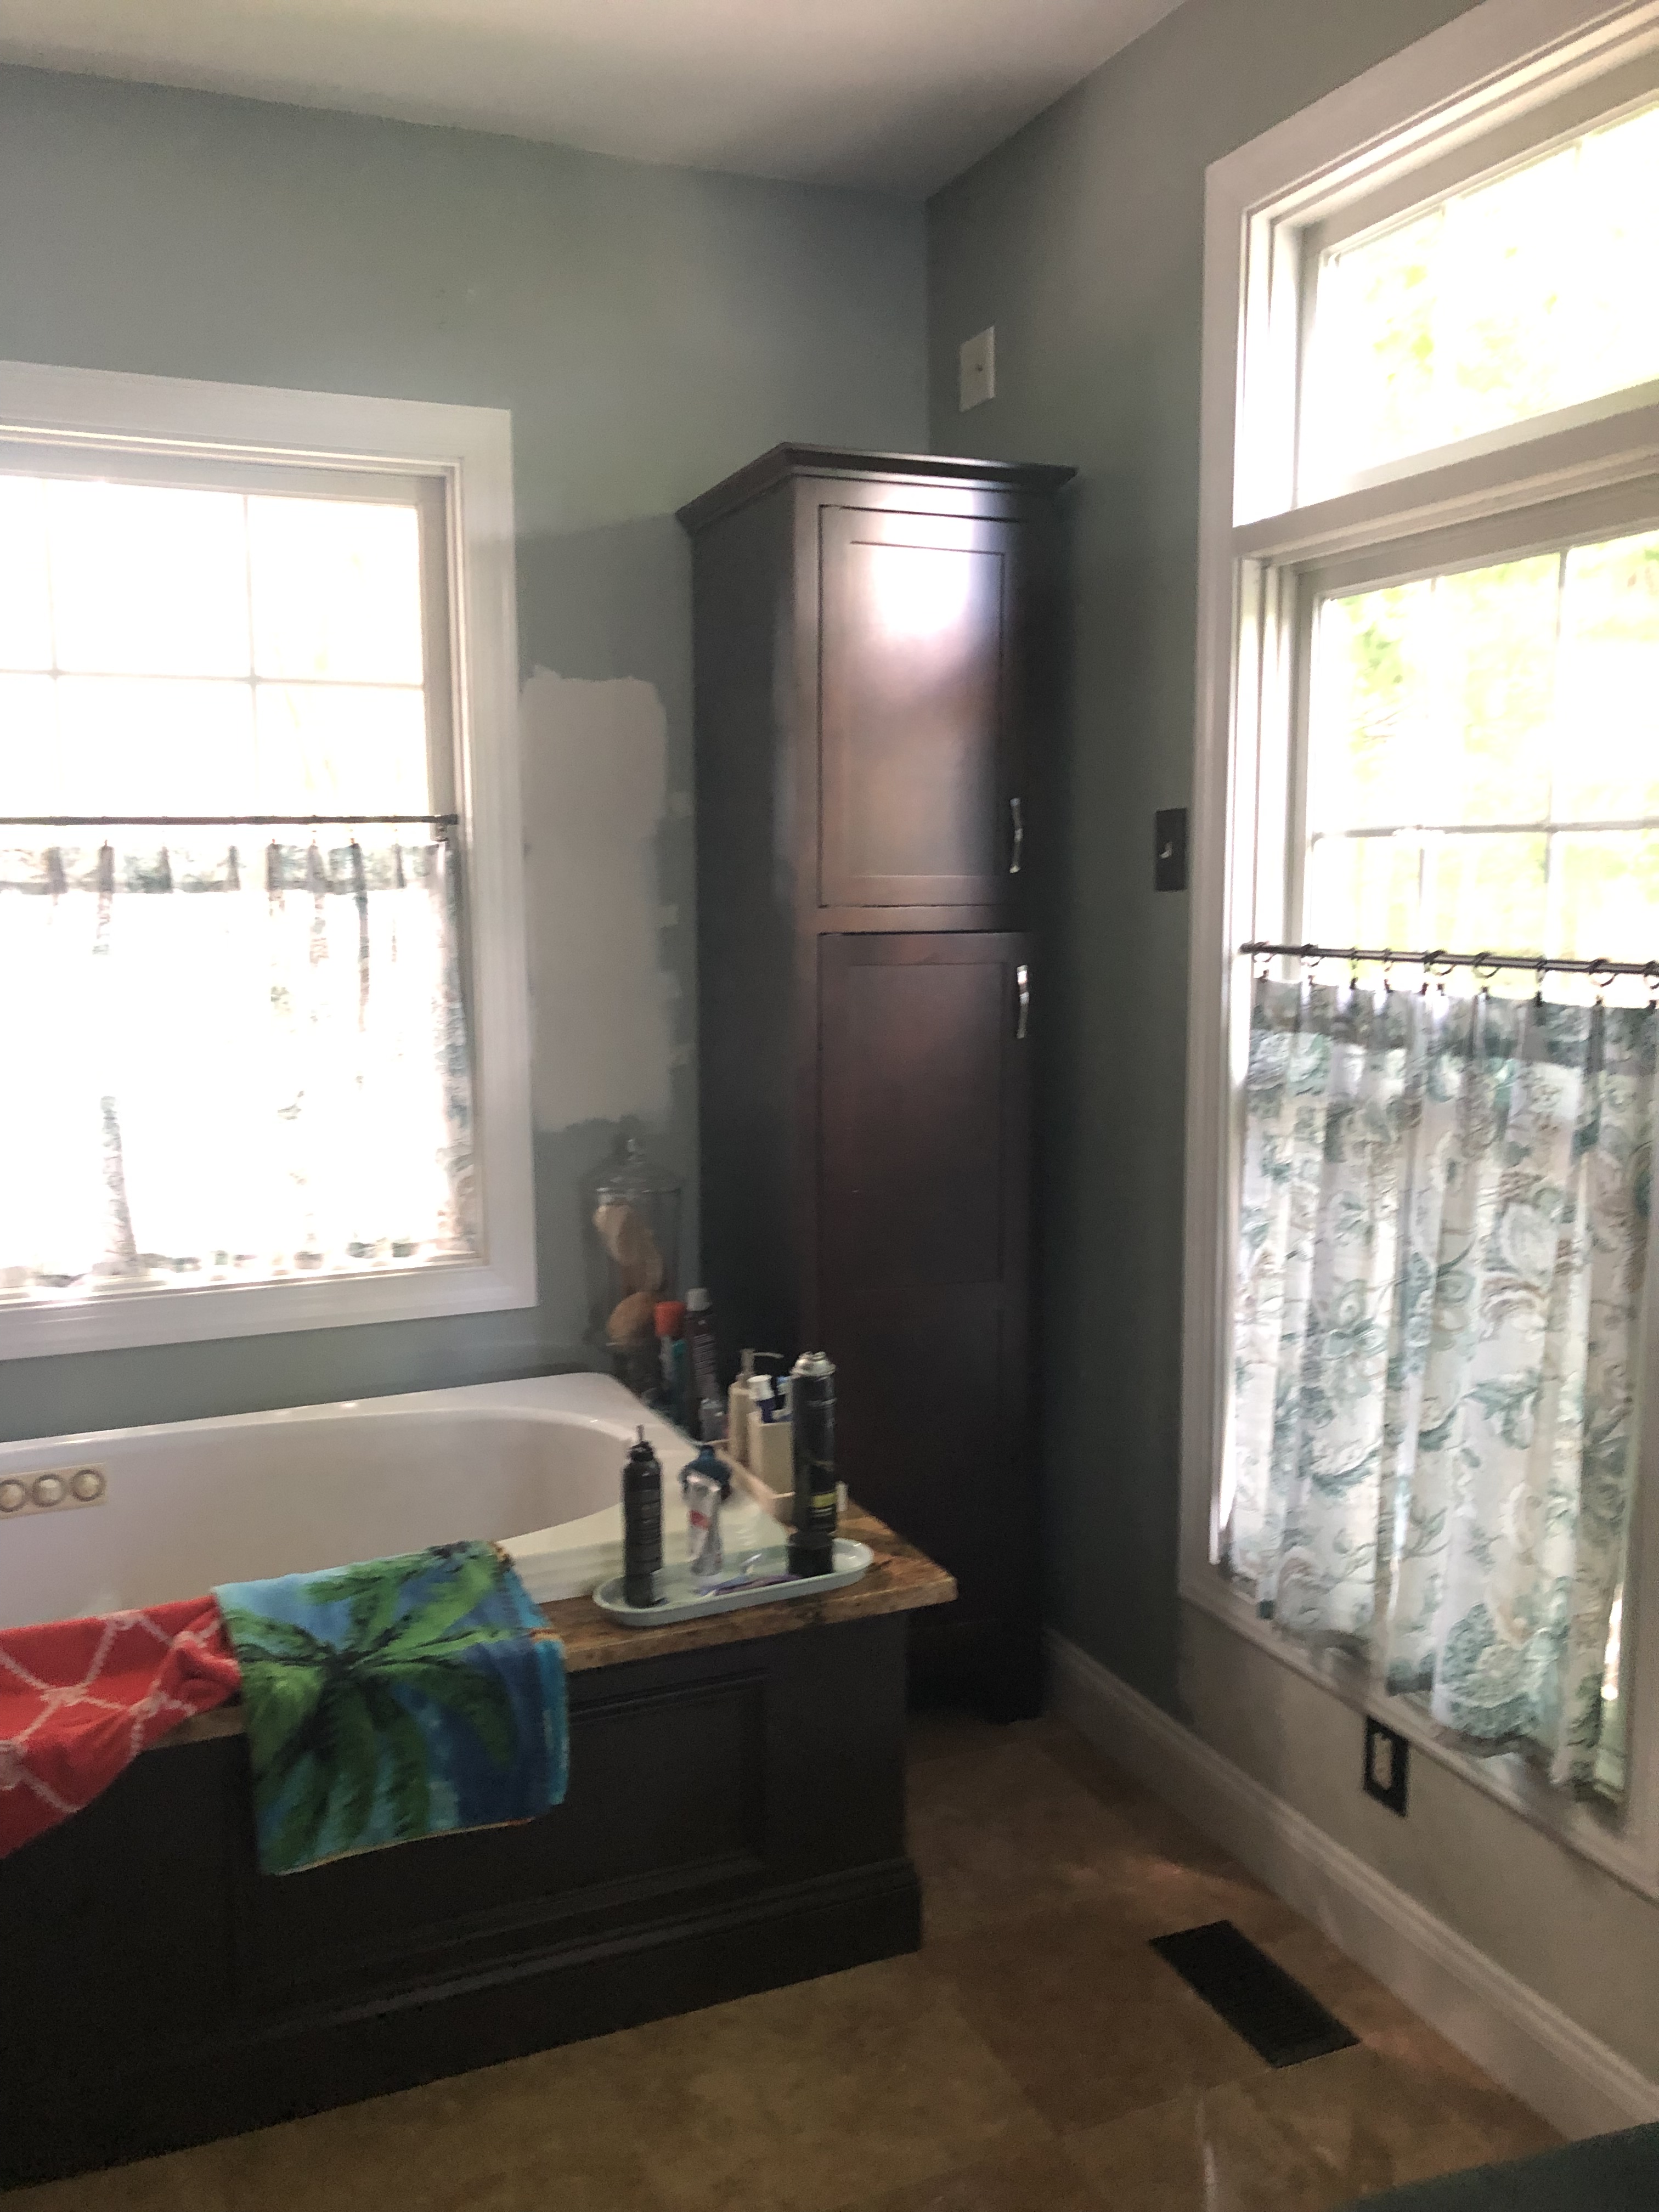
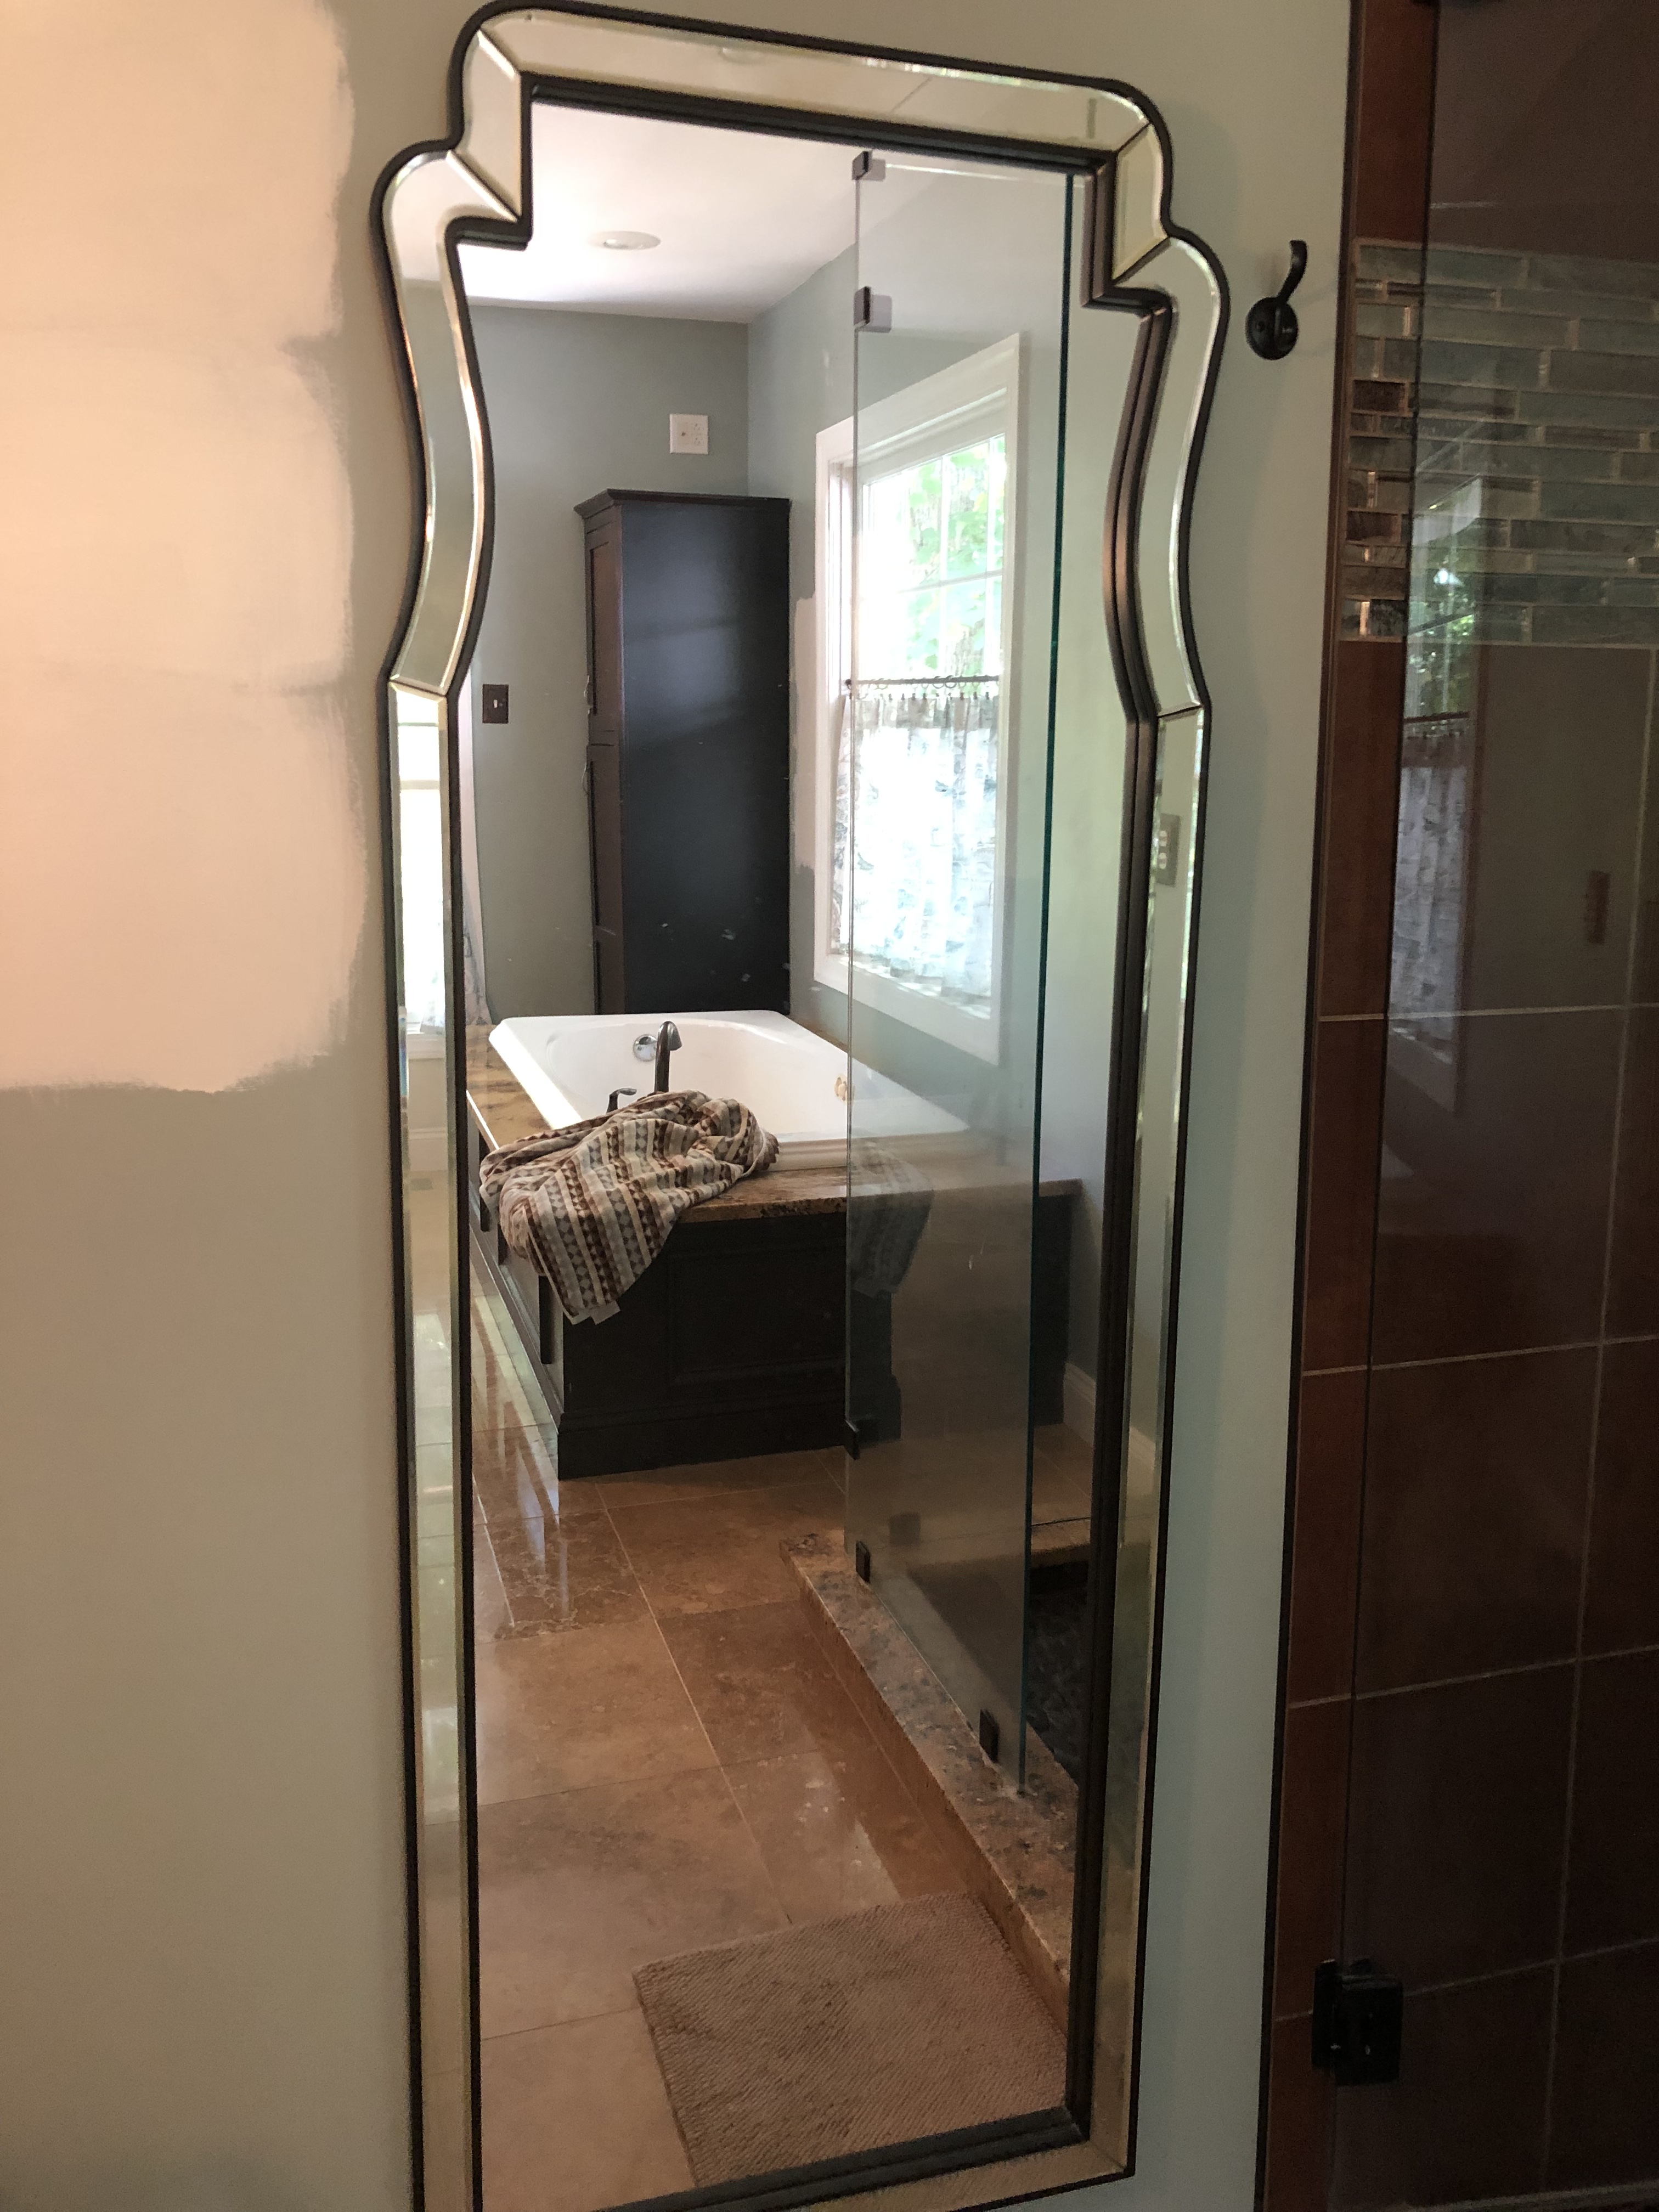
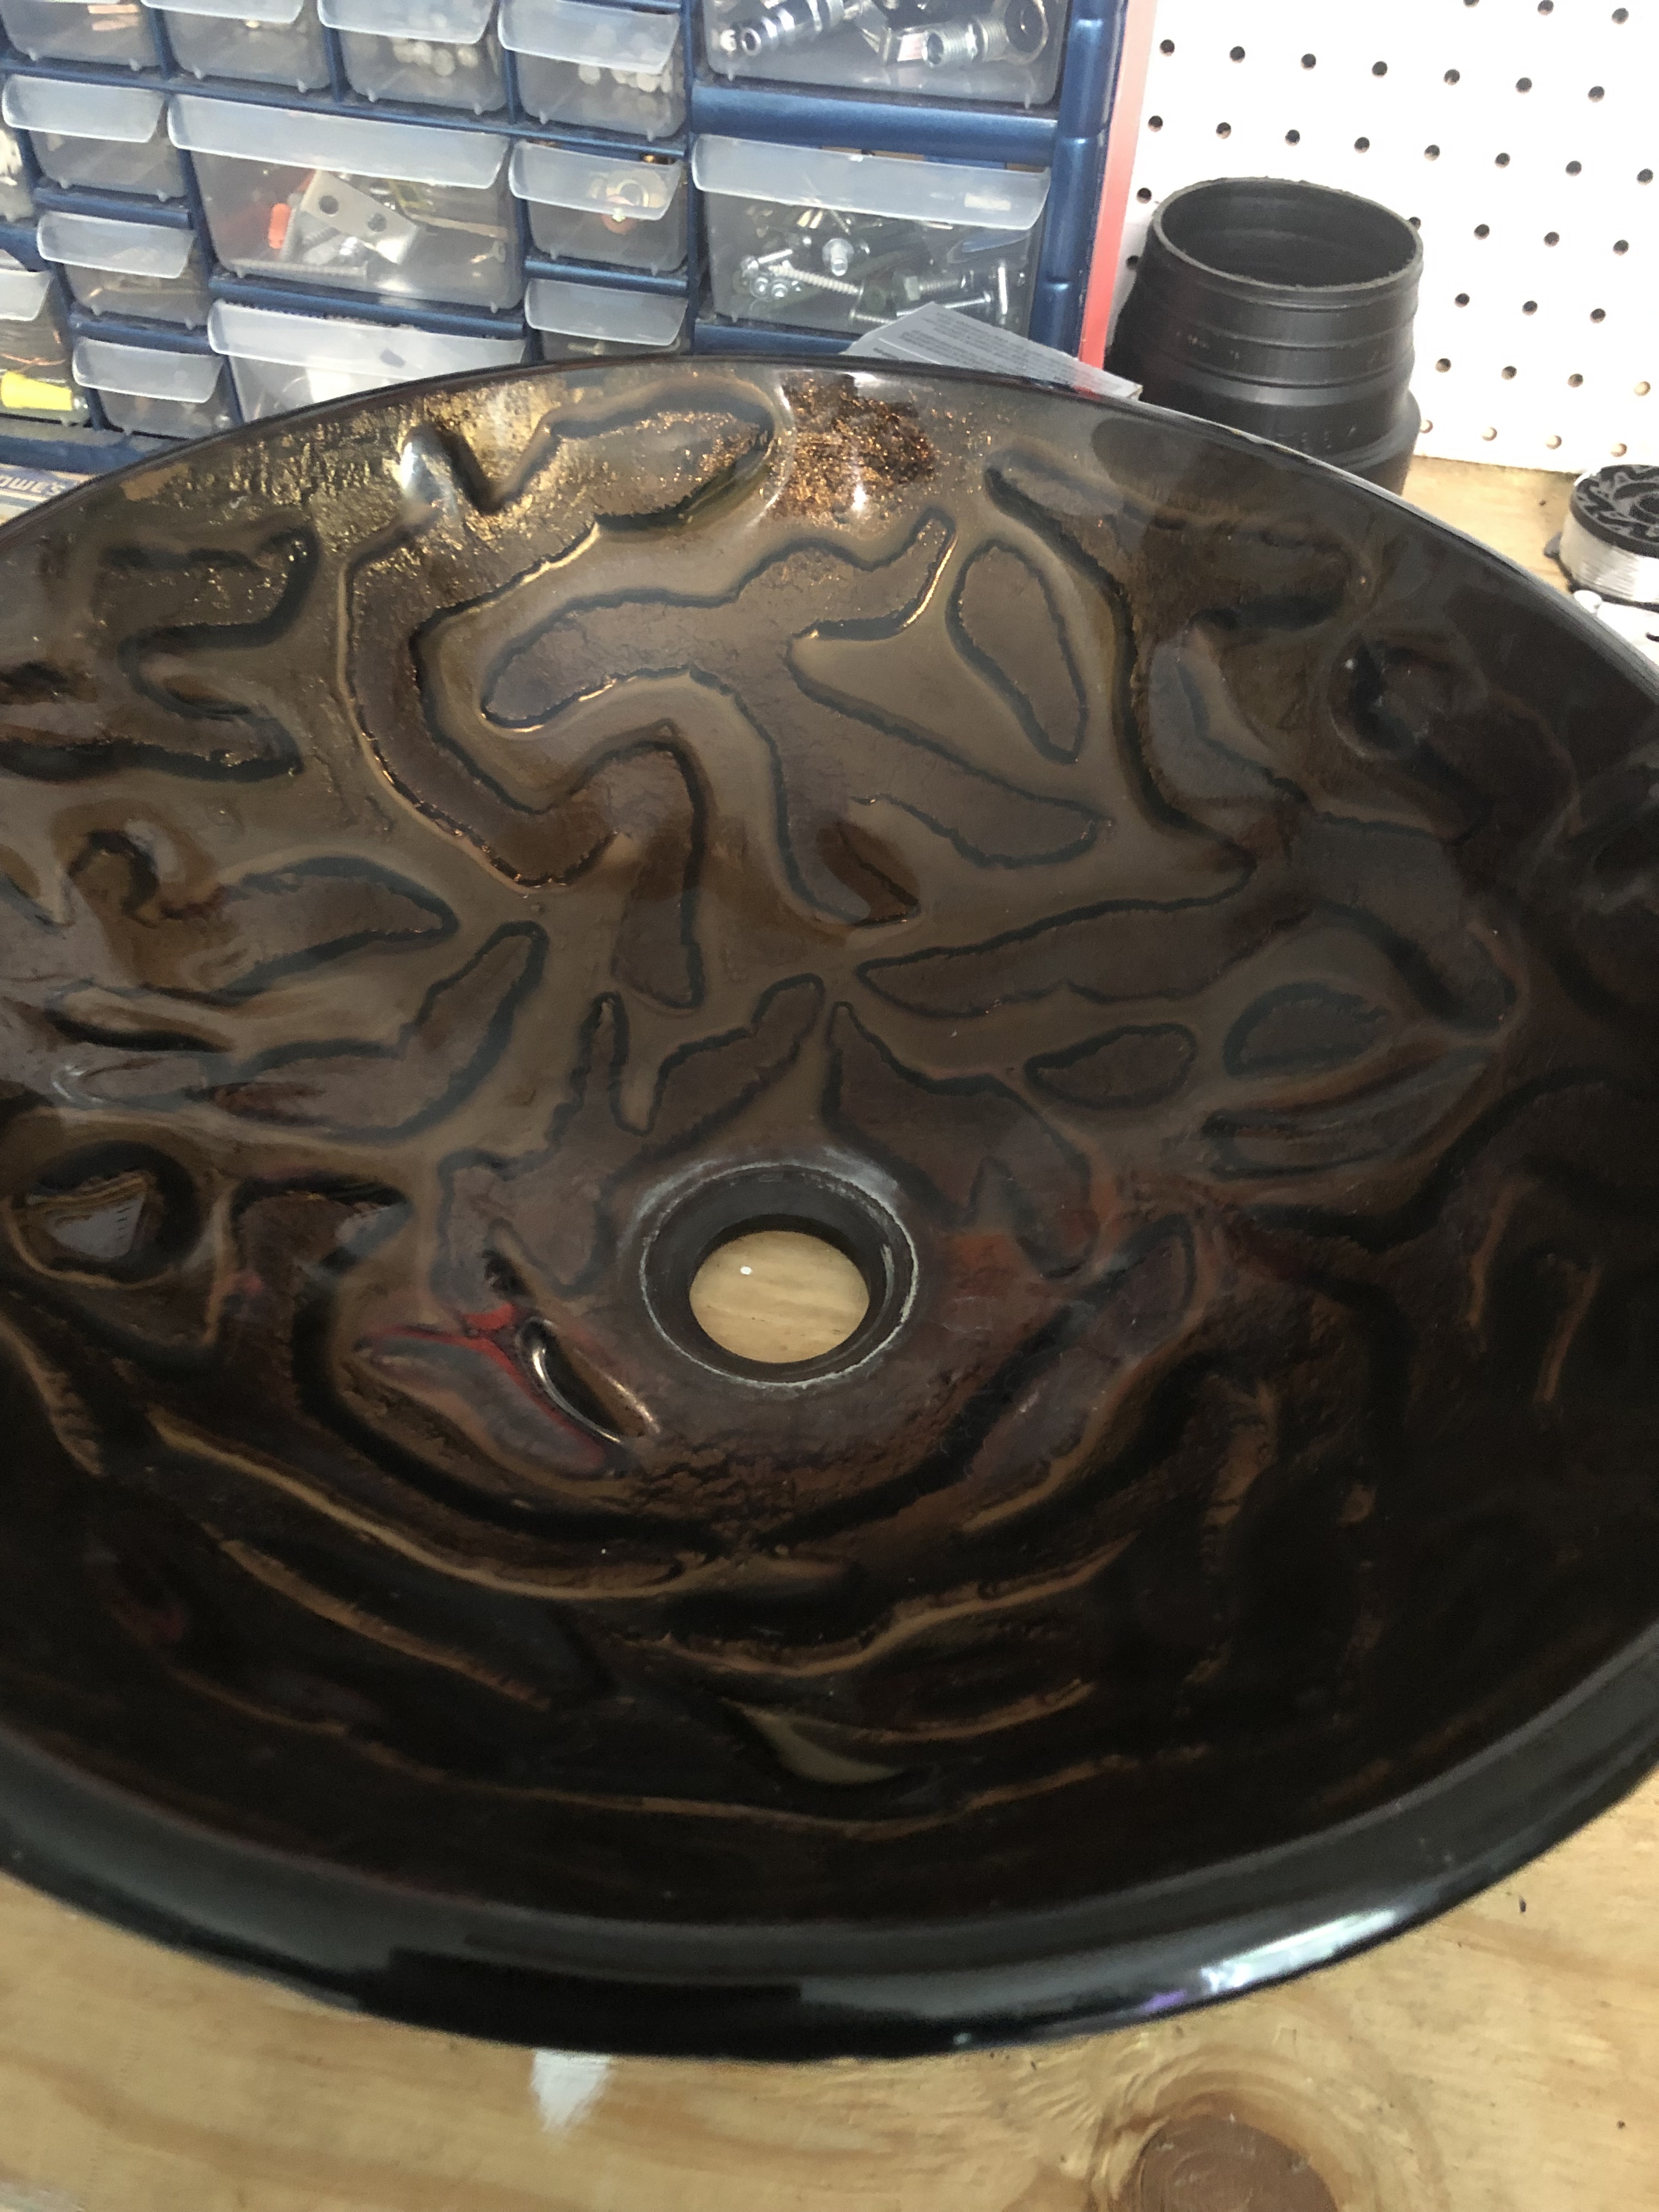
The con list was a bit longer. The lights were too fancy and created too many light prisms and reflections on the walls, the mirrors were too ornate, the vanity was very busy looking with the gold vessels and a dark brown finish. The tub seemed liked a big blob on the floor, though having a tub was a must. The corner dark cabinet was obtrusive. The window coverings covered all of the natural light coming into the bathroom. The paint color seemed a little dark to me. Basically this bathroom needed a total lightening up.
The Process
Start with a honest and reasonable objective of what you want to accomplish and feel with your bathroom. For me I wanted to lighten it up, bring the outdoors in and capitalize on the natural light as much as I could. I was going for a cleaner simpler look that would make an easier transition into the master bedroom. After reviewing my pros and cons list, I made a list of things that needed to be done to address the cons that would bring it in line with my dream bathroom that would also be cost effective. My plan would include quite a bit of painting and a few switch-outs of some key elements in the closet and bathroom, some of which I could do myself and some I would have to enlist help.
Paint
I normally would paint myself, but there were several places in the bathroom where the sheet rock tape had split and I wanted to have it professionally repaired so it wouldn’t be a problem in the future. Also, the thought of going around all the shelves in the closet did not appeal to me, so I definitely would be hiring out the painting. That was the easy part, finding the paint color was the hard part. In keeping with my overall objective to lighten things up and bringing the outdoor in, I decided to steer away from the blue green tones of paint. I opted for a creamy white and would use the color for accents to tie it in with the master bedroom. Let me just tell you, picking a white color is the most difficult thing to do.
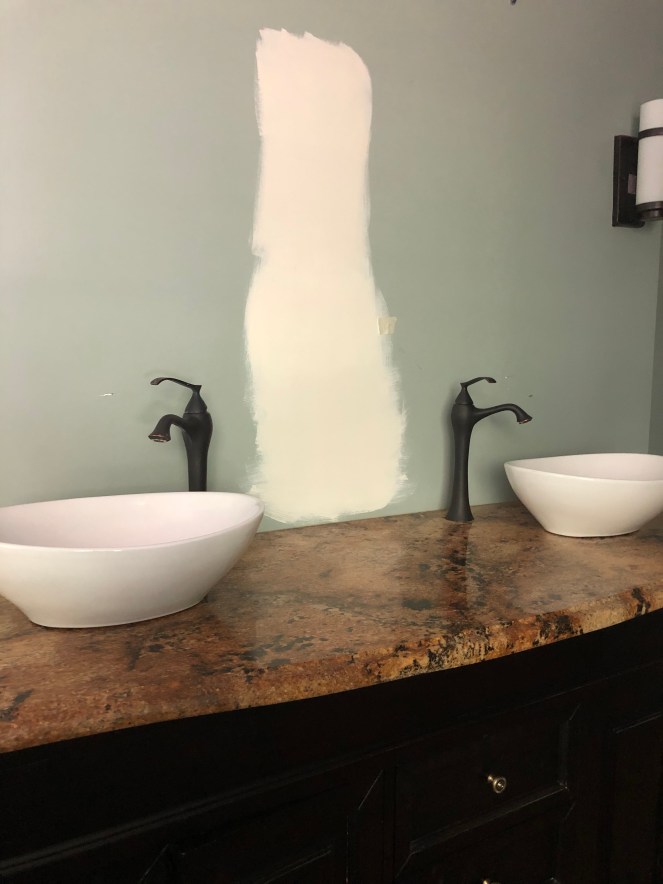
3 different white colors, can’t you tell? 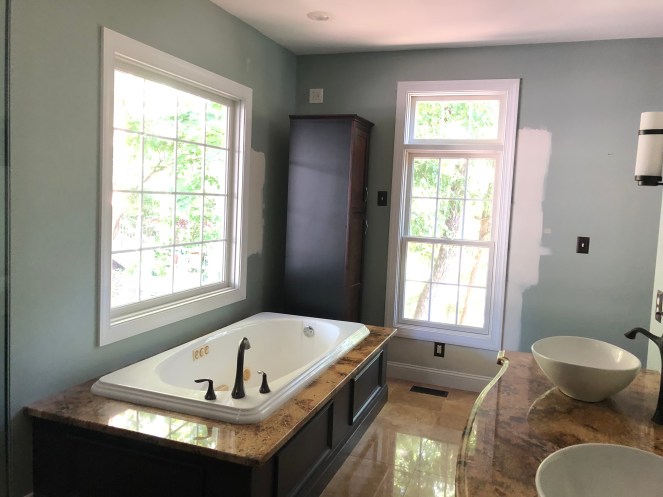

After painting several swatches on several different walls and looking at it at different times of the day I finally made a decision. I wasn’t there when they painted or I probably would have stopped them soon after they started and changed colors. When I got back to the lakehouse and saw the completed room, I instantly thought it looked a little too yellow creamy, almost green at times. WHAT? Do not underestimate how the surrounding elements will affect the paint color because of reflection. The green leaves from outside and the gold colored floor had a huge impact on my completed paint color. I decided to live with it and hoping that once I put on window treatments, painted the vanity and added other blue/green accents into the room, it might just blend in and I won’t notice it.
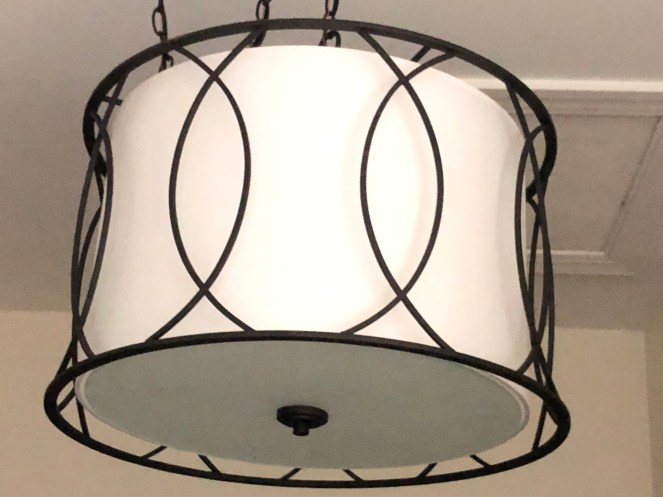
Lighting
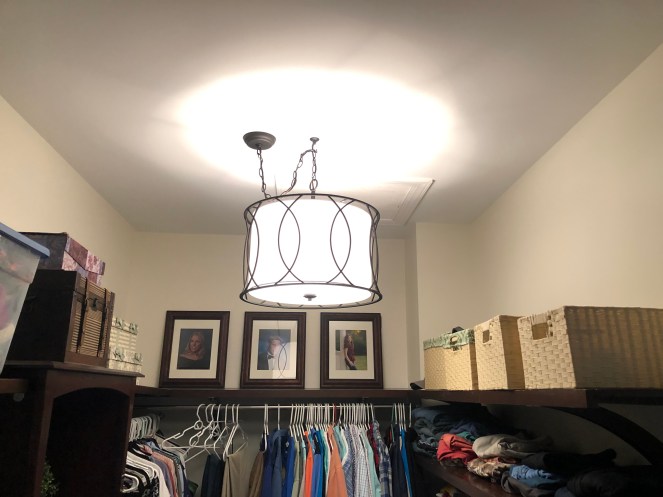
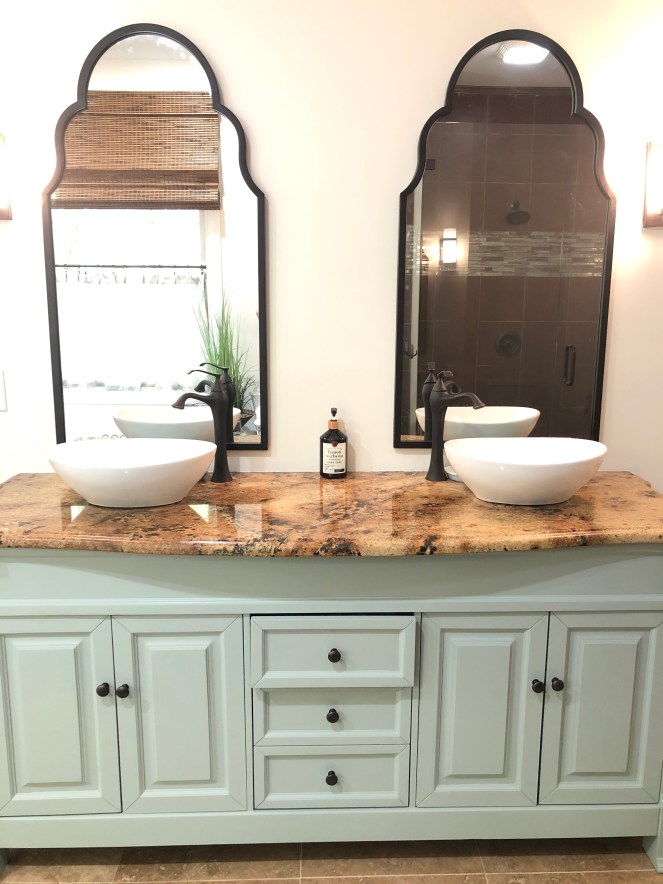
Lighting is so important. Just the color of the light bulbs can make a big difference. It wasn’t long after we moved in that I instantly removed the chandelier side sconces from the vanity. We also changed out the closet light to something bigger and bright and white with a bit of brushed bronze accent to tie in with the wood shelving. We changed all the bulbs from a yellow tint to a white tint. What a big difference this alone made in the color of the paint.
Cabinets & Storage
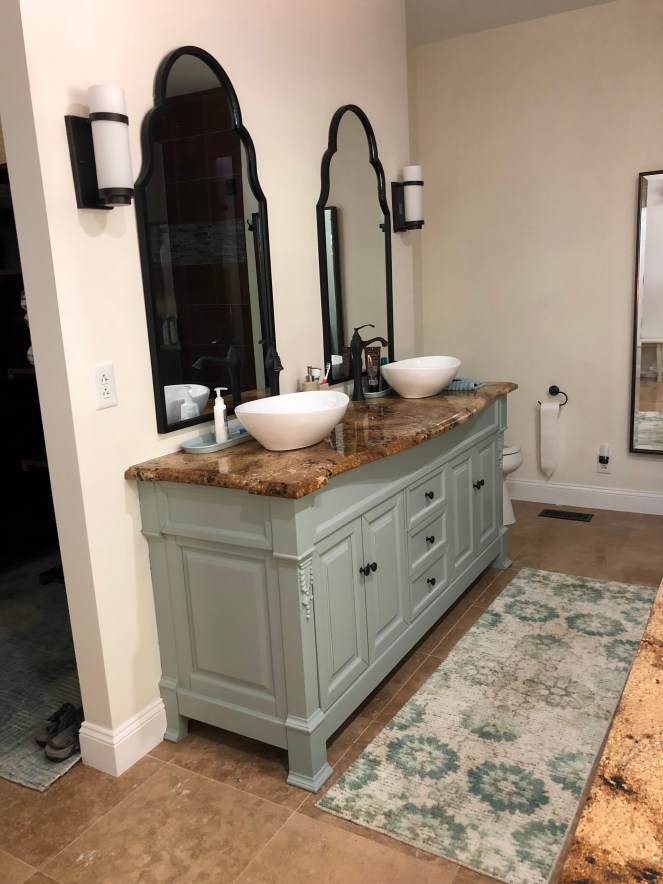
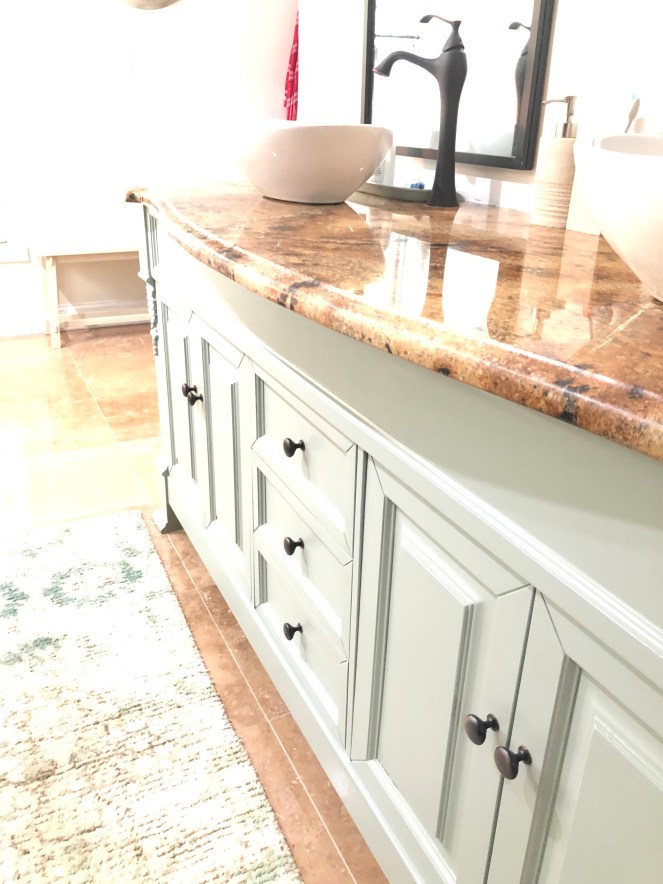
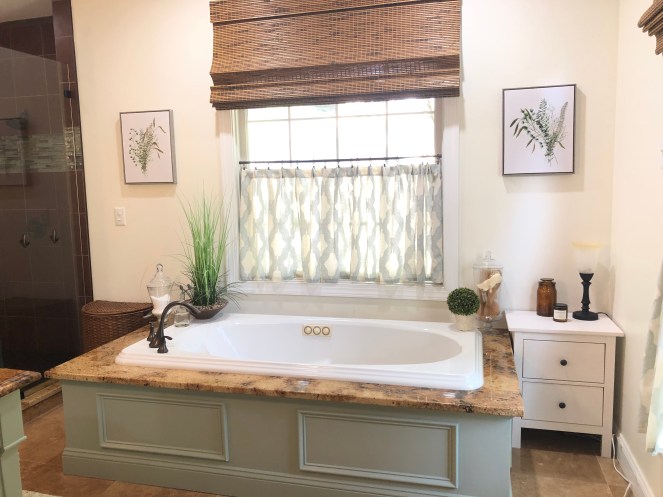
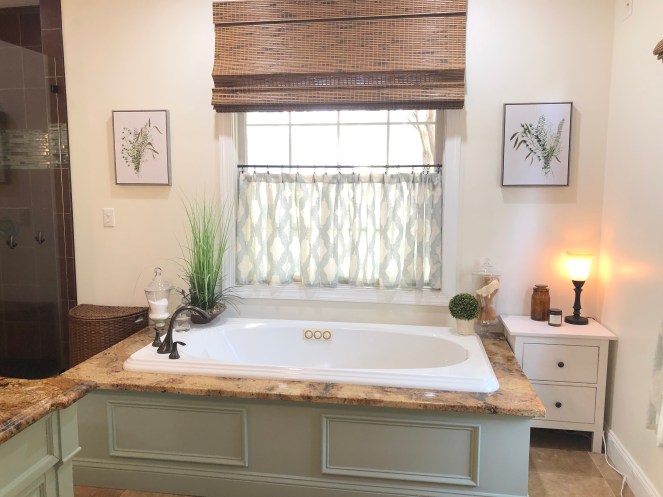
When first dreaming about this bathroom I envisioned a sleek stand alone soaker tub. However, before ripping it out and dropping a grand, I decided to paint the bottom to see if it made a difference. I found some leftover paint from another room and after proper prepping, painted the bottom of the tub. Within a few hours, it totally changed the room and convinced my husband that I could also paint the vanity the same color. WOW! I loved it and so did my husband. Big win and it didn’t cost me anything except for a can of bonding primer and a little time. I could live with that.
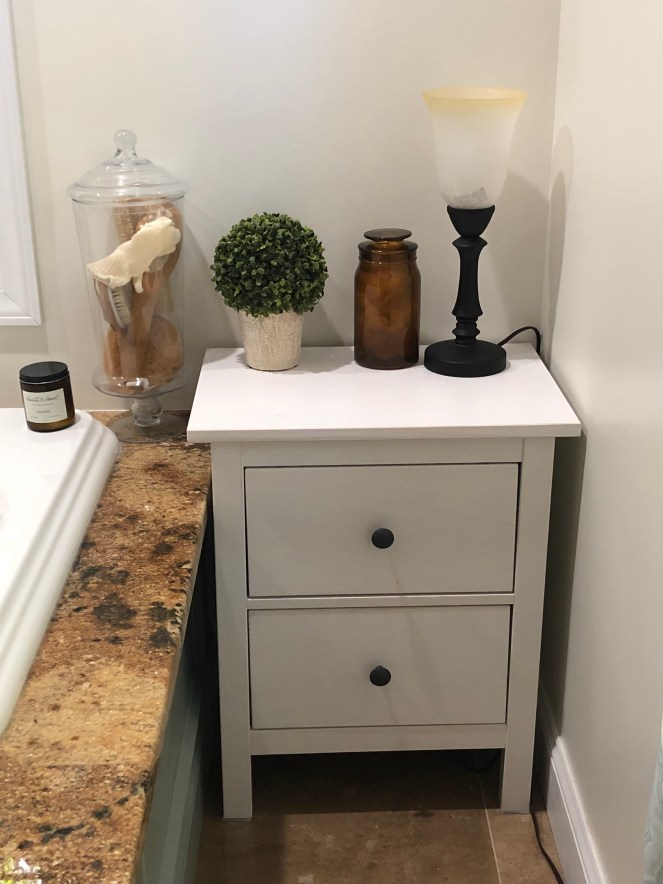
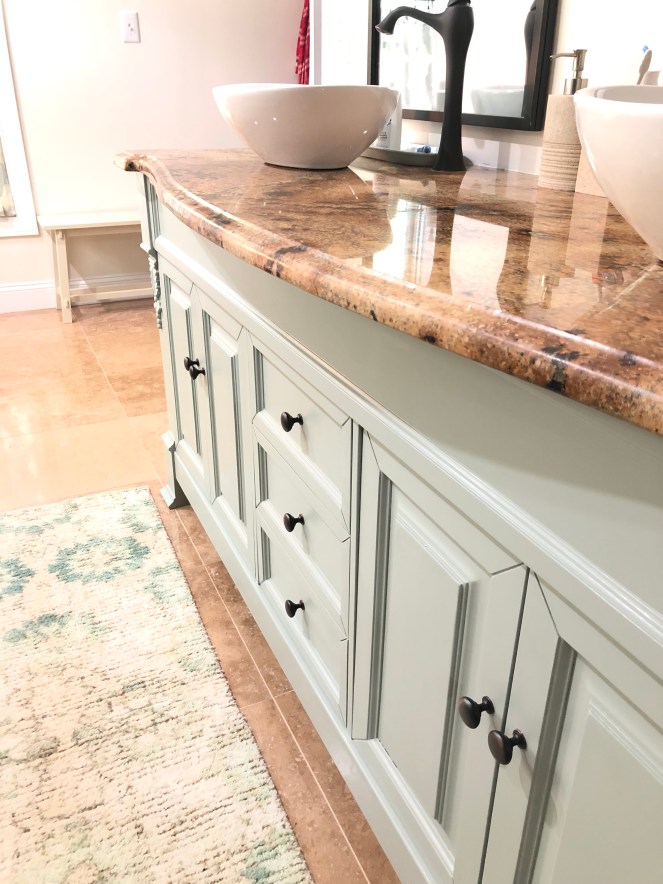
After cleaning out and purging unnecessary stuff from the tall corner cabinet, we removed it and re-purposed it in the basement storage room for another day and clean out project. I picked up a little white cabinet with the perfect drawers from IKEA (which I put together myself) and put it in the corner instead. What a big difference this little changes made in the overall look and lightening up of this room. We also changed out the gold vessels for white vessels.
Flooring
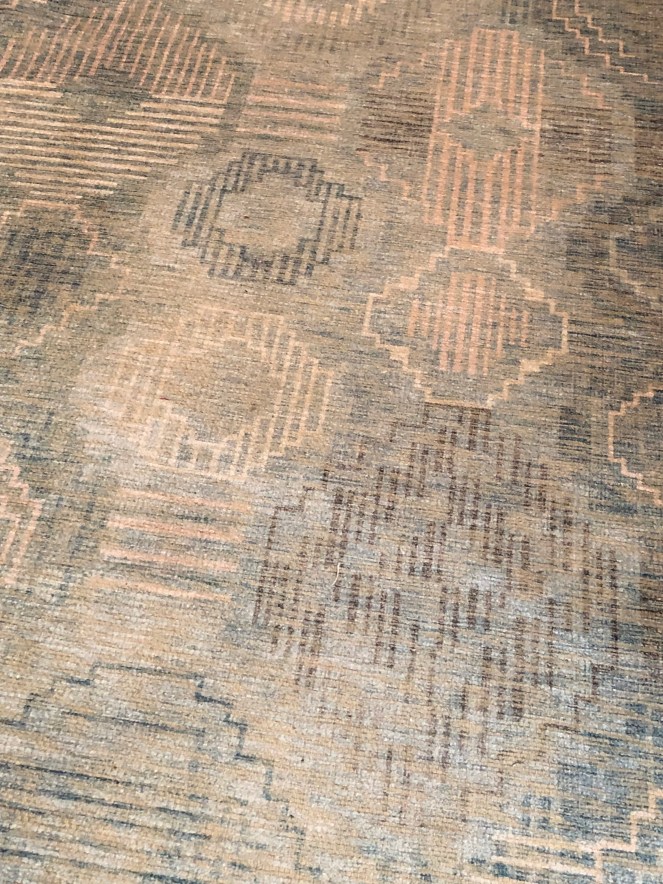
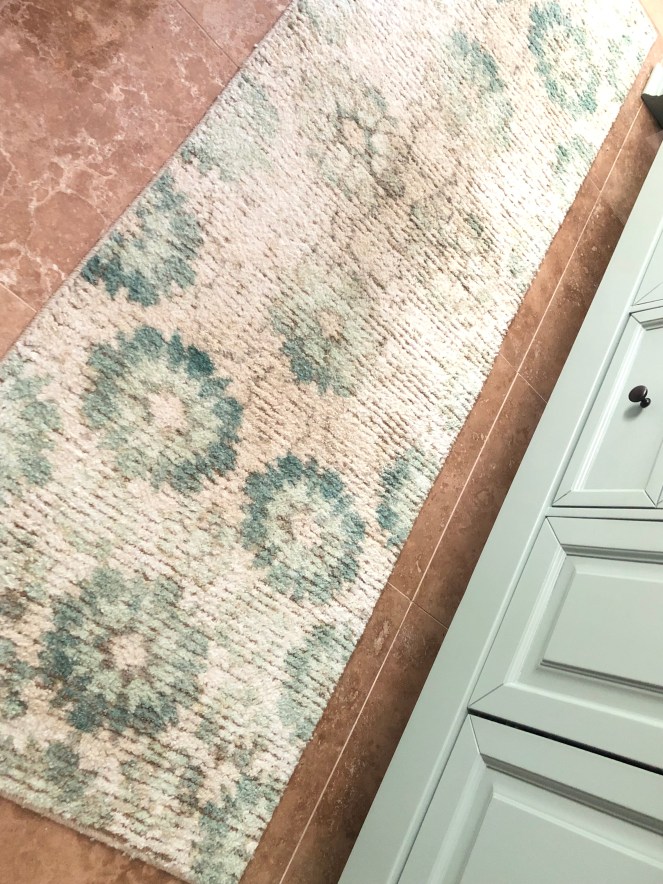
The only thing I did differently on the flooring was replace the shag taupe 5×7 rug in the closet with one that had the teal/blue colors in a more geometric design. This put back some of the color that I took out and ties in nicely with the master bedroom.
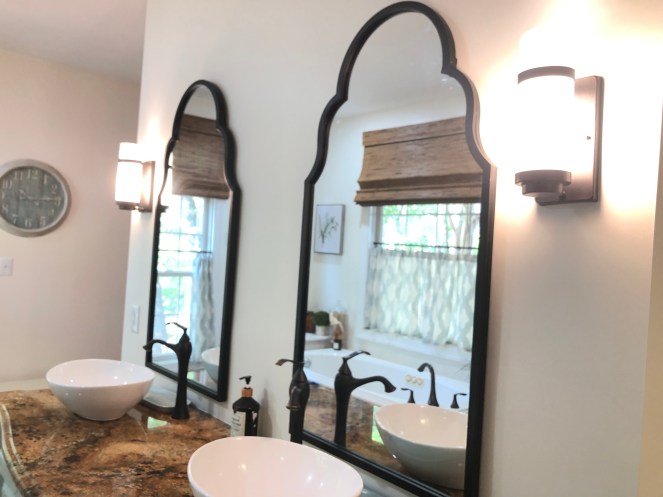
Accents
New botanical prints on both sides of the windows, a lamp, new vanity and wall mirrors from Kirklands, removing some of the stuff on our sink, an added side bench and a clean closet finished it off.

Window Treatments
Initially these windows had wicker shades however they were inset in the window frames. I wanted to be able to see out and allow as much light into the room as possible so I bought new blinds and had them cut to just outside the window frame. These Levolor blinds just pull up and down….no cords! I found the perfect fabric that was light enough but had some of the color and texture I wanted to pull in from a package of curtain panels in Lowes. I remade the panels, lining them and cutting them down to make the same style of ring pleated café curtains that hung halfway down the window, providing the privacy we need in a bathroom but letting in the maximum amount of light. We are down a long driveway and it is already quite private, unless our neighbors are walking down their long stretch to the lake.


Before and After
Well, what do you think? The paint color settled in for me and I don’t even notice it anymore with all the pieces put together. It’s lighter, brighter, feels bigger, brings in the light and outside view. I think I hit all of my “wants” and it didn’t cost me an arm and a leg. My husband even said he likes the coziness of this bathroom now. I think it’s a win.